ROugh Ideas
For our VFX piece we want to create a polished 20-30 second clip.
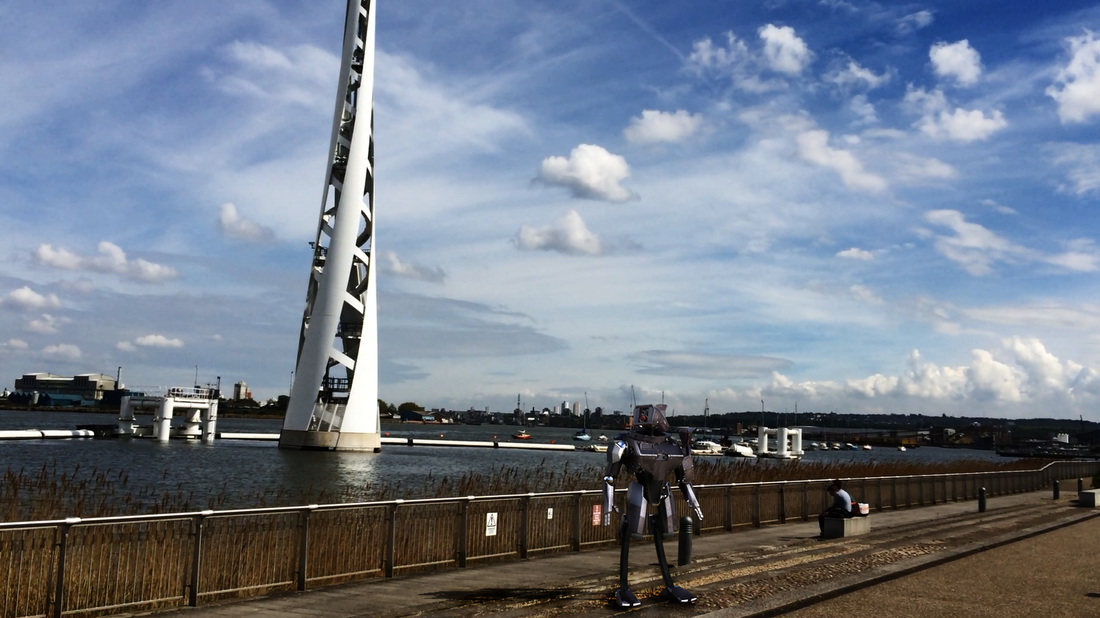
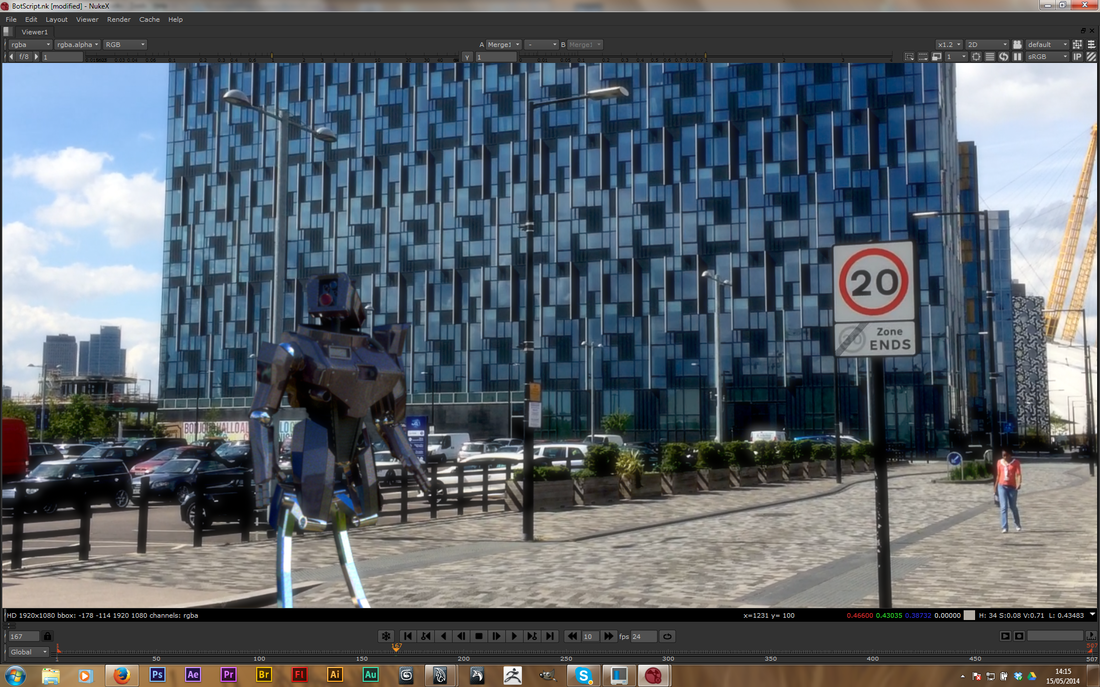
We began by brainstorming and getting some ideas down for the piece. We considered comping spaceships over London and also keying ourselves acting in a fantasy landscape. The idea we settled on was one that we felt we could achieve with our current level of expertise:
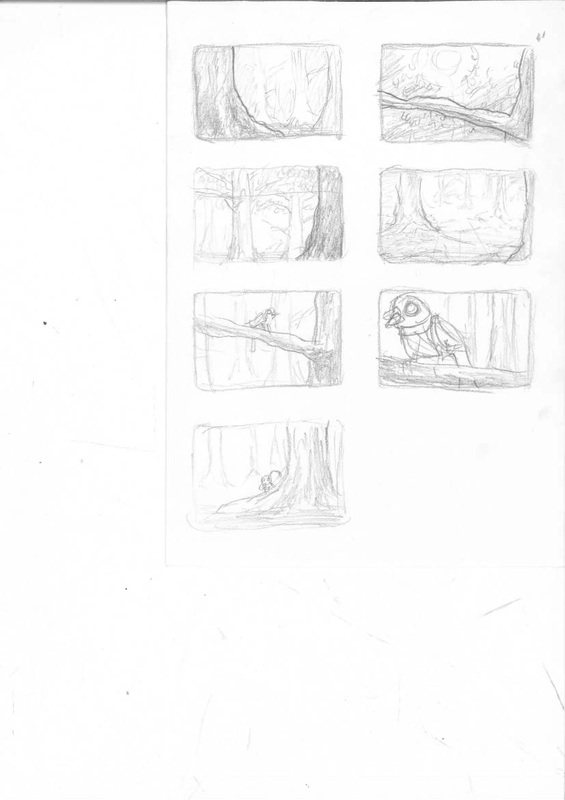
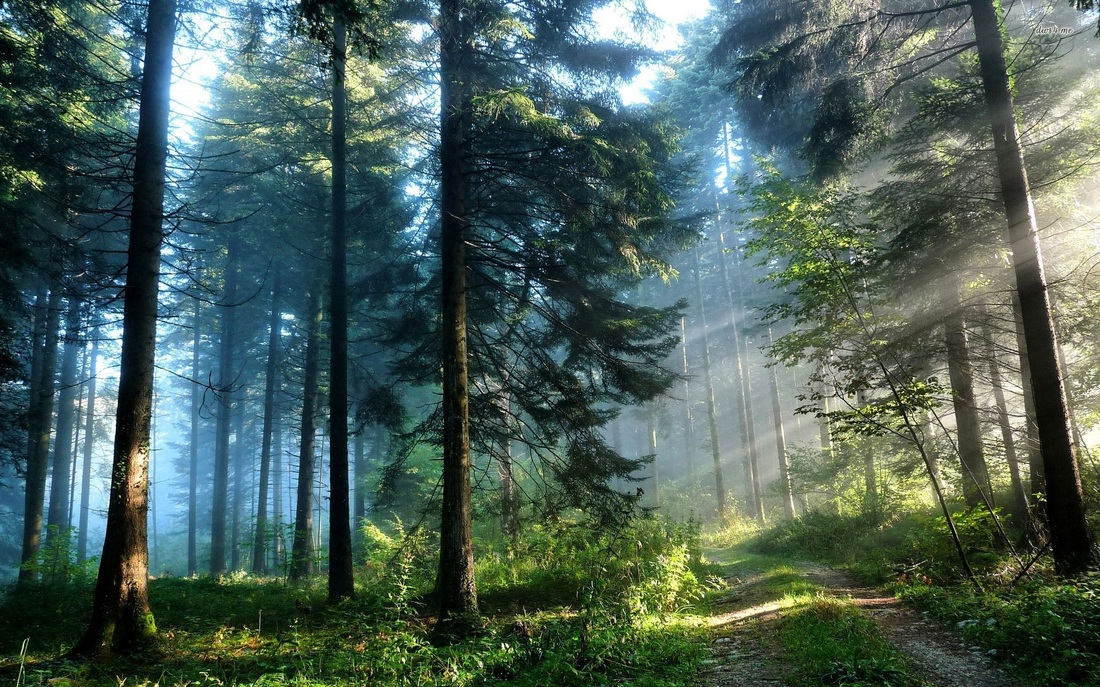
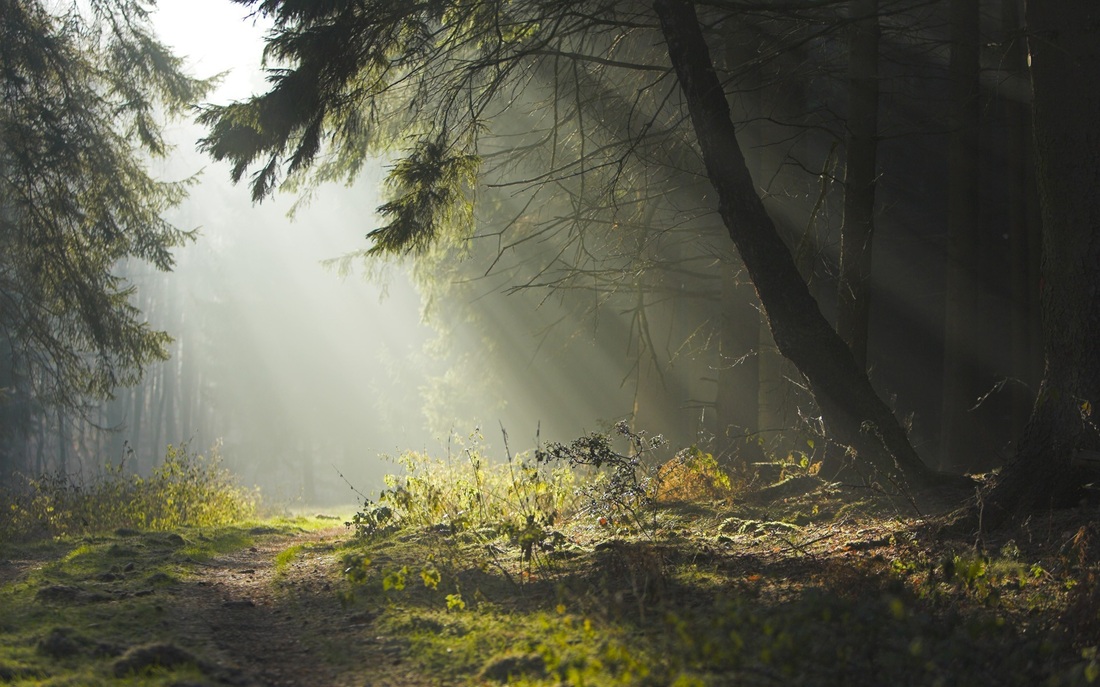
The plan is to have some opening shots of a sun-lit forest, moving between trees until the camera settles on some wildlife, but the wildlife will be clockwork, and made from cogs and bits of scrap metal. We decided on only creating two creatures for the piece, as any more would be too time consuming.
We began by brainstorming and getting some ideas down for the piece. We considered comping spaceships over London and also keying ourselves acting in a fantasy landscape. The idea we settled on was one that we felt we could achieve with our current level of expertise:
The plan is to have some opening shots of a sun-lit forest, moving between trees until the camera settles on some wildlife, but the wildlife will be clockwork, and made from cogs and bits of scrap metal. We decided on only creating two creatures for the piece, as any more would be too time consuming.
-----------------------------------------------------------------------------------------------------------------------------------------------
Nuke Practice
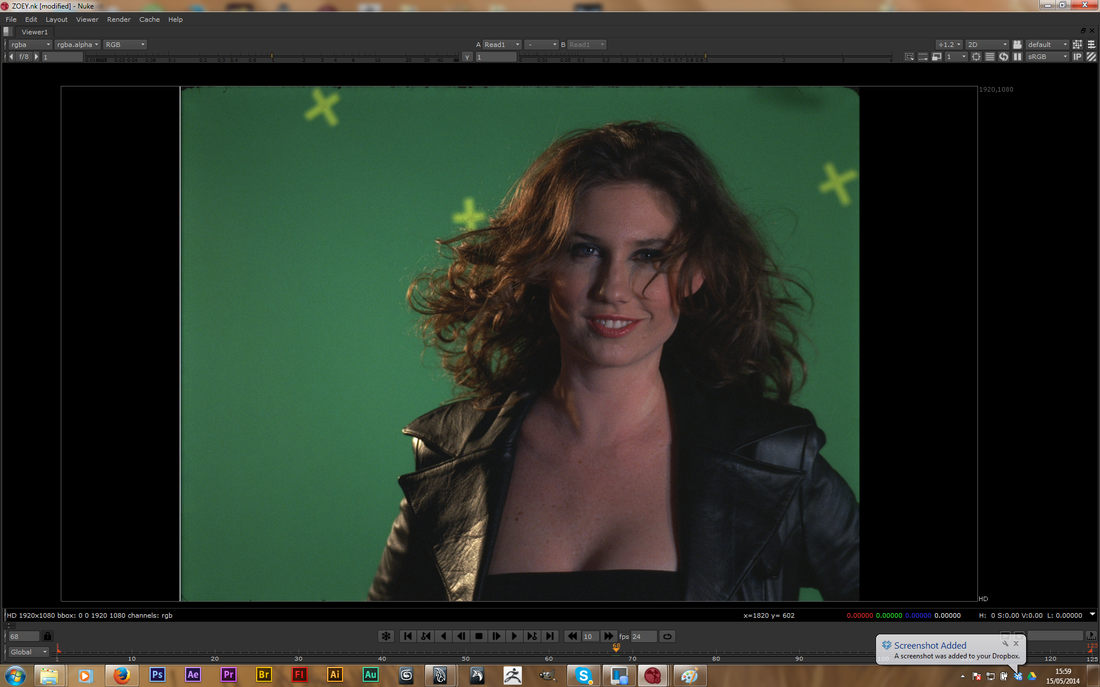
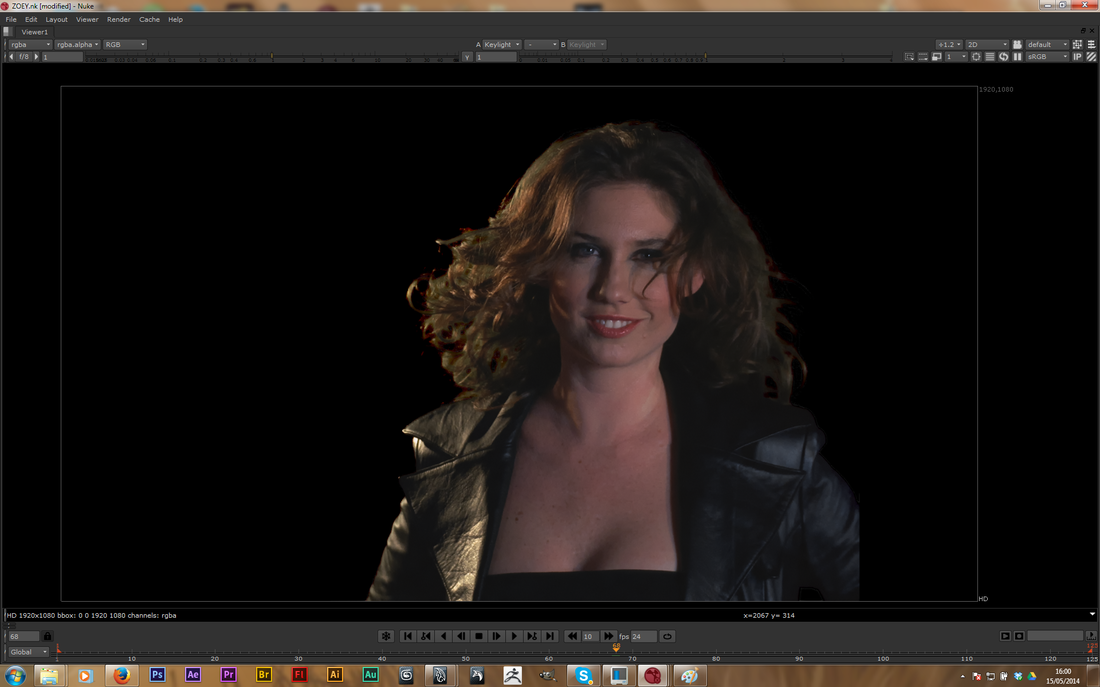
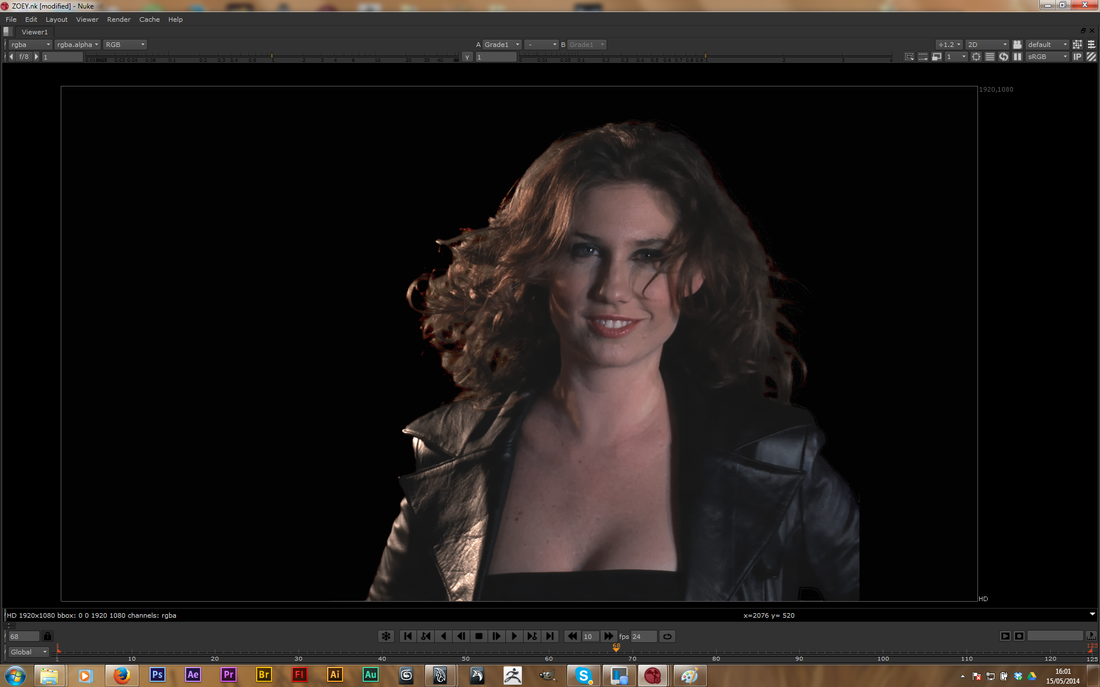
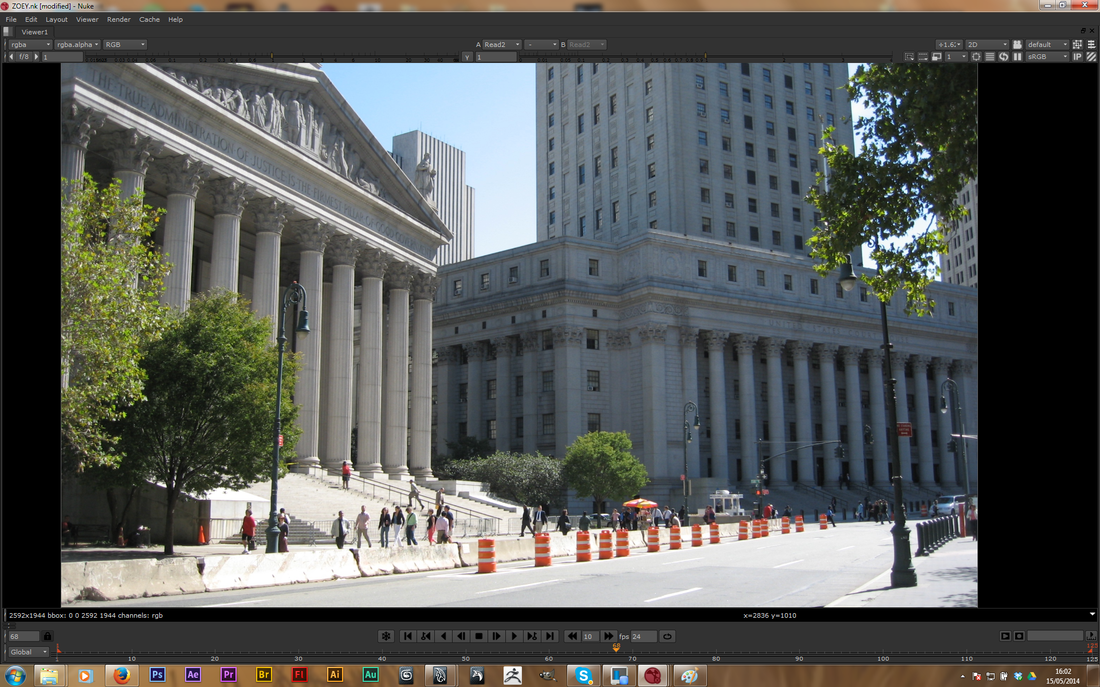
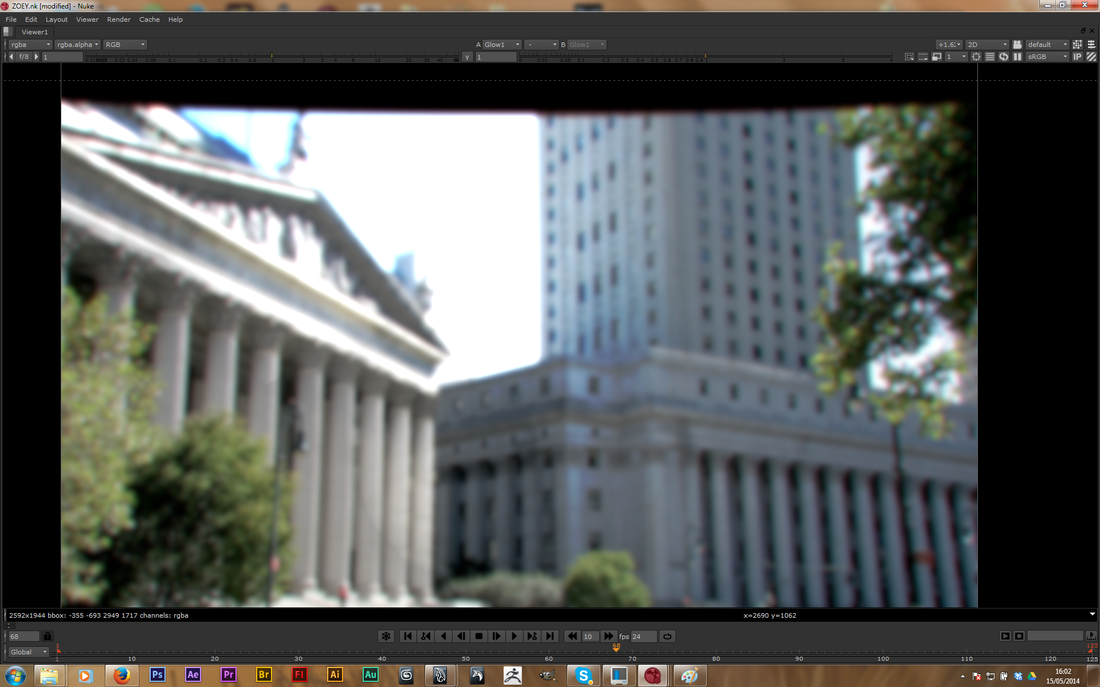
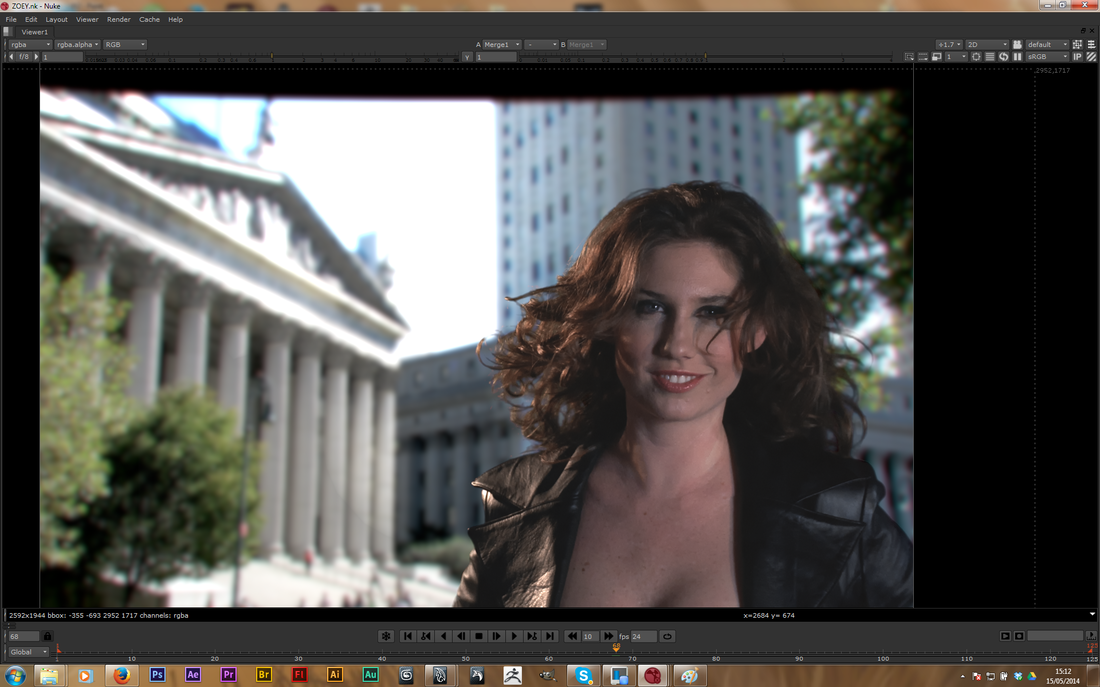
The first few weeks of Nuke training went pretty well. We keyed out a women against a green screen and then comped her onto a new still background.

-----------------------------------------------------------------------------------------------------------------------------------------------
Green-screen practice

-----------------------------------------------------------------------------------------------------------------------------------------------
HDRI and IBL (in maya) experiments

-----------------------------------------------------------------------------------------------------------------------------------------------
Back to Ideas
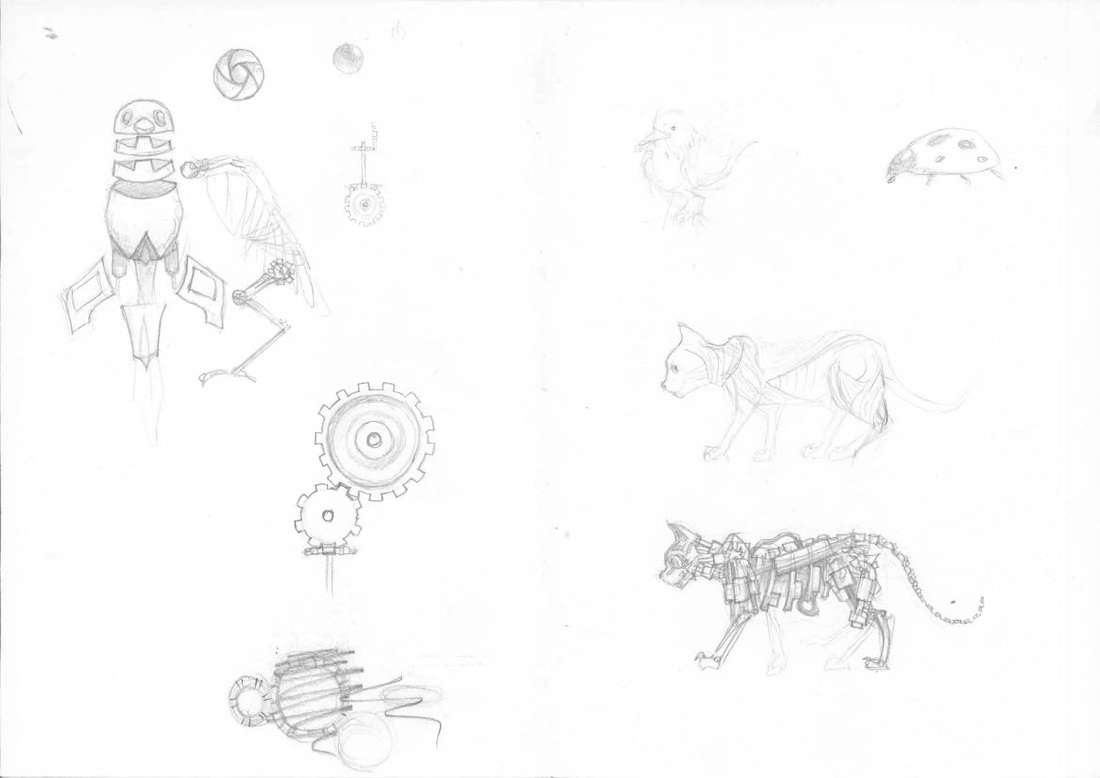
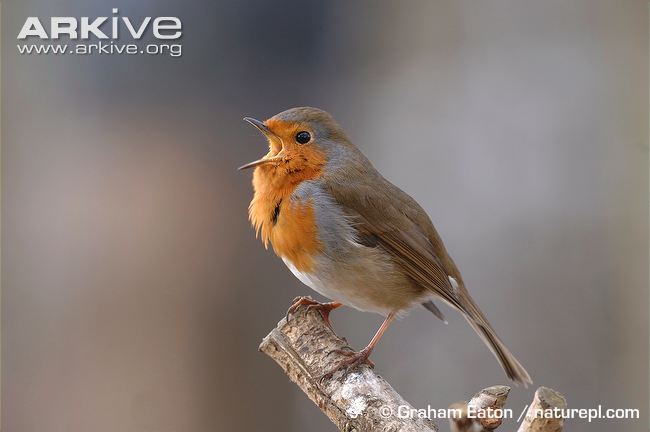
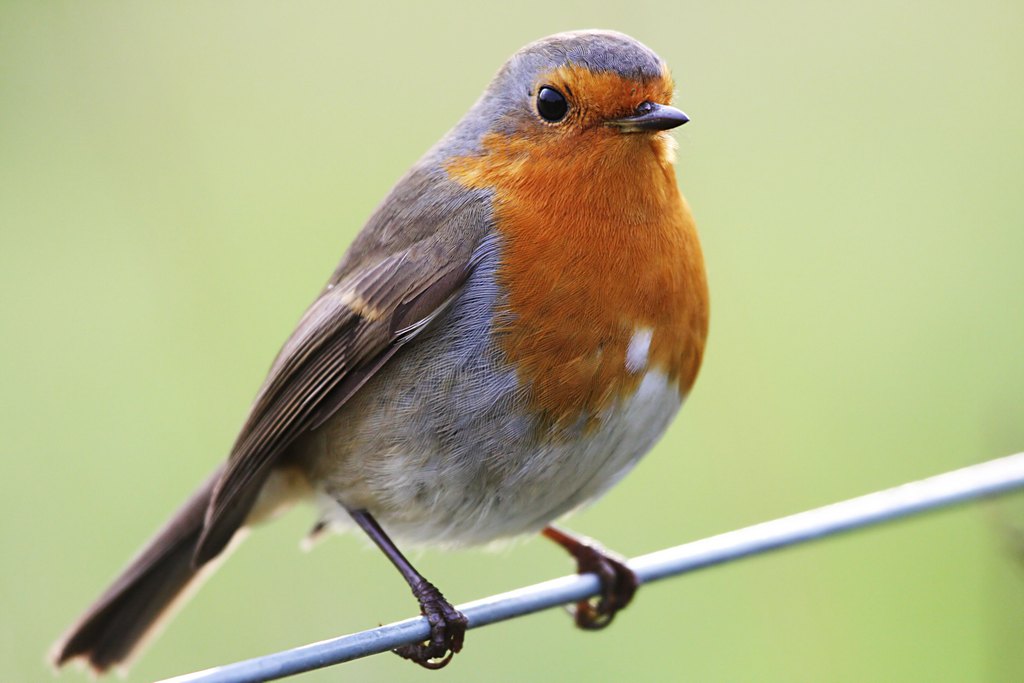
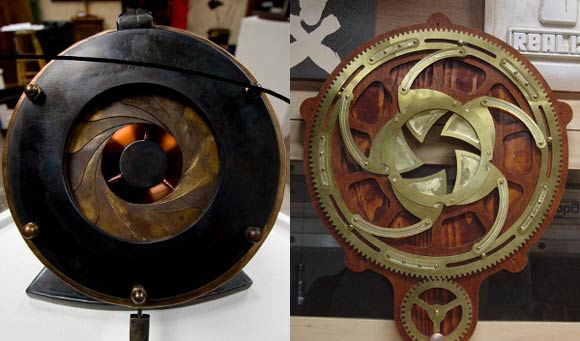
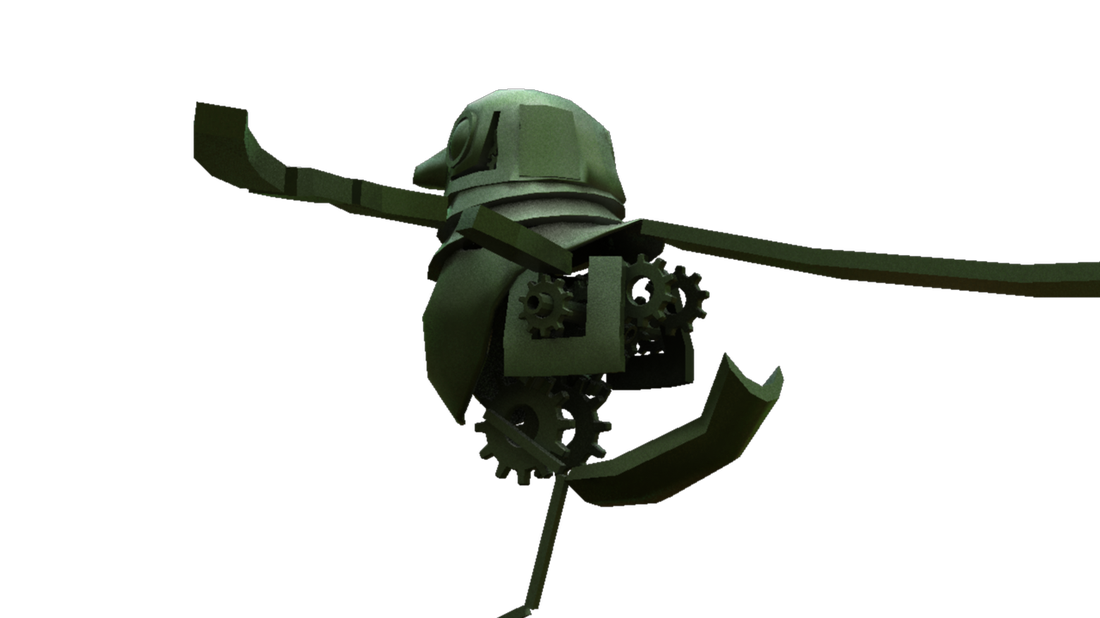
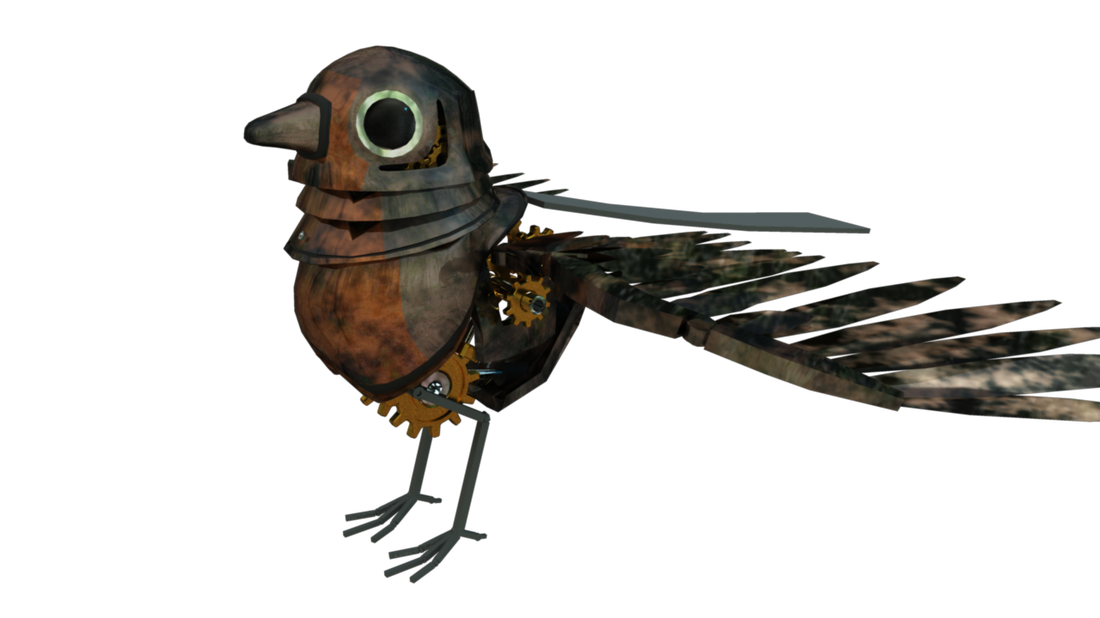
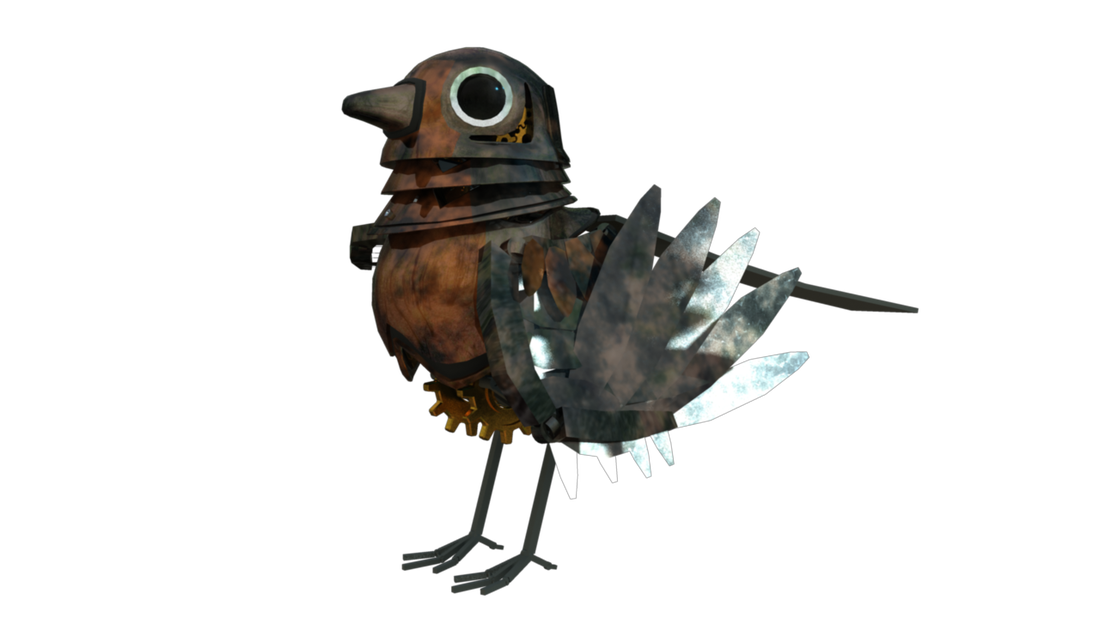
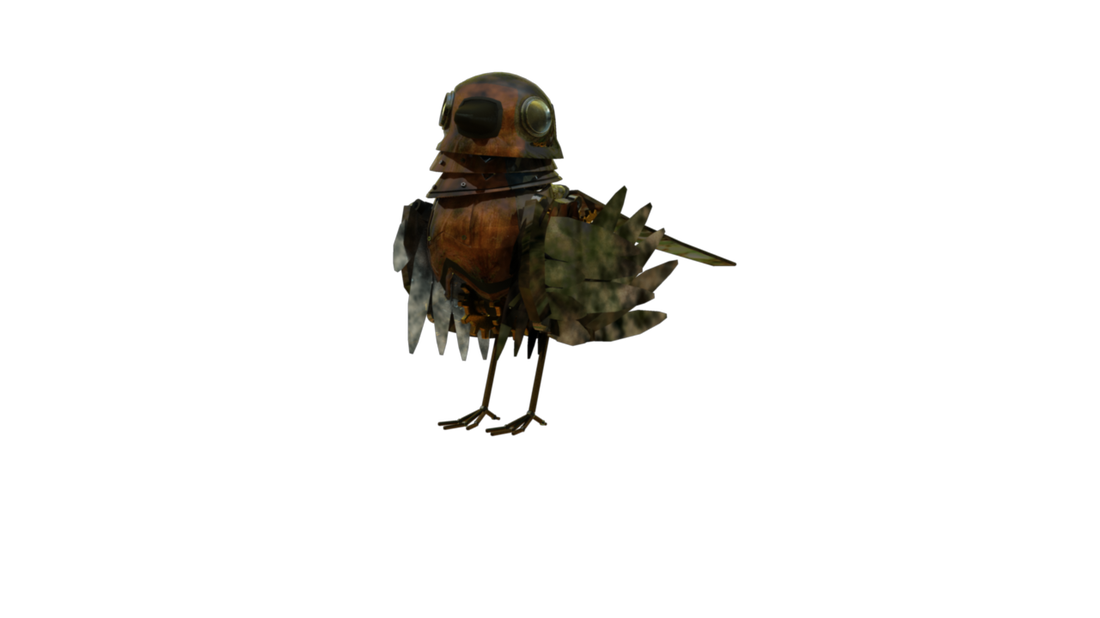
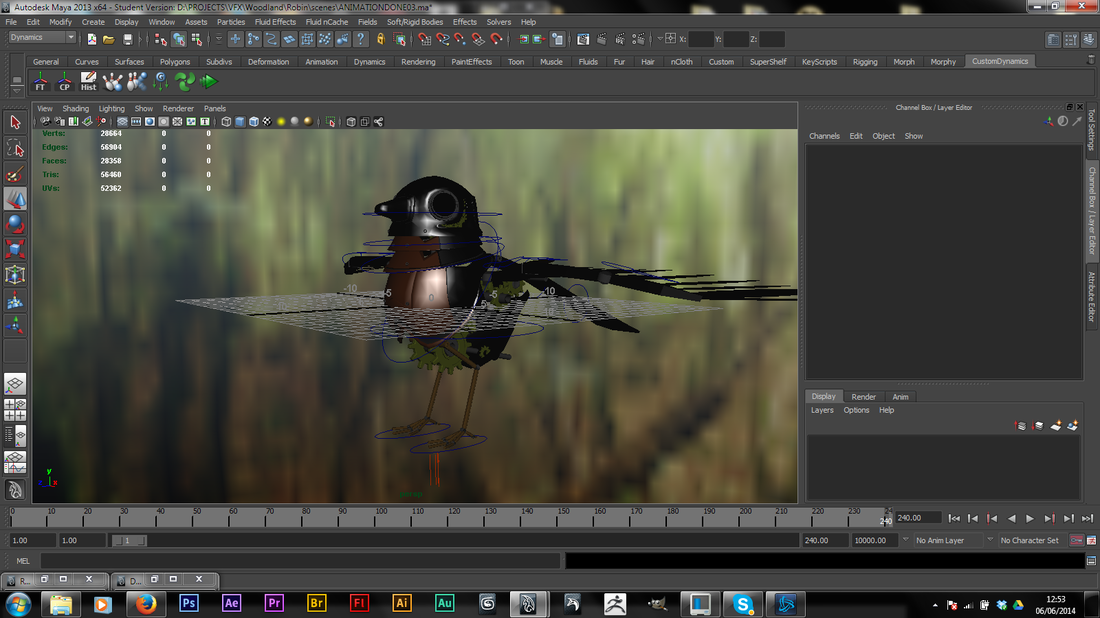
We ran a bunch of concepts and ideas off for the animals involved, but I settled on creating a mechanical robin, while Elly opted for her idea of a squirrel!

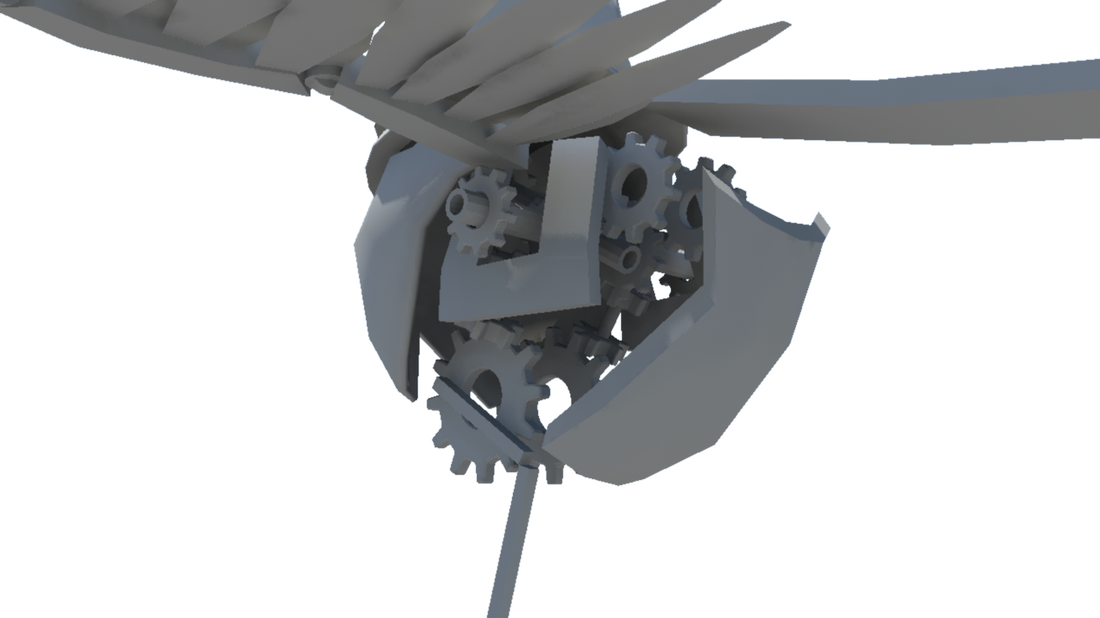
I wanted to make the robin appear solid, but also show his inner workings, the intricate details will be reflective and should therefore enhance the HDR reflections.


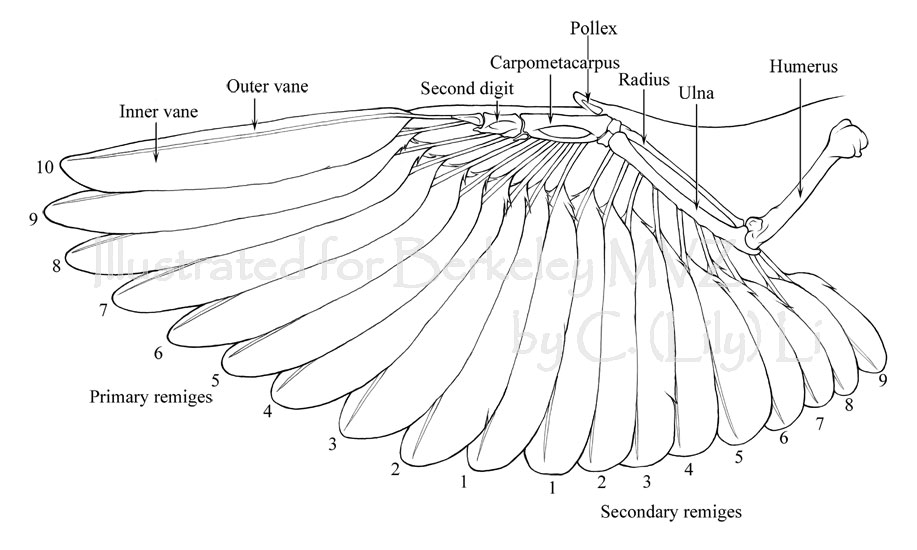
Researching birds
I had no idea how birds' wings folded prior to this project, so I looked heavily into avian anatomy. I was surprised that what essentially happens is that they fold what corresponds to our upper arm forward, before bending their 'forearm' down, and then their 'hand' / 'fingers' fold back along their body.

our footage and film.
This is Elly's edit of her footage from our two days filming, the squirrel appears from 0:20-0:32. The Robin appears at the end from 0:40-0:53.
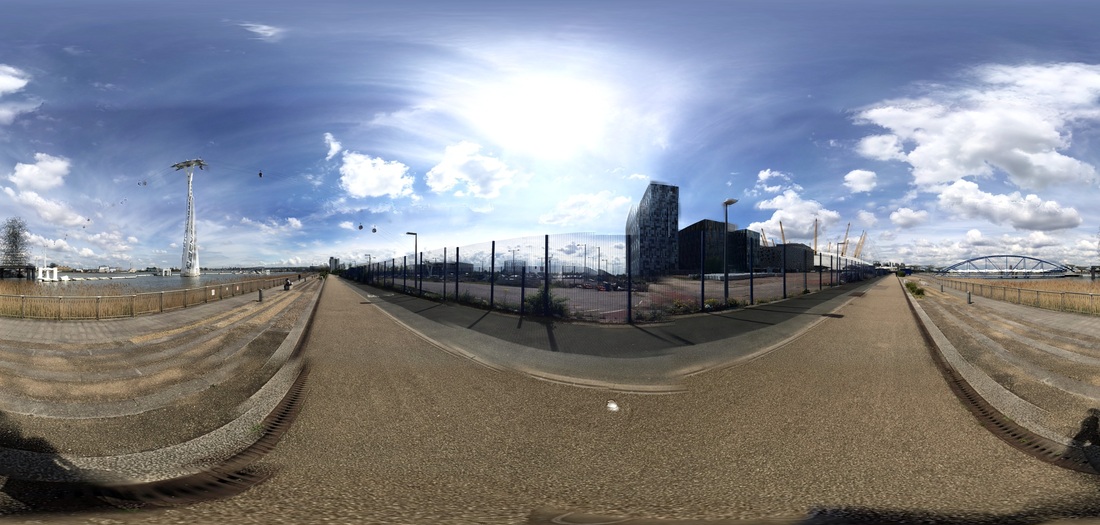
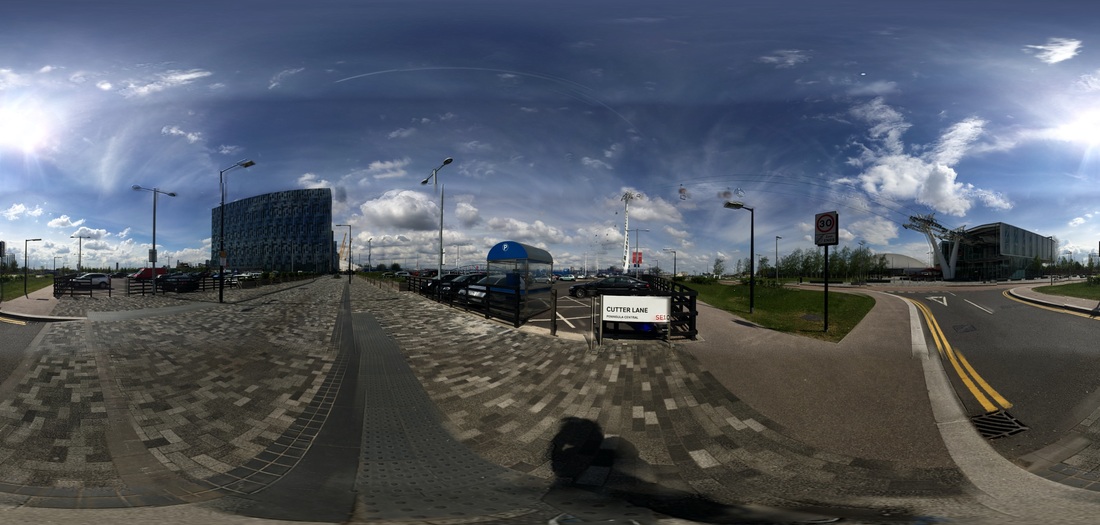
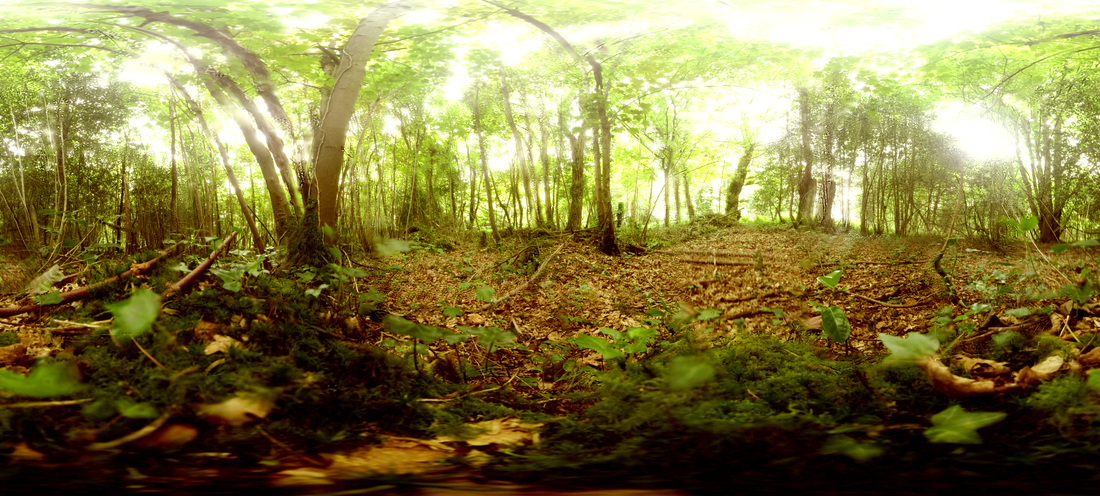
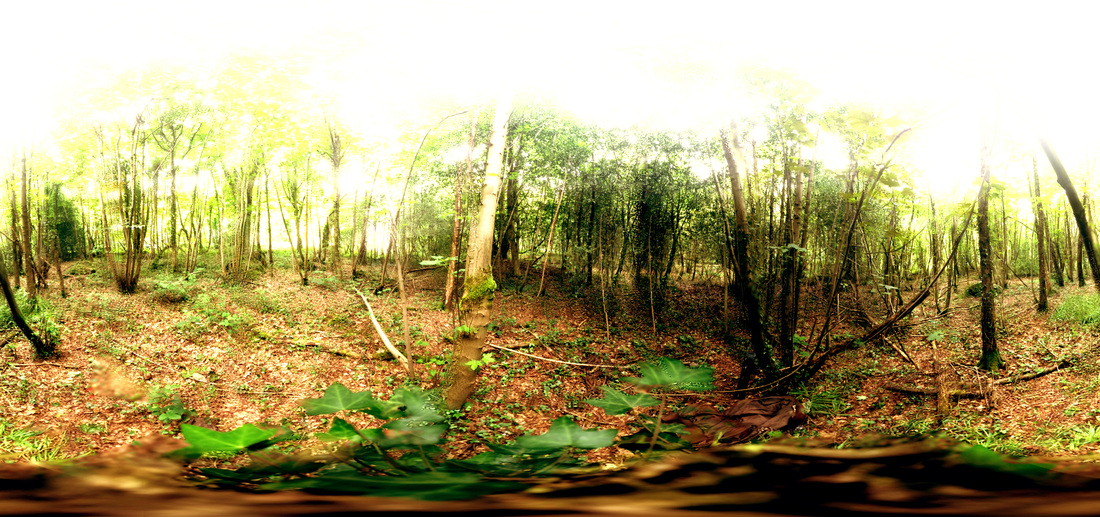
Below are the panoramic photos we took and plan to use for the Mental Ray IBL spheres, I colour corrected both of them to match the exact shots they are used in.
Below are the panoramic photos we took and plan to use for the Mental Ray IBL spheres, I colour corrected both of them to match the exact shots they are used in.
starting to Apply shaders, rough textures and bump maps
I started to apply shaders and see how they responded with the Image Based Lighting applied.
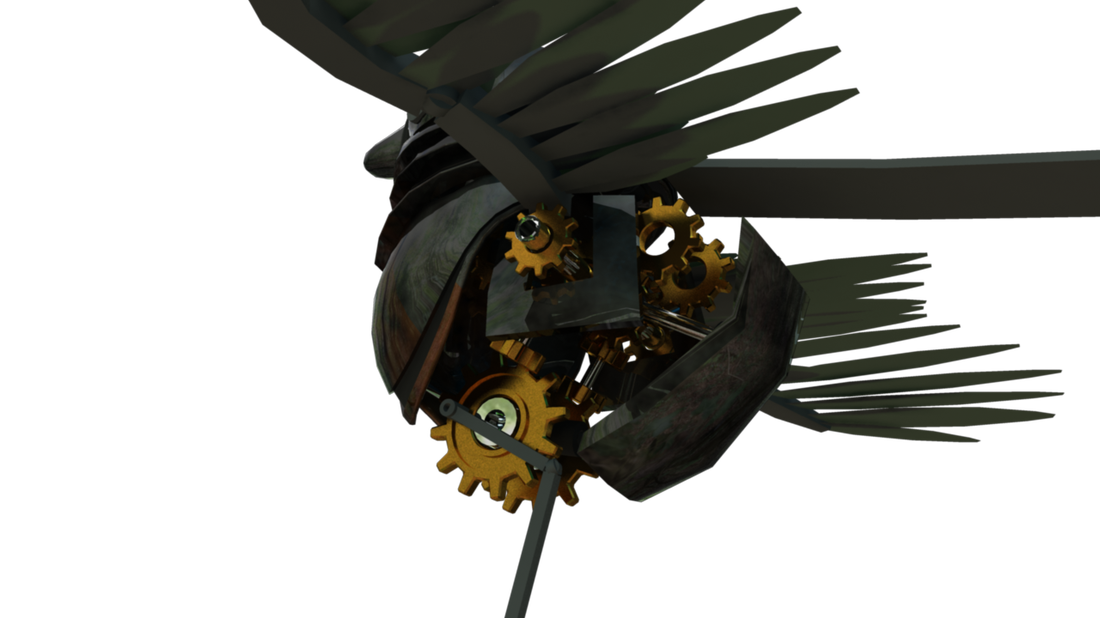

For the final touches I added weak bump maps to the metals, the Copper cogs responded to this really well, and in the final composition at 1080p, they actually start to look real!
Practicing early compositing tests in Photoshop

finalized textures and shaders, ready for compositing.

Starting the compositing with stills

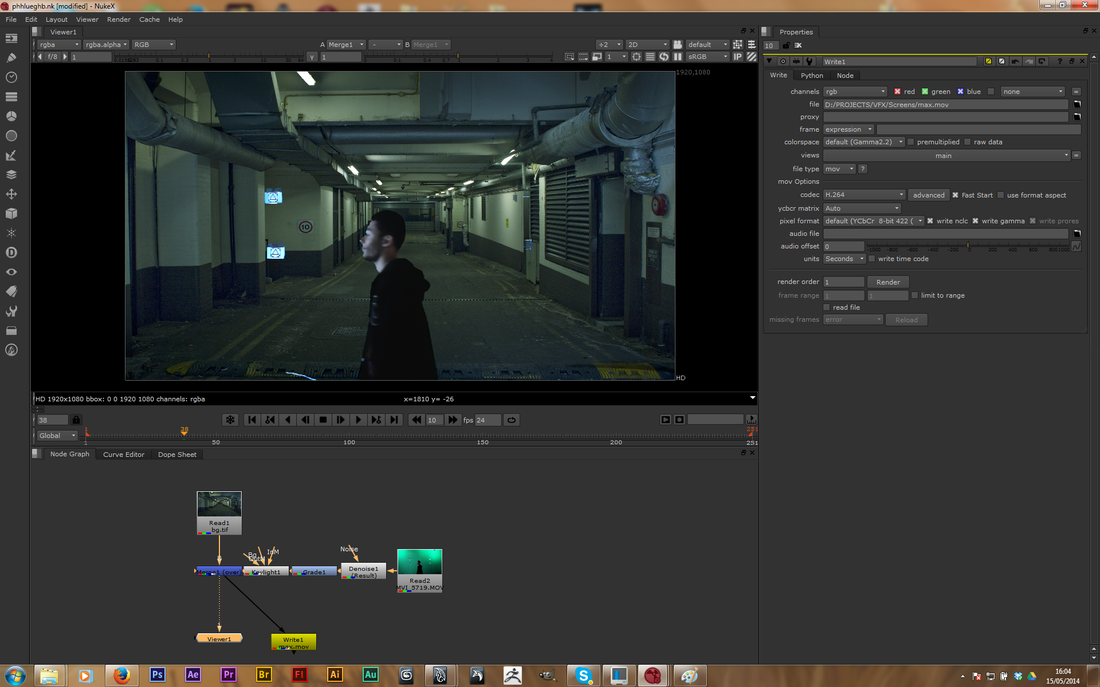
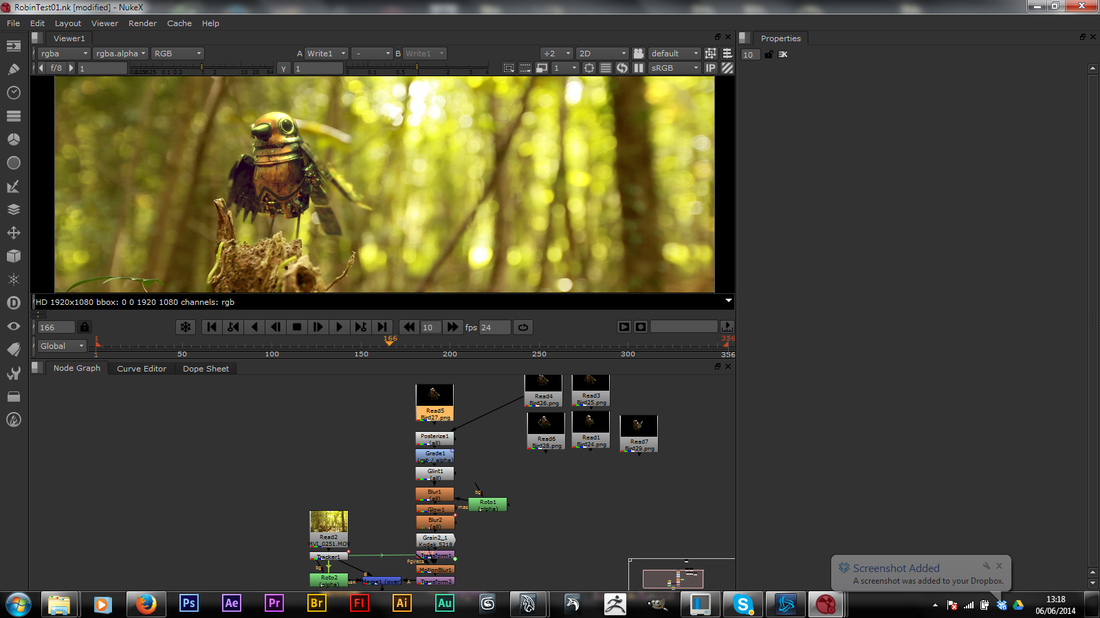
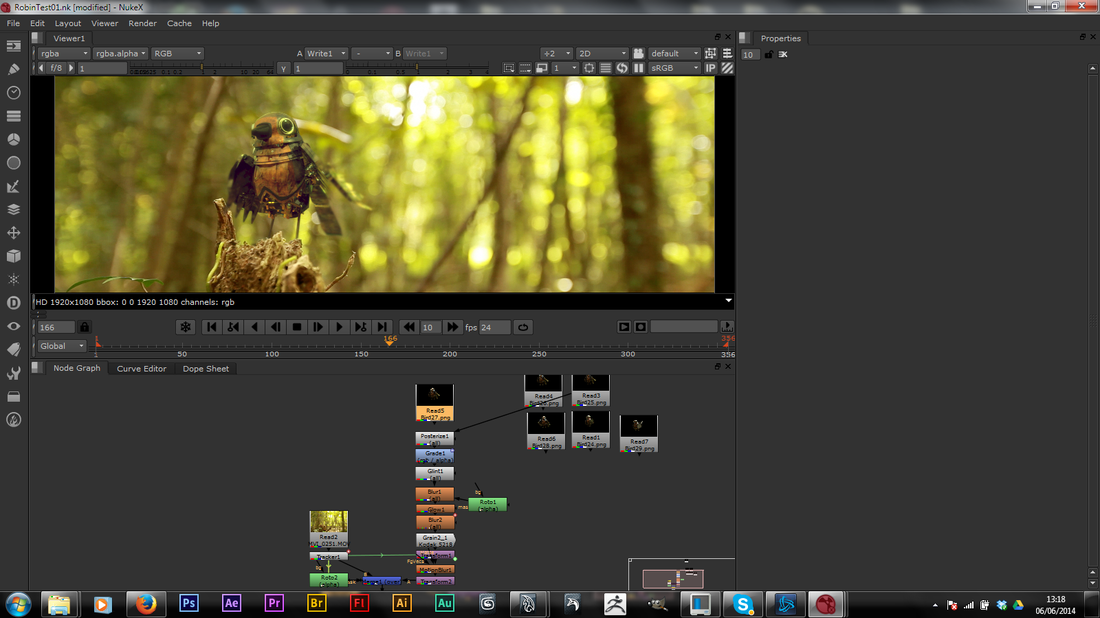
To make sure I had the lighting and render settings right, I ran off dozens of still renders and plugged them each into my Nuke script. I did this for all the shots that we had. So before we'd even rendered the final animations, I would have all the Nuke scripts finished.
This gave us an incredibly quick workflow, as we were able to effectively finish the project before we even had the renders out of Maya. All that had to be done after the batch renders finished was to plug them into the Nuke scripts and we would be done.
This gave us an incredibly quick workflow, as we were able to effectively finish the project before we even had the renders out of Maya. All that had to be done after the batch renders finished was to plug them into the Nuke scripts and we would be done.
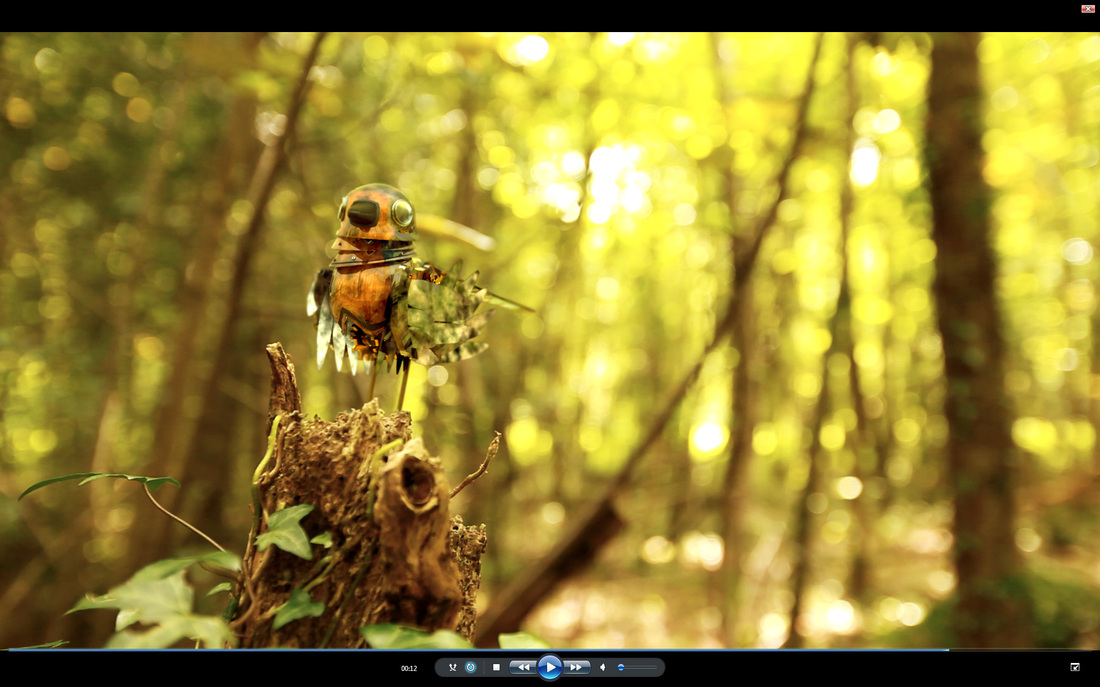
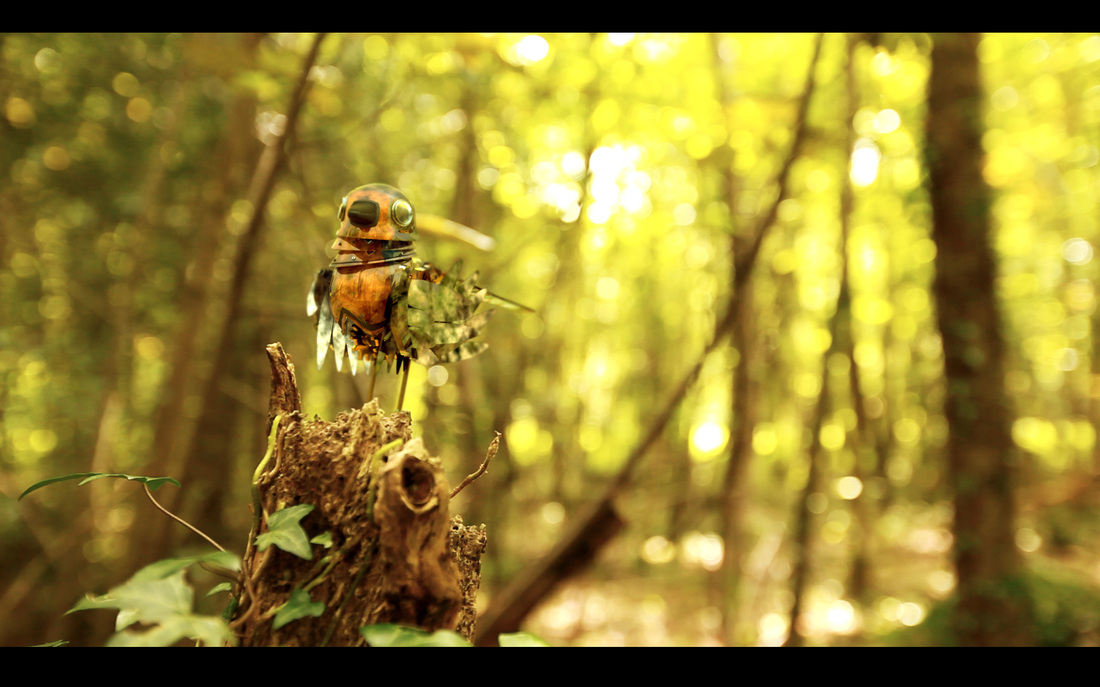
For all of the Nuke scripts I aimed to match the object to the raw .mov files from our film shoot, this way, I could grade the entire film, with the 3D elements already composited in.
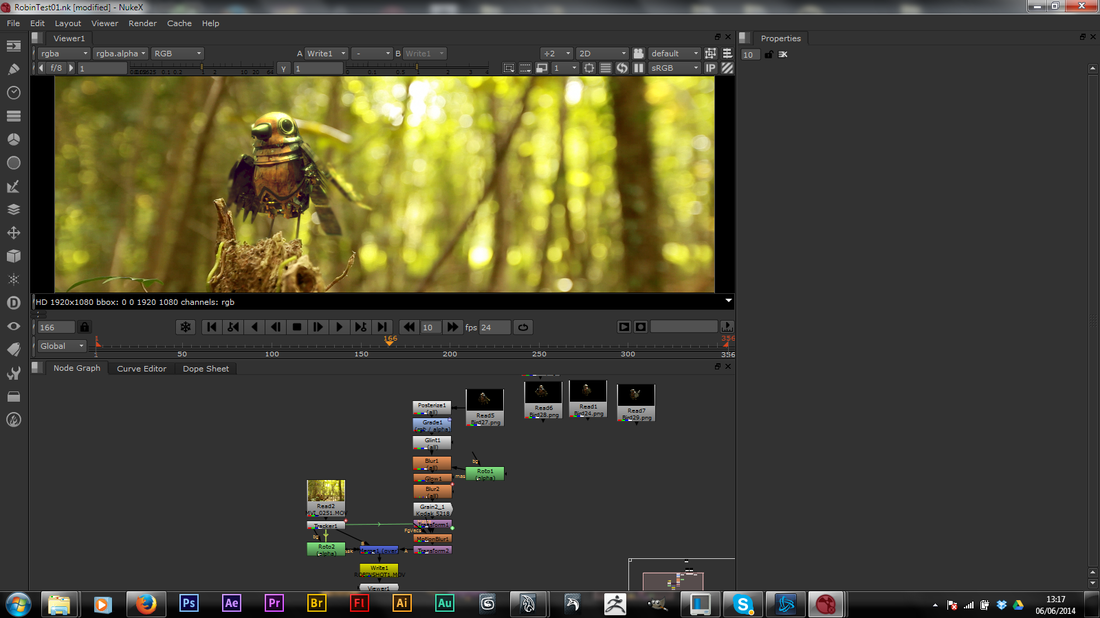
I added some glow and glint to the robin for the final touches. This really made it fit the scene as it's lights started to bleed into the image.
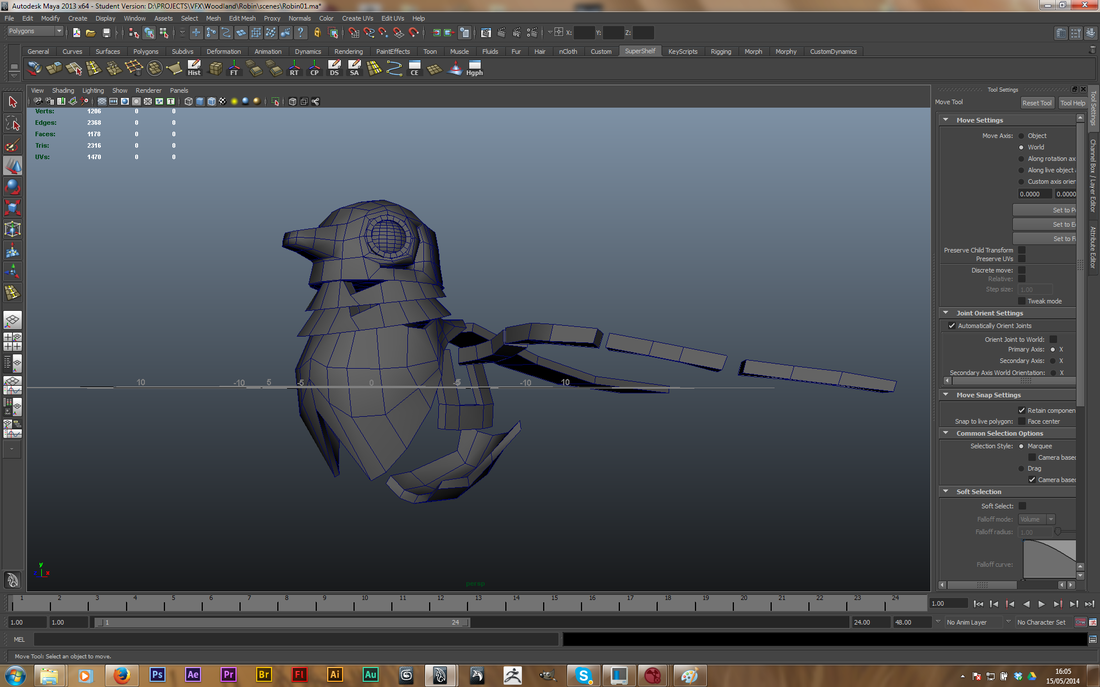
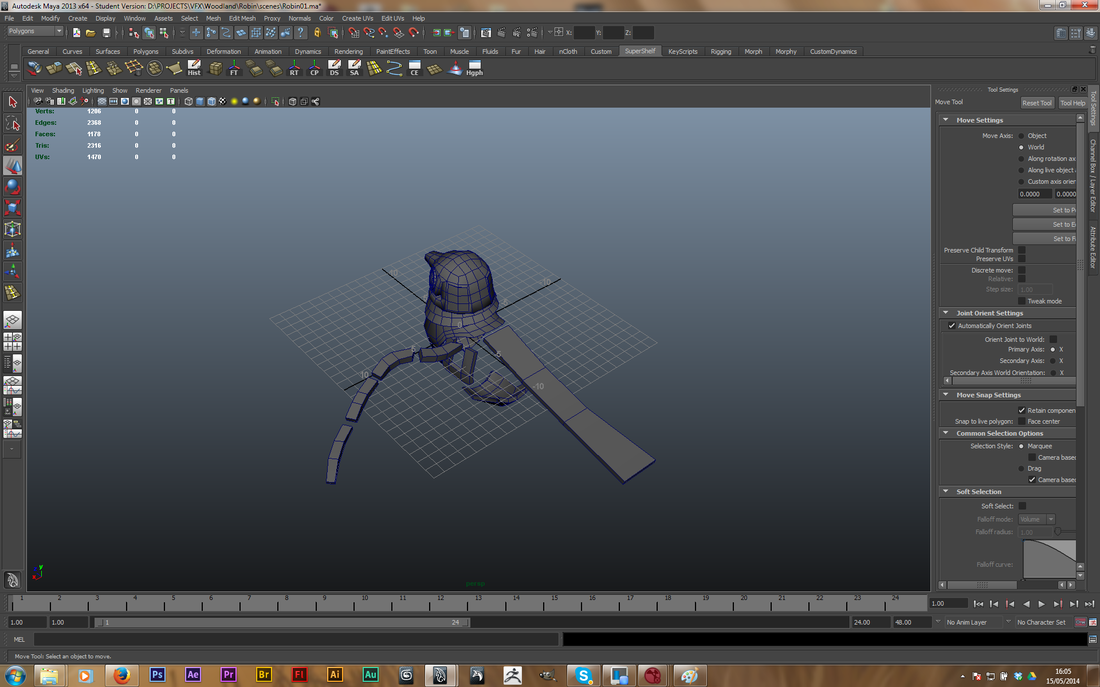
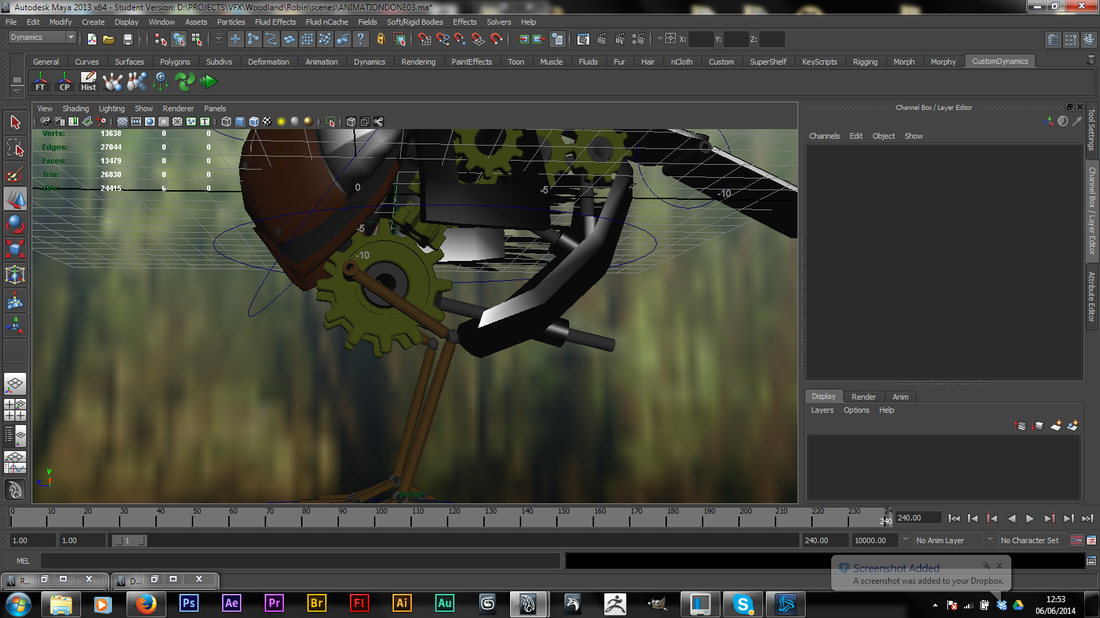
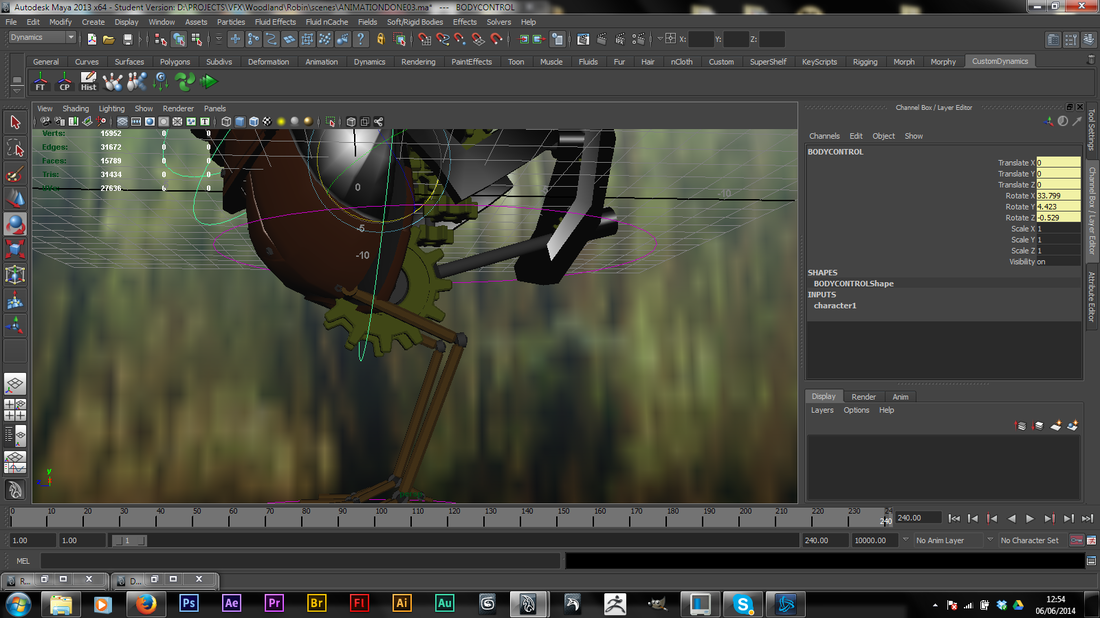
rigging the models for Animation.
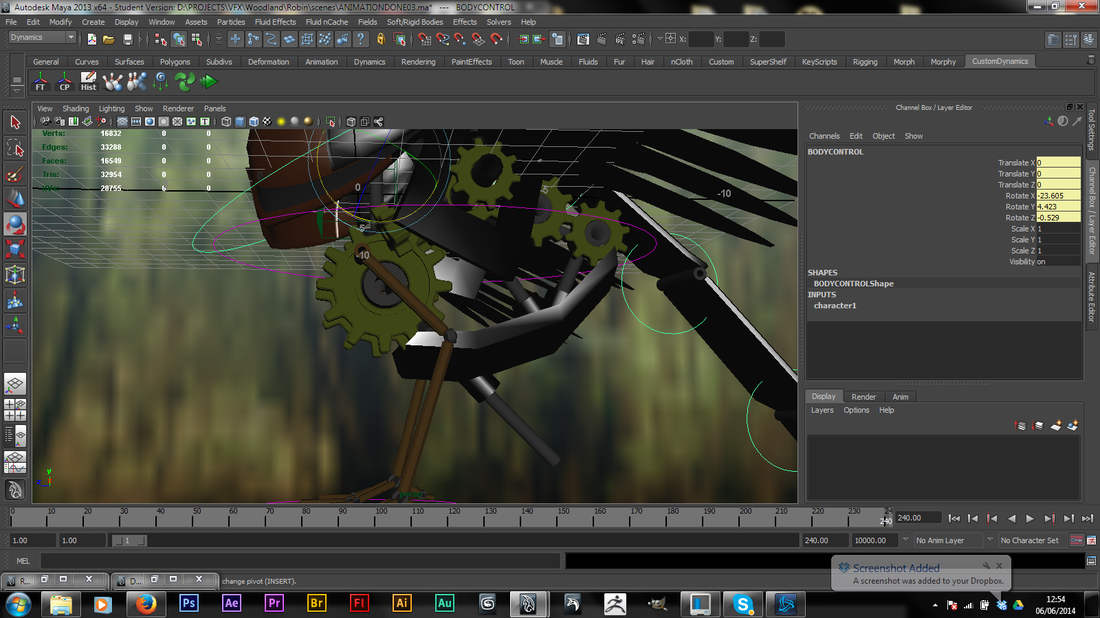
The robin is rigged so that all his plates can interact with one another, everything is based on FK joints except for the legs which are IKd with foot locks to hold them in place, to add a smoothness to the animation. The wings slot perfectly into their folded position. All the control shapes were orient-constrained to the joints, allowing me to rig and animate it quickly.
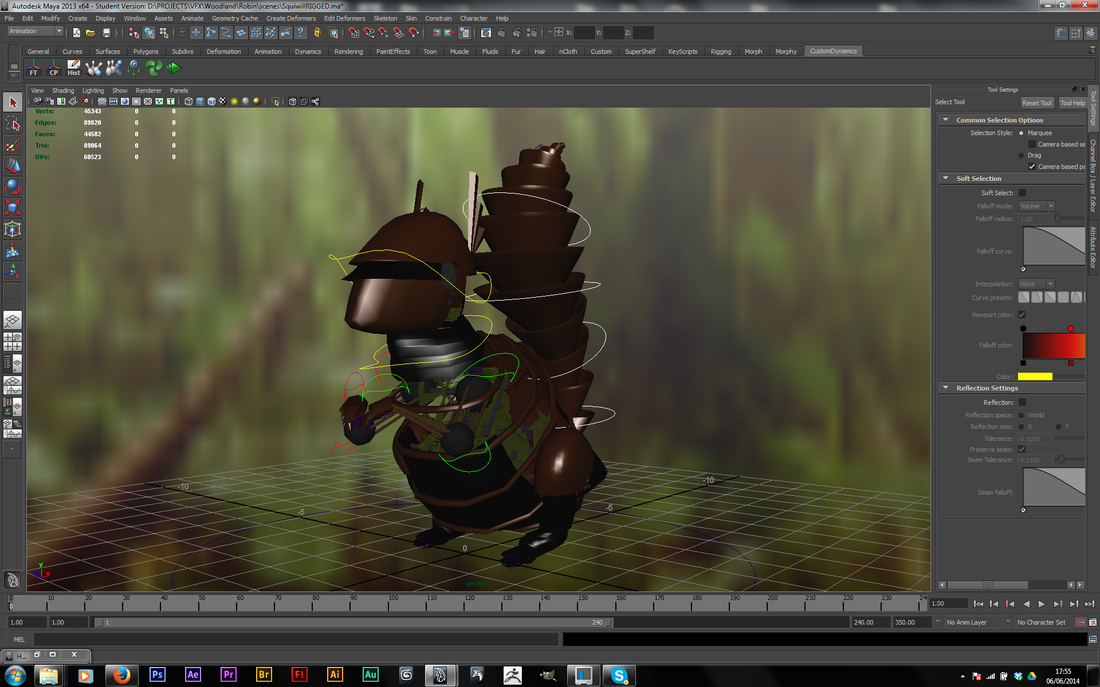
Elly's squirrel was quite simple to rig, the appendages were all parented to the joints they corresponded to, and then I set up control shapes for each joint, allowing me to rig it really quickly for a quick animation turn around.
As the shots below show, I used aim and parent constraints to create a piston which moves dynamically with the rig. As I rotate the body up and down, the piston slides through the back plate of the robin. This allows the legs to stay in the same place, the top IK handle for the legs is actually parented to the cogs, which act as the Robin's thighs, as the piston moves back and forth, the cogs turn slightly, meaning that his legs movement reacts to the movement of his whole body. When he is animated, this will help add to keeping his motion fluid, even though the piston won't be visible from the final angle.
First test shot finished.
so after finishing the rigging and the animation, it was simply a matter of rendering the whole sequence. I rendered the animation out as an uncompressed TIFF sequence. Then I just put the sequence into nuke and plugged it into the script that I'd created using the stills, allowing me to complete the entire process as soon as the rendering was done! The way that I could use Nuke like this really impressed me, and I felt rewarded for the time that I had put into learning how to use it, especially considering how I had been so daunted by it at the start that I had considered reverting to After Effects.
So after rendering out the sequence from Maya, the compositing process only took me a short time as all I had to do was replace the still .png file with the sequence of TIFFs.
So after rendering out the sequence from Maya, the compositing process only took me a short time as all I had to do was replace the still .png file with the sequence of TIFFs.
I was really impressed with how the shot turned out, the grading tools in Nuke made it so easy to match the colours once I knew how to use them. This led to a really great shot.
Finishing the rest of the shots
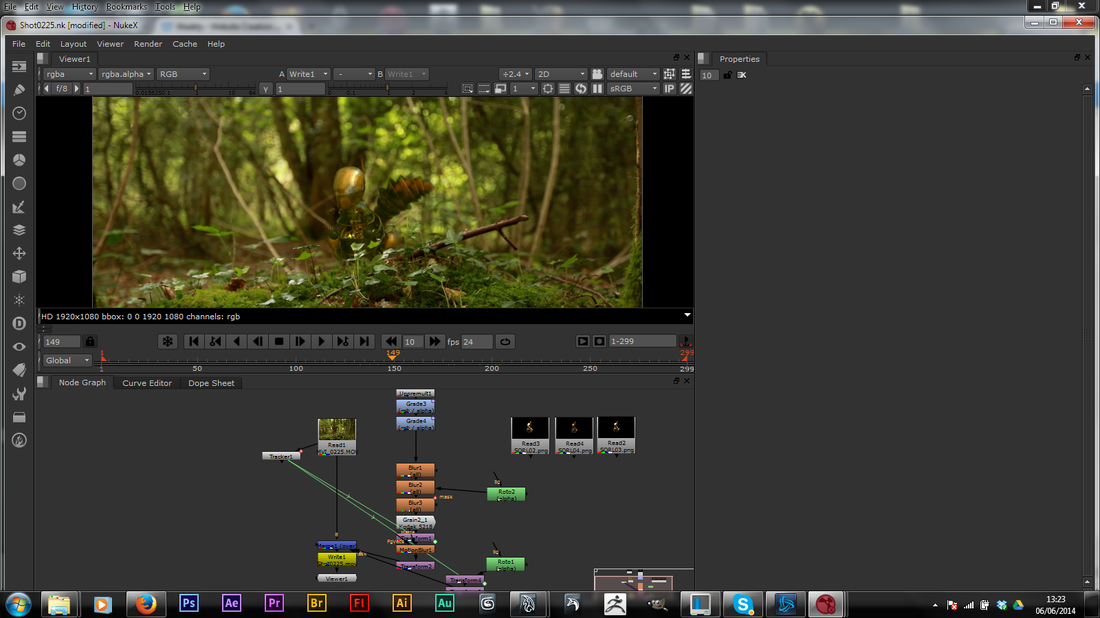
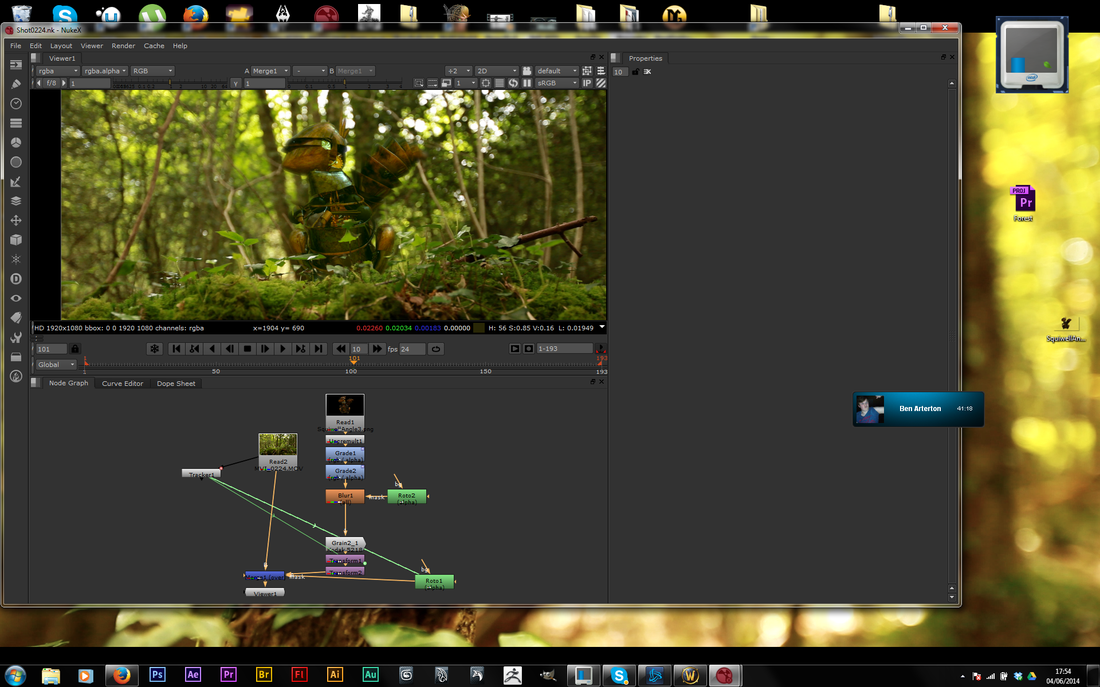
To begin, I motion tracked each of the shots and used a roto node to place the 'actors' behind their greenery
After the tracking and roto, I started by grading the overall values of the image, then I used another grade node to adjust each colour individually, letting me match the element to the plate. I used a roto mask over a blur node to soften the edges of the squirrel and robin, on the robin's shots, you can see that his tail behind him is out of focus thanks to this, on the shot above of the squirrel it allows the light behind him to spill onto him. Finally I applied a motion blur node after the motion tracked transform node, which really made the squirrel and robin fit into the shots. The motion blur was set to simulate our Canon 5D Mk II's 0.5 shutter speed and Nuke handled it perfectly!
There were six shots in total, three of my Robin and three of Elly's Squirrel. The squirrel was harder to match to the backplate, as we couldn't seem to get the lighting right in Maya, but in the final scene they turned out rather well, especially the 3rd shot that looks up at the squirrel from below. The camera tracking on that shot was perfect thanks to Nuke again, which makes him look like he's really there. In fact, the last shots of the squirrel 'and' the robin are definitely the best 2 shots, which is a good thing I guess, as they're the ones that leave the impression on the viewer!
The first two shots of the Robin and the Squirrel don't give much screen time or space, but they set the final shots up nicely.
Shot breakdown
Final vfx film 'forest'
Forest from Elly Hazael on Vimeo.
The final film comes together nicely, I worked with Elly to grade and colour correct the shots, the two wide pans needed to be brought much nearer to the colour of all the other shots, as they were both washed out.
Nuke became invaluable once i was able to use it, the UI was daunting at first but it takes barely any time to learn it and after that it becomes an incredibly easy and lightweight program to use!
I don't think that there's anything we would have done differently, I may have spent more time on my robin to get the rigging perfect, but it worked out fine anyway.
