Morpheus Rig
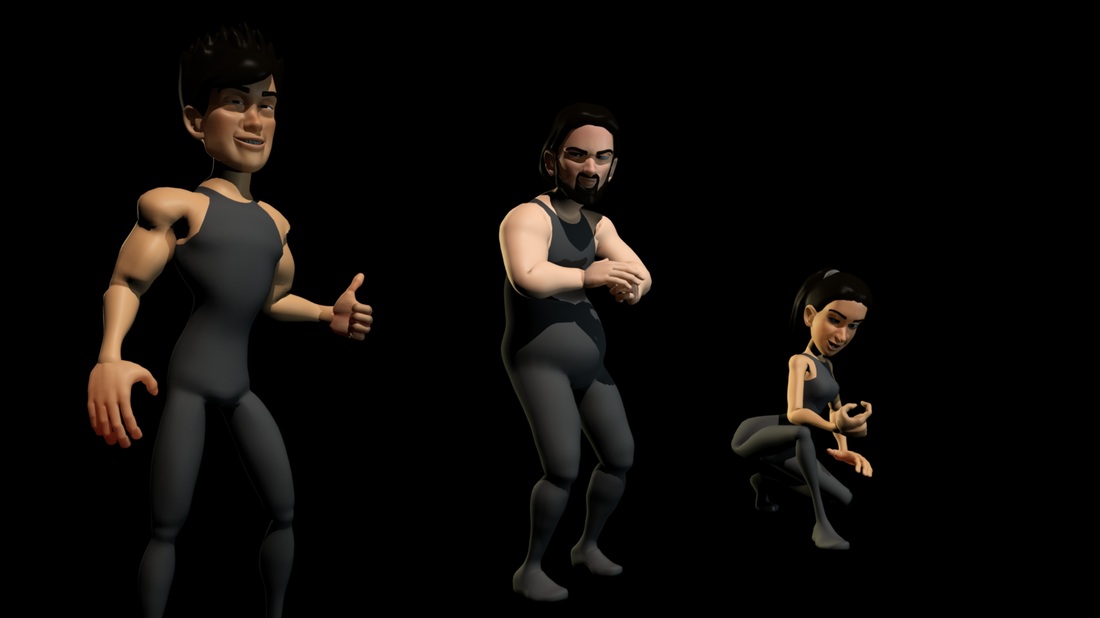
We started looking at the Morpheus Rig and how to edit it's appearance. After creating three unique characters, we posed them in various poses.
I found the rig controls fairly intuitive and like the way the rig can actually 'morph'!
I really tried to push my three character designs for the rig. Trying to achieve something completely different for each character...
I found the rig controls fairly intuitive and like the way the rig can actually 'morph'!
I really tried to push my three character designs for the rig. Trying to achieve something completely different for each character...
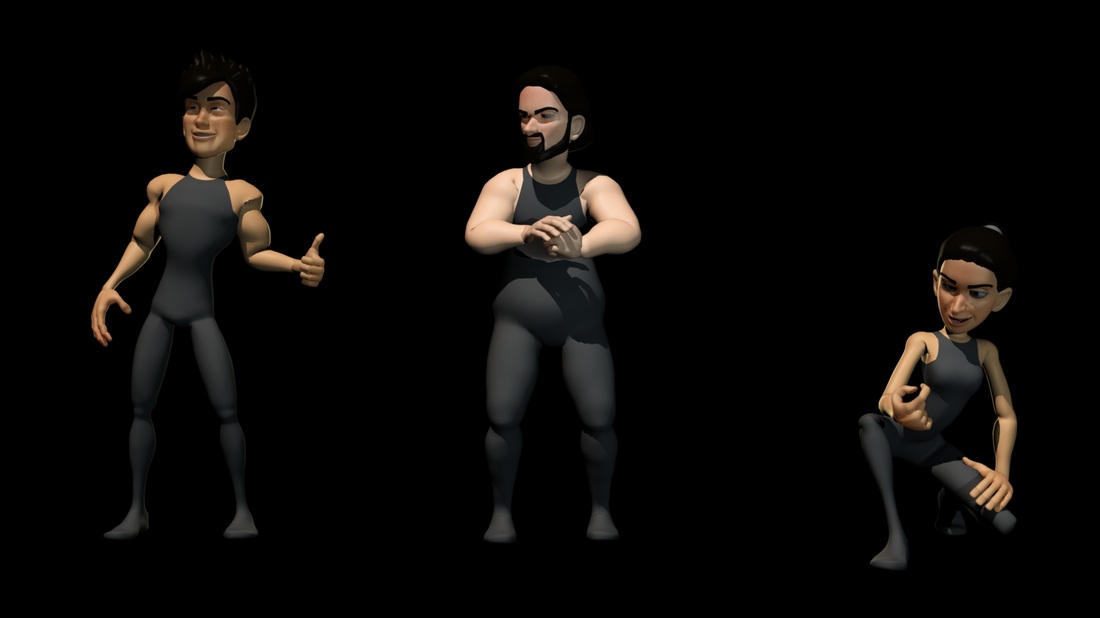
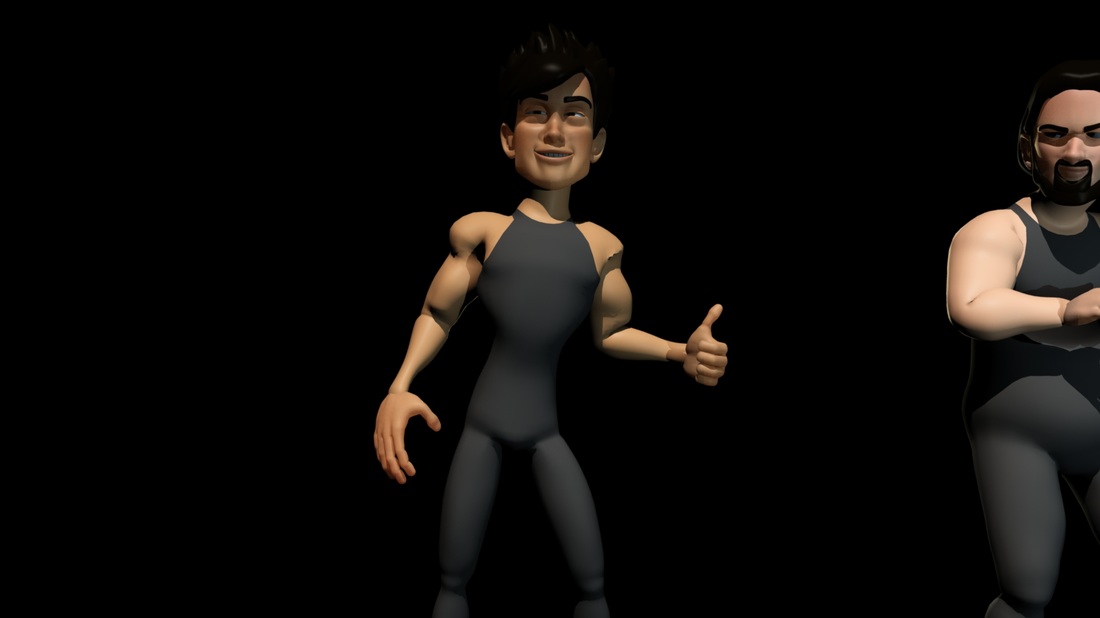
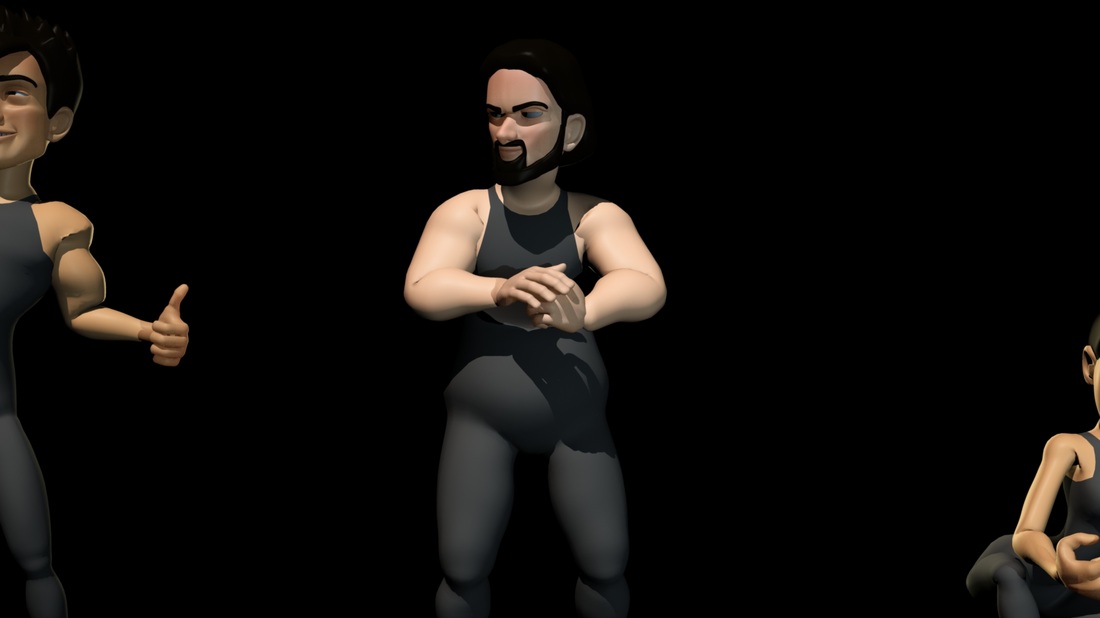
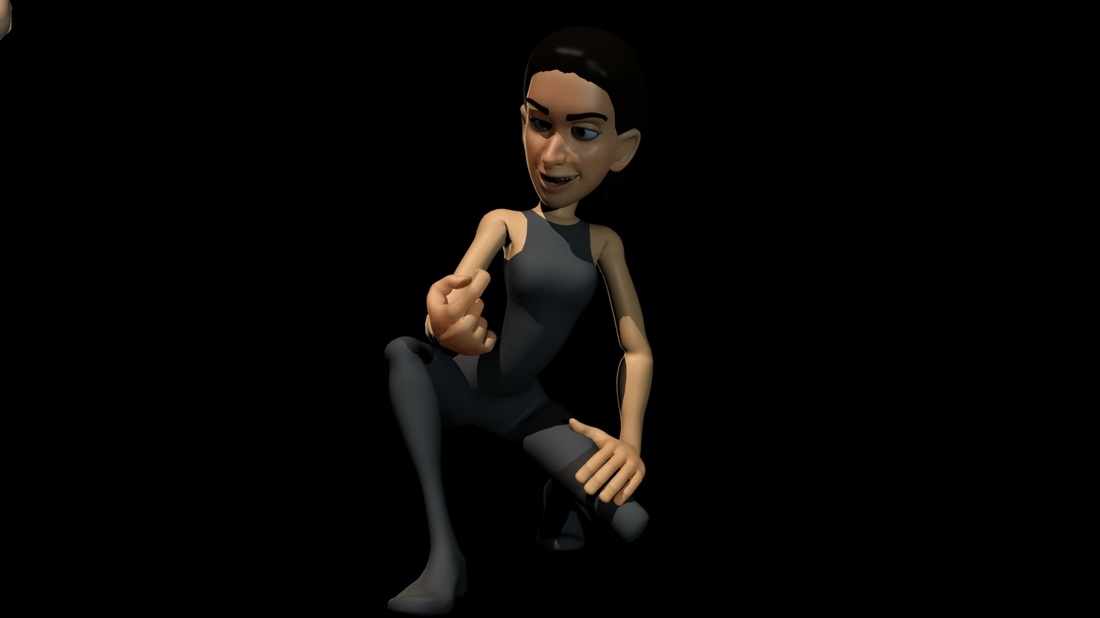
I tried to vary the poses and figures of the characters. They show a well built physique next to a large one and a skinny female one. I tried to match the personality of the poses to the characters. The built guy seems arrogant and vain. The large guy is aggressive, and the skinny one is diminutive, yet still confident.
You feeling alright there phil
This was our first look into lip sync animation. I tried to bring a big emphasis to the fact that the whole head moves about as a character talks.
Not only that, but everything in the face, every muscle and millimeter of skin is moving when the face does anything at all, from smiling, talking, shouting, to barely moving at all.
Not only that, but everything in the face, every muscle and millimeter of skin is moving when the face does anything at all, from smiling, talking, shouting, to barely moving at all.
facial modelling
Our lessons with Amin introduced us to facial modelling.
I found it incredibly helpful in developing a clean and efficient workflow for all kinds of modelling, let alone facial modelling. I think I really picked up on how to try and keep all the polygons in the mesh of an equal size, in order to make the model more uniform and easier to UV map, as well as just to keep it generally efficient.
All my previous modelling attempts seem quite slapped together in comparison to what we learned.
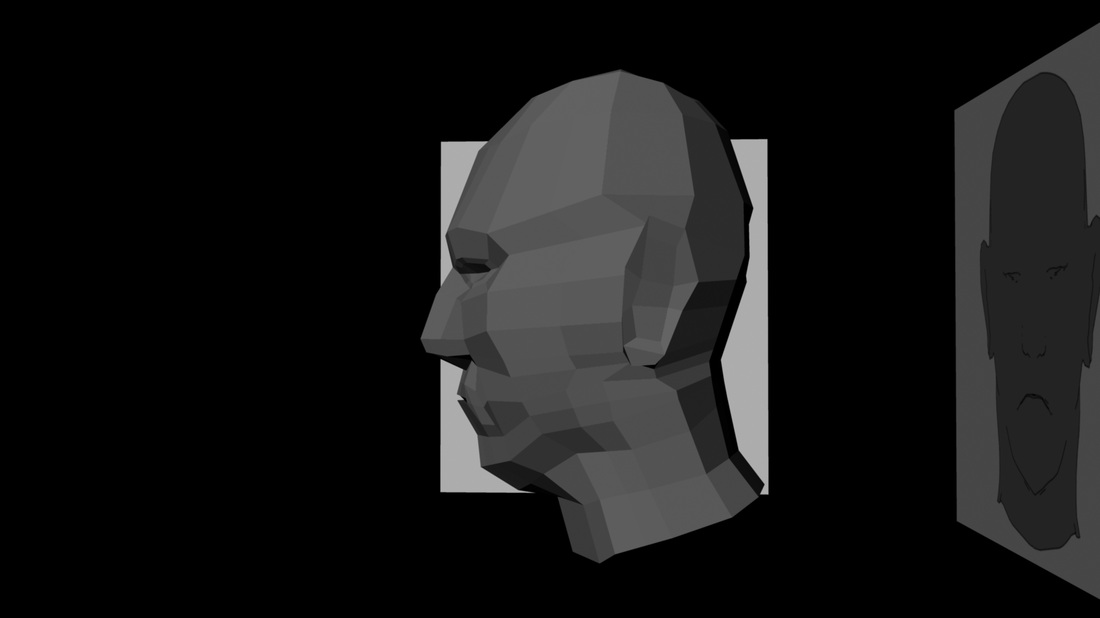
This is the basic head mesh that we composed in Maya.
I set the normals to show hard edges to show the wireframe.
I found it incredibly helpful in developing a clean and efficient workflow for all kinds of modelling, let alone facial modelling. I think I really picked up on how to try and keep all the polygons in the mesh of an equal size, in order to make the model more uniform and easier to UV map, as well as just to keep it generally efficient.
All my previous modelling attempts seem quite slapped together in comparison to what we learned.
This is the basic head mesh that we composed in Maya.
I set the normals to show hard edges to show the wireframe.
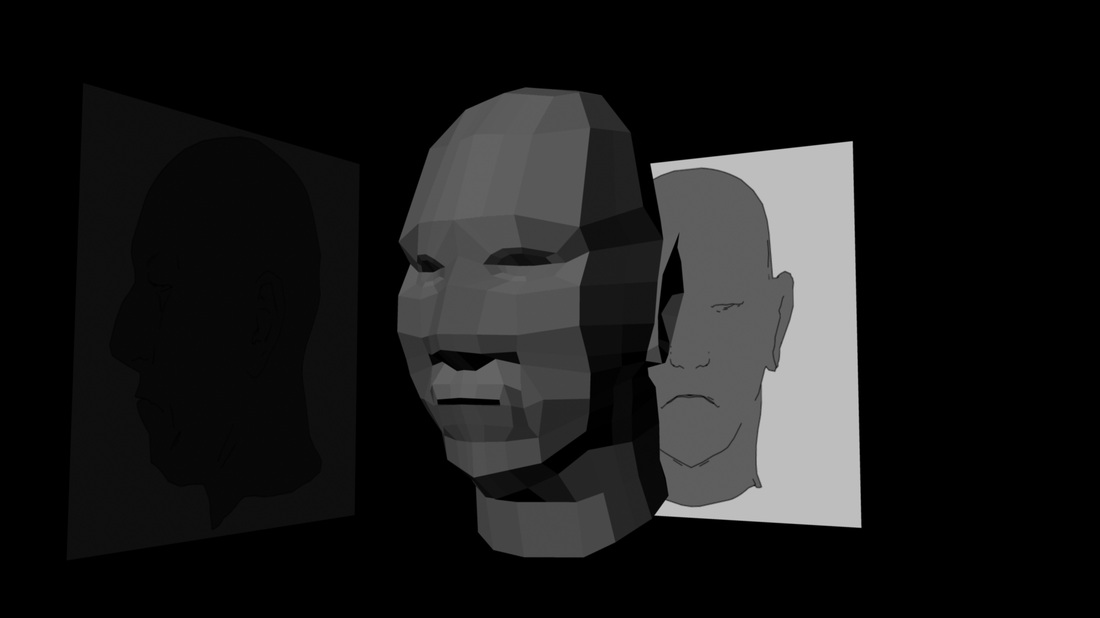
I then put it into Sculptris and continued modelling it, after smoothing it by subdividing I ended up with this below.
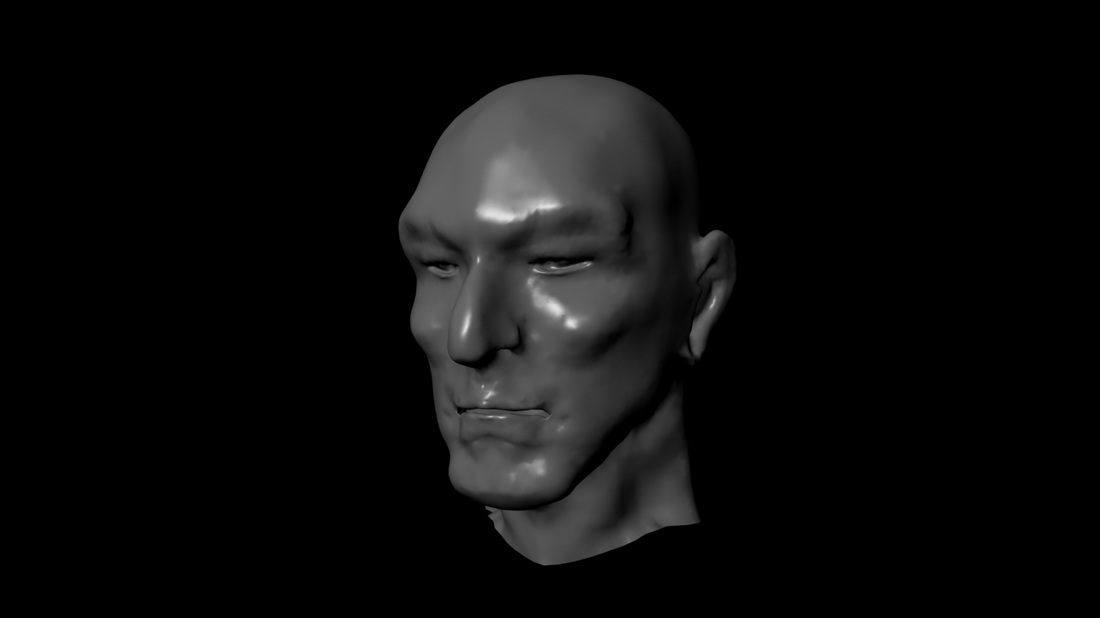
I had some prior experience with Autodesk Mudbox and so I took the basic head mesh into Mudbox and tried to see what I could sculpt using that, over Sculptris.
The sequence below shows the basic head, then with a Sub Surface Scattering material applied to the head, and then with a texture and bump map applied over the SSS material.
The sequence below shows the basic head, then with a Sub Surface Scattering material applied to the head, and then with a texture and bump map applied over the SSS material.

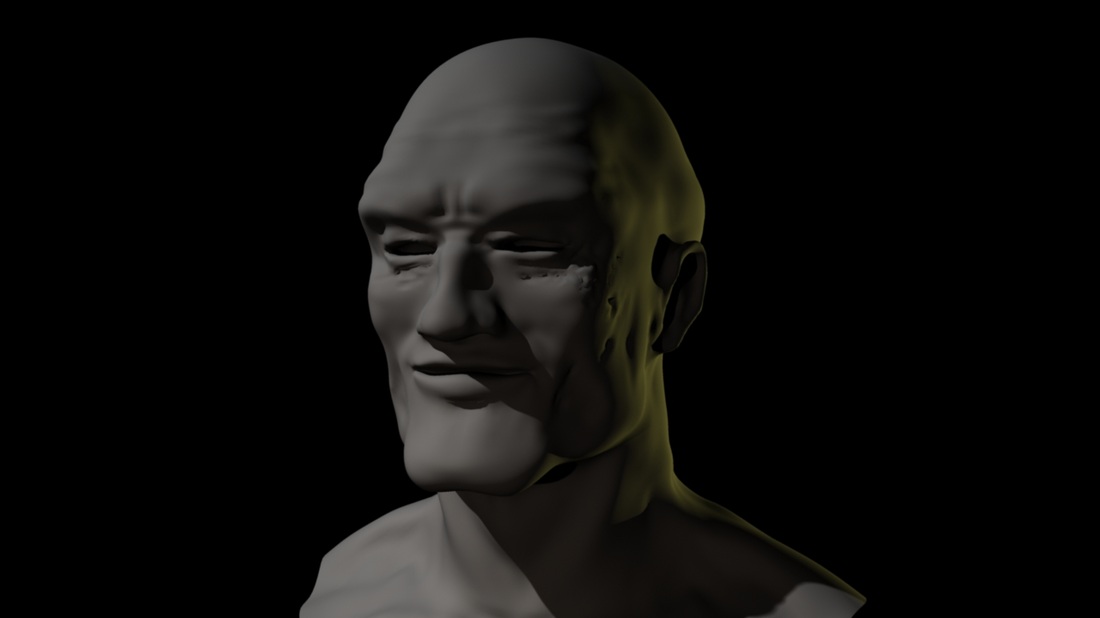
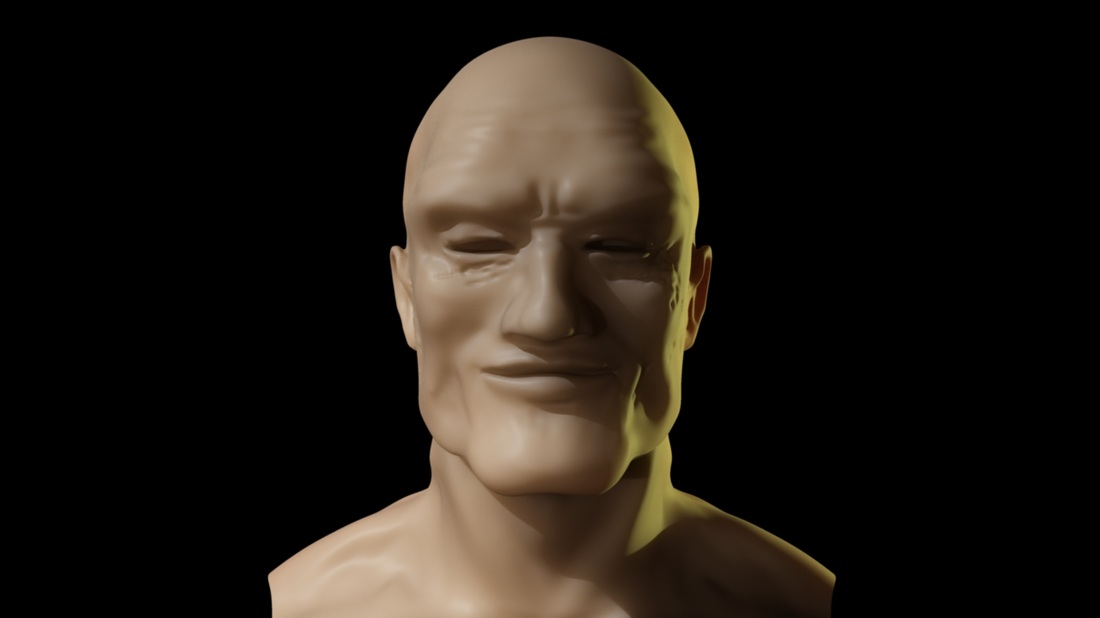
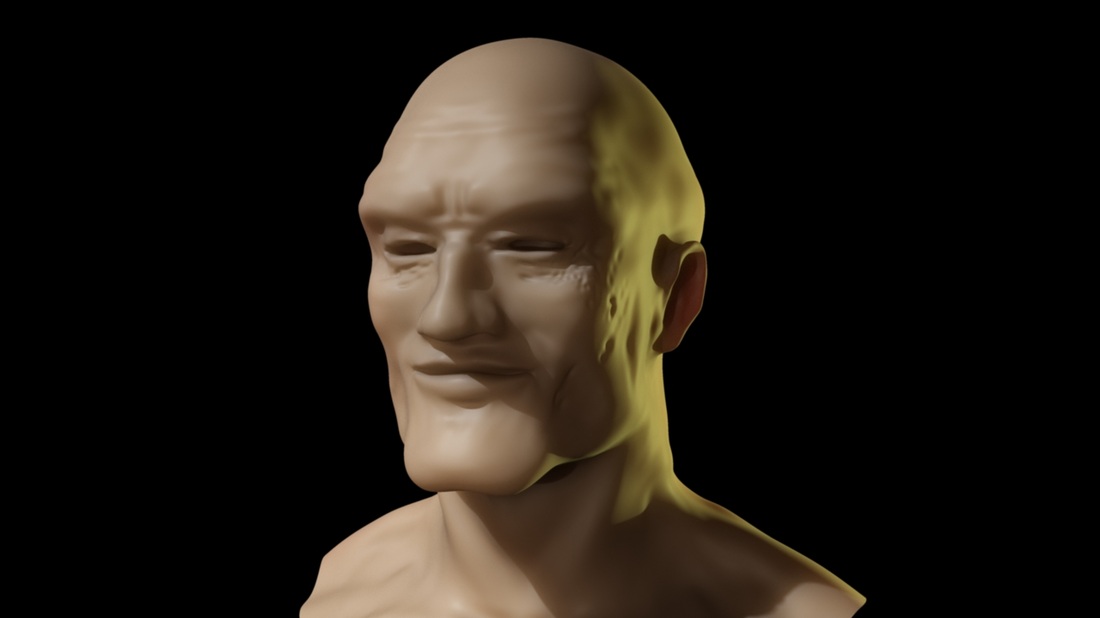
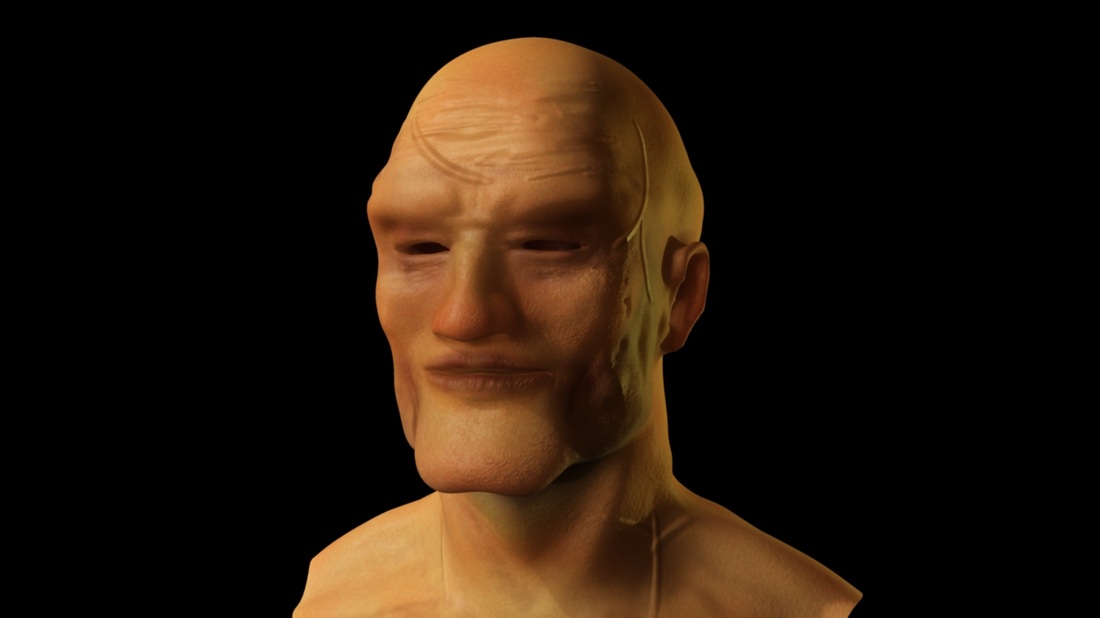
Personally, I dislike the way the colours came out in the textured head, but I can go back in photoshop and fix the saturation and levels in there. I fiddled around with the SSS specular weights to stop the face from looking too much like a wax model, it's still hard to get rid of that waxy quality though. It really shows through on the Morpheus rigs, they look remarkably like the plastic faced characters of Toy Story.
Below is a turntable of a face I modeled in mudbox and applied fur to, in place of hair.
Below is a turntable of a face I modeled in mudbox and applied fur to, in place of hair.
This head was partially inspired by the characters from Pixar's short 'la luna' that played before Brave in cinemas. The father's eyebrows are so heavy that they obscure his eyes. I also like the softness of the skin which is similar to Pixar, it seems 'toy story'-esque.
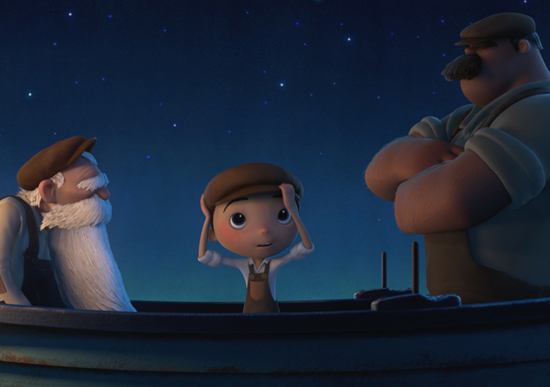
The minimalist approach to the characters holds a massive amount of charm and appeal for all audiences. I'd like to model more characters with this kind of 'Pixar'/'Disney' style and plan to over the next few months.
Audio for Performance piece
I picked the audio below from the TV series 'Firefly' by Joss Whedon.
I chose it ideally because it has no actual actors, and therefore I would have to make my actors do and entirely new thing. I would have no reason to make them act like they do in the dialogue.. Seeing as they are not toy dinosaurs.
It's a surreal choice but I like the challenge that it presents in having to create the scene from scratch.
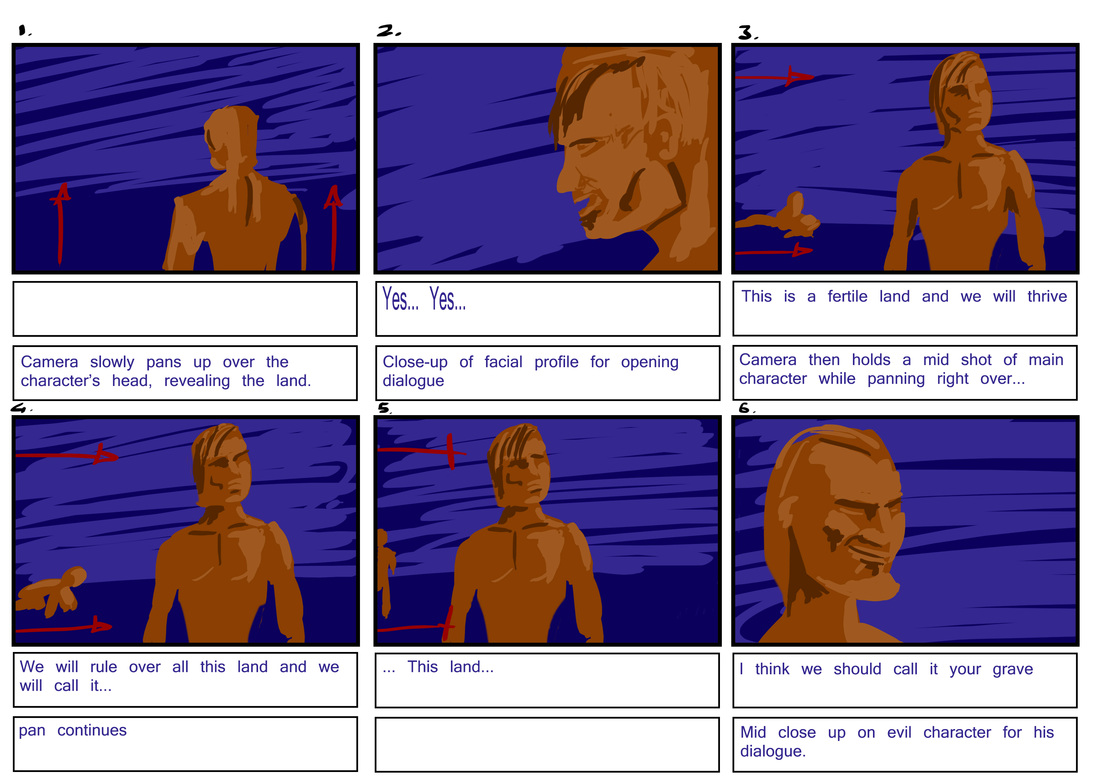
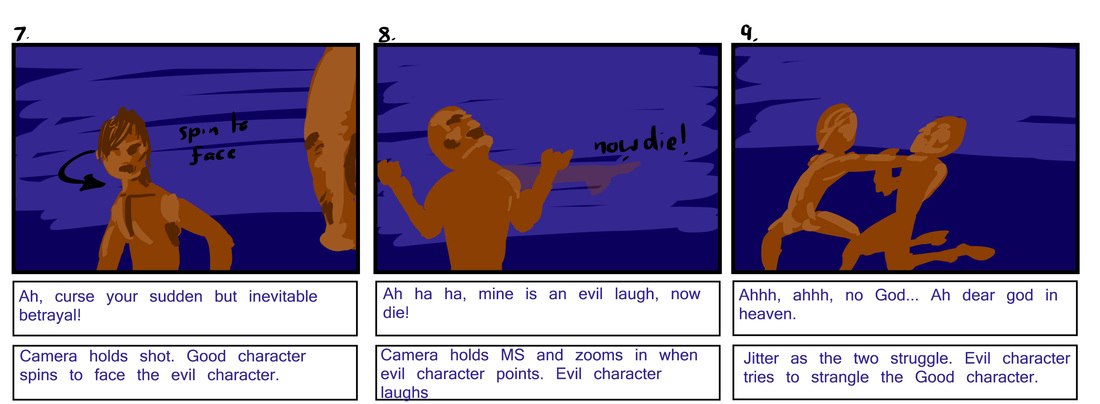
Storyboard
I chose to have the two characters breaking over a hill, gazing upon 'this land'. Where they name the land, and then confront each other, following the dialogue.
Animatic
I basically redrew the storyboard on Photoshop layers so that I could make the animatic more dynamic, allowing the camera to pan about the images. Timing the actions to the dialogue was actually relatively easy. I brought the audio track into After Effects and scrubbed through it to find where I needed to place each of my shots. Next I plan to block out the poses from the animatic with the Morpheus rigs in maya.
I'll use any extra time I find to create the environment and lighting for the scene, although all the backgrounds can be simple matte paintings.
I'll use any extra time I find to create the environment and lighting for the scene, although all the backgrounds can be simple matte paintings.
The final Animation
I decided to cut the animation down to the opening 20 seconds of the animatic. It is literally just the opening speech, that ends with 'This land...'
I did this in order to focus on creating a high quality animation rather than a longer piece that seemed rushed. Cutting the number of actors in the scene down to one really allowed me to focus all my attention on that one actor.
I worked the keys in stepped the whole way through. The video below shows the path I took when blocking out the actor's poses. I created the key poses for the body and head first, leaving the facial expressions and lip sync until after I had finished with the body.
I then added in the in between frames for all of the keyed parts.
The next video below is just after I changed the curves to clamped. I had some problems with the pole vectors for the IK joints in the arms and legs, where they would cause the limbs to pop out of place, you can see it on the actor's right leg in this video. I fixed this by setting the pole vector's parents to 'world' instead of the joints (in the feet and hands).
Below is the finished animation ready for rendering. I've hidden the lights and cameras. I playblasted this so that the character's whole body could be seen and graded as I cut the legs from all the shots in the final render (simply because of the types of shots I used). I thought I would show them here.
There is also a close up of the face for analysing the facial animation. I personally think that I made his eyelids a bit too jumpy, although I wanted to ensure that everything was in motion on the face at most of the time. Not to create realism.. Just to enhance the character and emotions he portrays, the amount of motion also enhances the moment when he freezes entirely to think about what to call 'this land'.
There is also a close up of the face for analysing the facial animation. I personally think that I made his eyelids a bit too jumpy, although I wanted to ensure that everything was in motion on the face at most of the time. Not to create realism.. Just to enhance the character and emotions he portrays, the amount of motion also enhances the moment when he freezes entirely to think about what to call 'this land'.
And lastly, the final render. This took a long time, I even left out the walls in the background as each frame was taking more than a minute to render.
Looking back at the animation, I think that I would have tried to make it much smoother, I felt that everything seemed to be moving all the time, and while that isn't a bad thing, it makes the character seem quite jittery. I would also like to finish the piece over the Summer, adding in the shots from the animatic that I cut from the final scene. I'd also like to add the environment to the scene and render that when I have more time. As the backgrounds I had made increased the render times by more than triple.
Altogether though I'm fairly pleased with the 20 seconds I managed to finish, I spent a lot of time polishing it and really enjoyed working on the eyes, making them flitter from point to point, and adding in the tiny movements they do when looking straight ahead. The little things like the fingers and eyes really seemed to finish it off, as well as touching up the curves in the clean up.
Altogether though I'm fairly pleased with the 20 seconds I managed to finish, I spent a lot of time polishing it and really enjoyed working on the eyes, making them flitter from point to point, and adding in the tiny movements they do when looking straight ahead. The little things like the fingers and eyes really seemed to finish it off, as well as touching up the curves in the clean up.
The term
I really learned quite a bit this term. The modelling helped me realise that I needed to plan ahead in order to keep the polygons of a similar size all over the face. When it came to the animation, I wanted to keep making my piece better, and I picked up new ideas and ways to simulate how people act in real life. I got this from the video references and just life. Little things like how people tend to blink when they move their eyes to another side, and how the head moves when a person talks or even rocks back and forth on their feet.
Altogether I picked up a lot of experience along the way. Modelling with Ollie from Framestore was also insightful, especially when having to bevel edges in order to make them work when smoothed.
I would definitely liked to have spent more time on the animation, but I'm inspired to focus on animation over the Summer, maybe look at pieces with less dialogue and maybe even action elements.
