Ideas and concepts
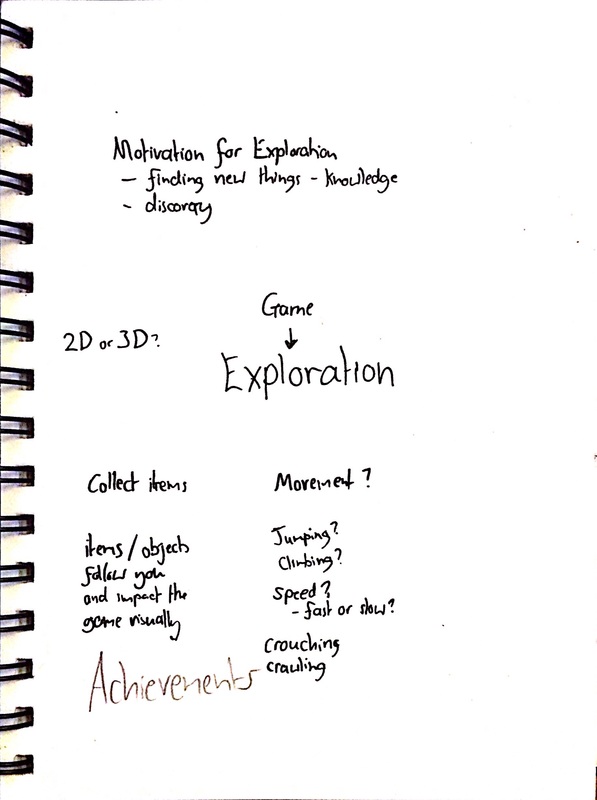
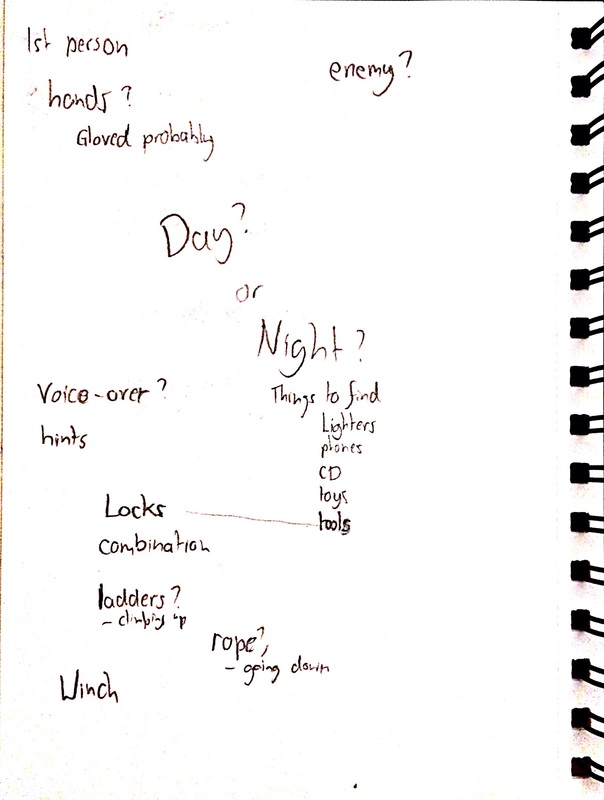
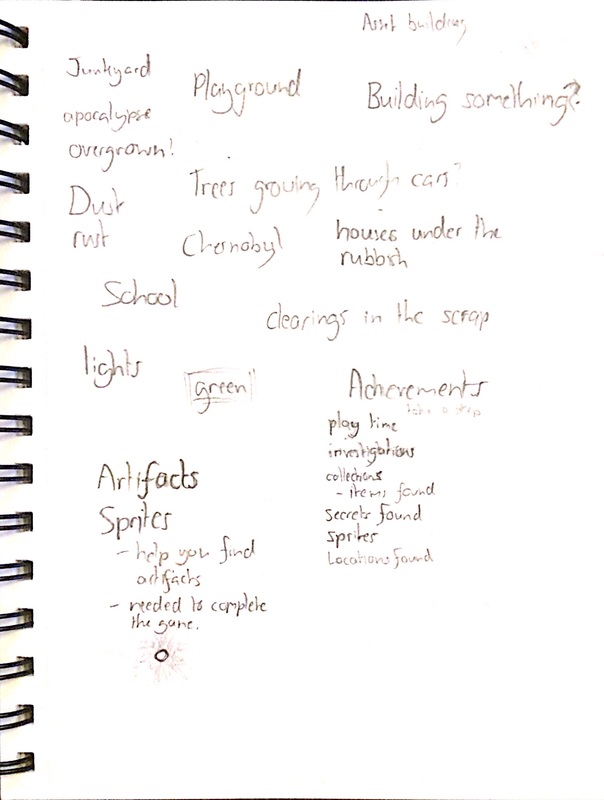
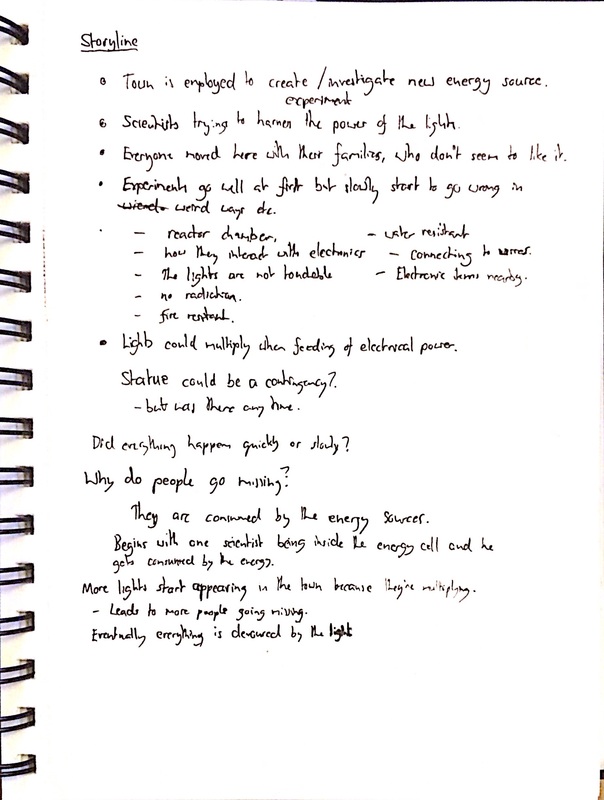
Elly and I began by brainstorming and putting lots of ideas on the table over what our game could be. We started by trying to break down what makes a video game, and more importantly, what makes people want to play it.


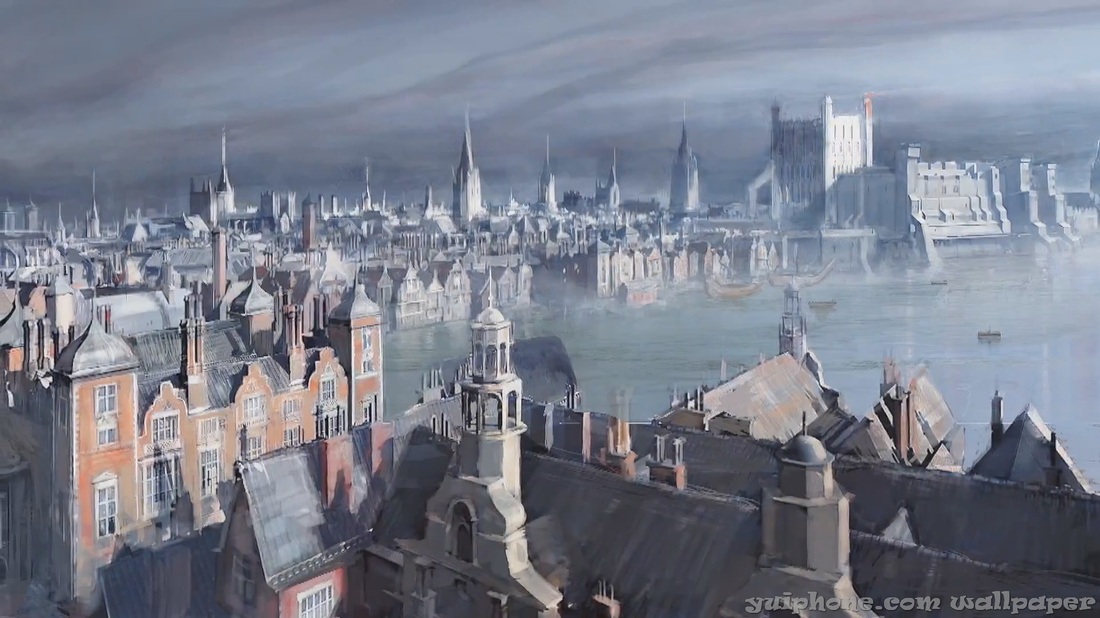


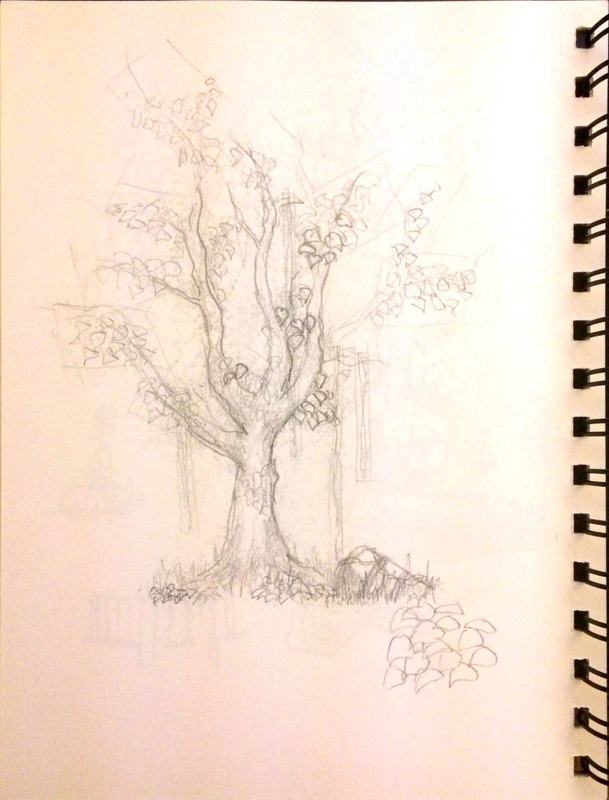

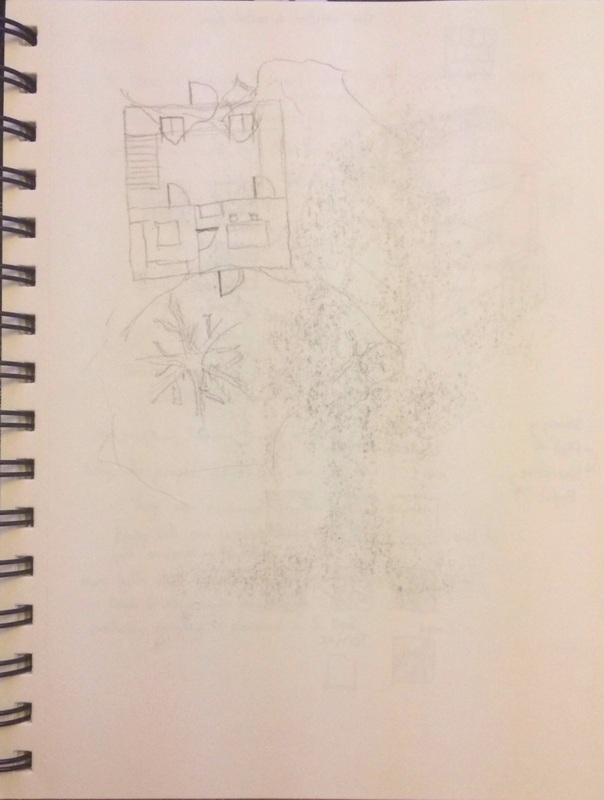

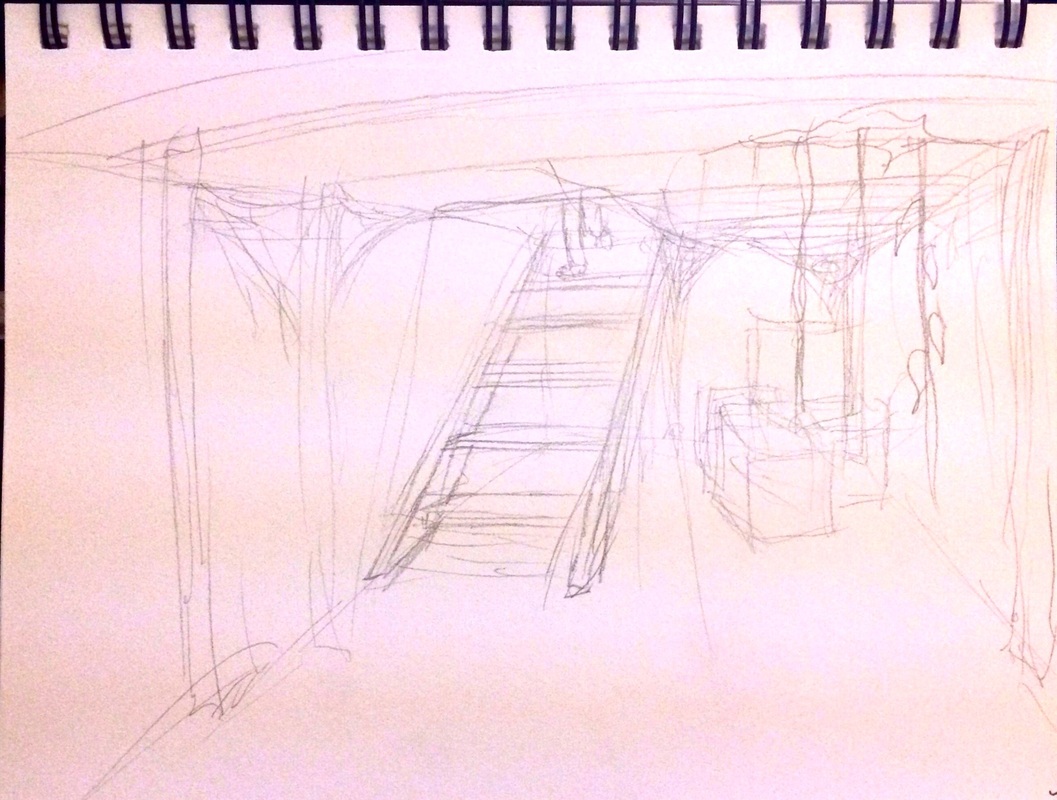
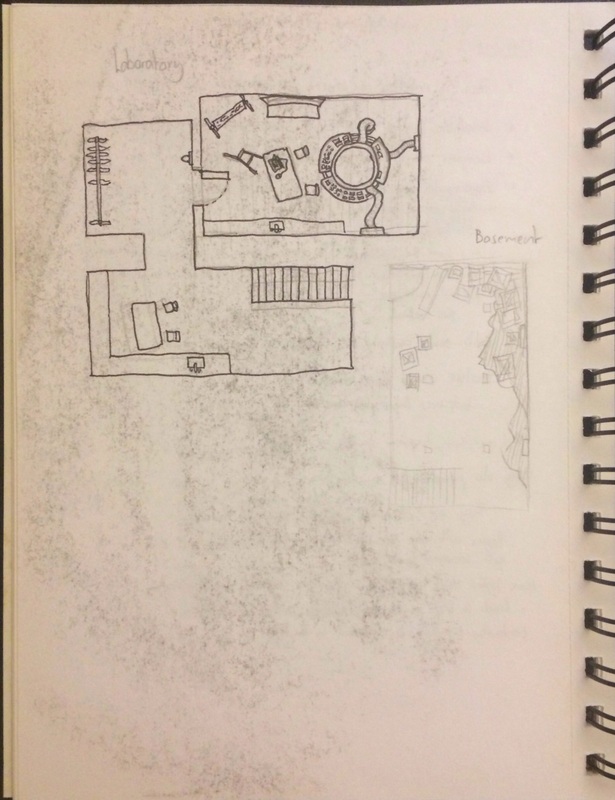
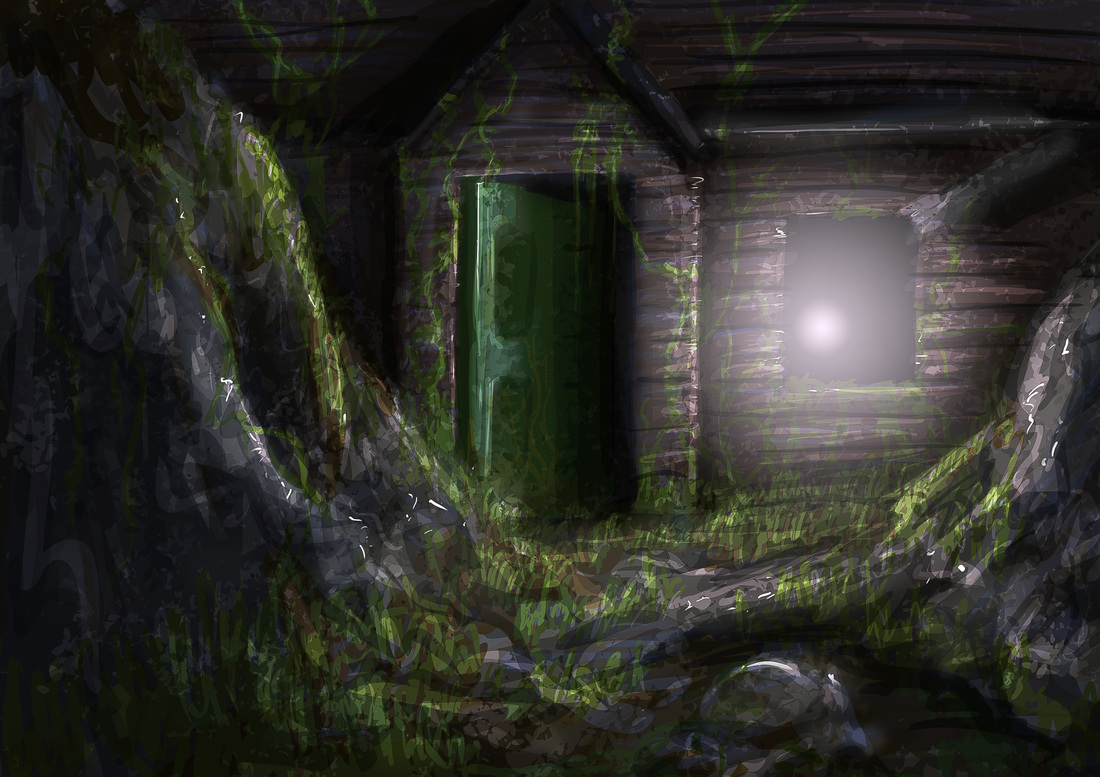
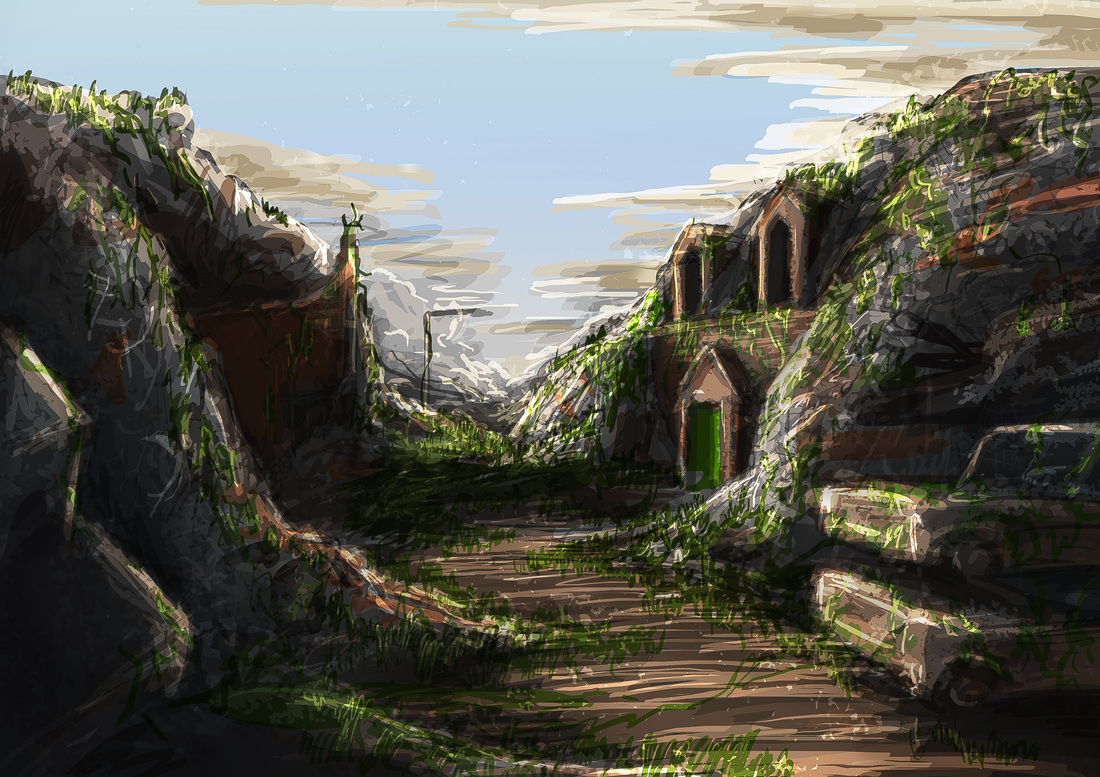
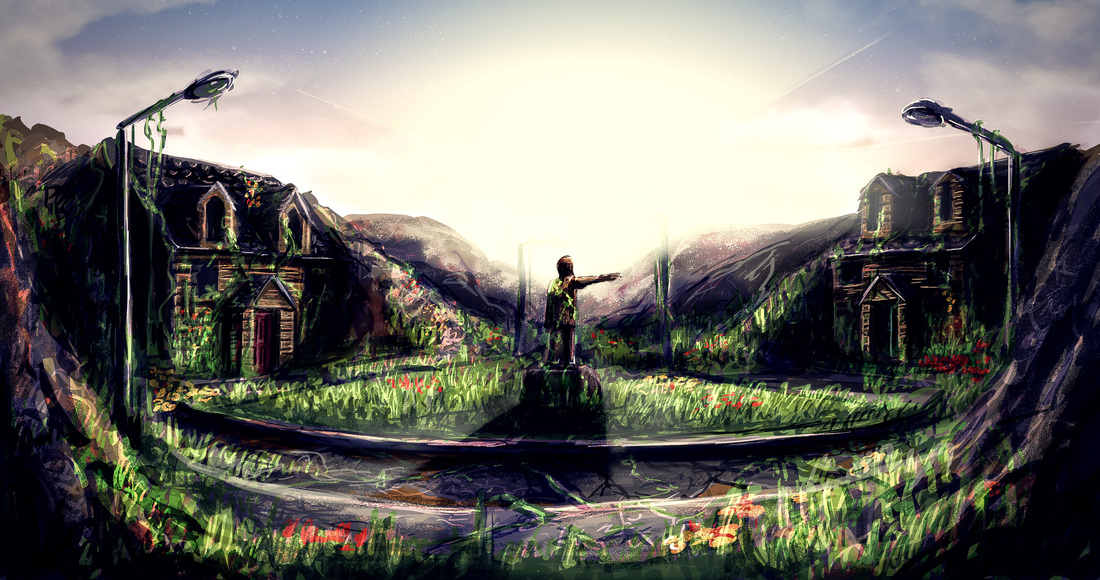
My concept Art

Game research and texture research
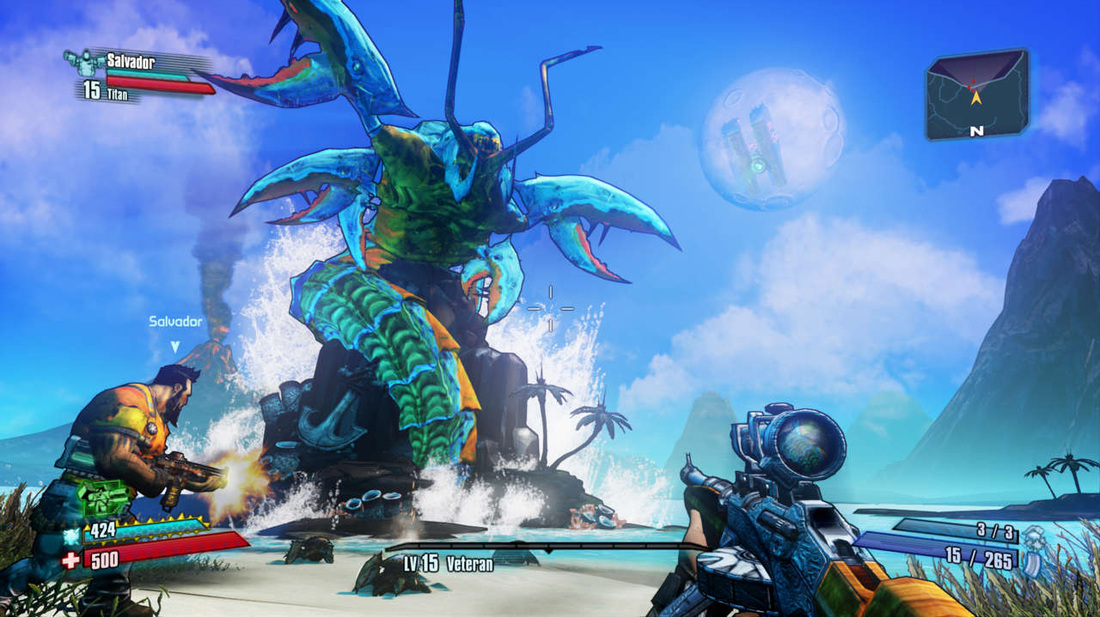
Looking at games and the way textures are applied within them has been a huge help.
I can also get a sense of the level of detail in meshes and models in the games that I play. The poly count tends to be fairly low on most objects, even on the highest graphics settings. This is undoubtedly because most of the 'look' comes from lighting and shadows in realistic looking games, therefore polygon count is limited to allow for prettier light effects.
I can also get a sense of the level of detail in meshes and models in the games that I play. The poly count tends to be fairly low on most objects, even on the highest graphics settings. This is undoubtedly because most of the 'look' comes from lighting and shadows in realistic looking games, therefore polygon count is limited to allow for prettier light effects.
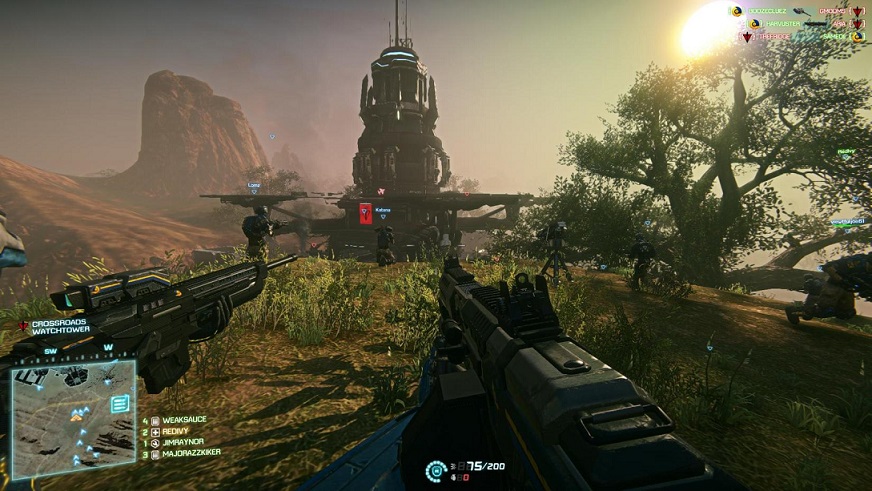
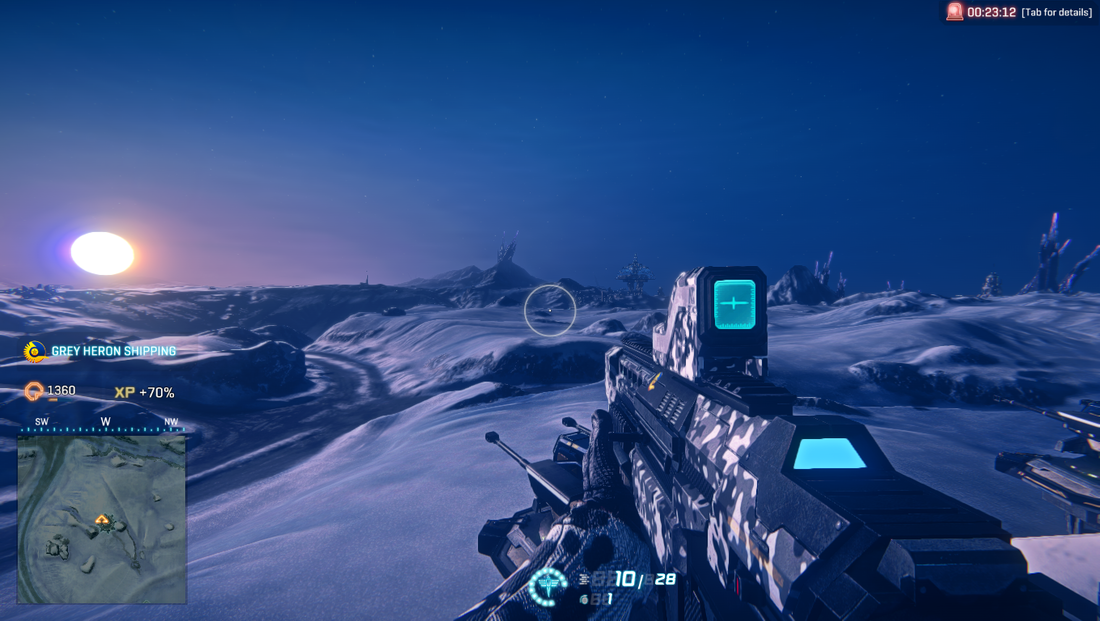
Planetside 2, the game shown above and below is a good example of more of the graphics budget being dedicated to lighting. The models in game are generally low poly, even on the highest settings. This is made up for by the shaders and their textures being as high quality as possible, allowing lighting effects to make the game appear more realistic.
This realistic style is something that we hope to achieve, mainly because Unreal Engine 4 has a fantastic lighting system that meshes together well with realistic textures and models.
This realistic style is something that we hope to achieve, mainly because Unreal Engine 4 has a fantastic lighting system that meshes together well with realistic textures and models.
This doesn't mean that we aren't open to considering different styles.
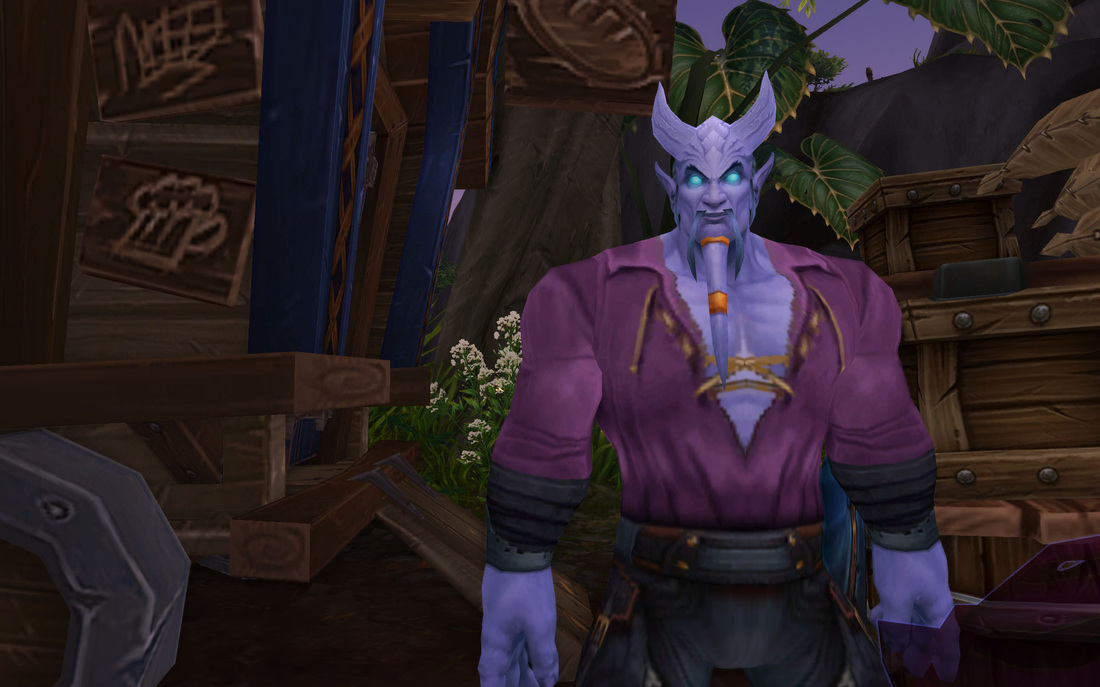
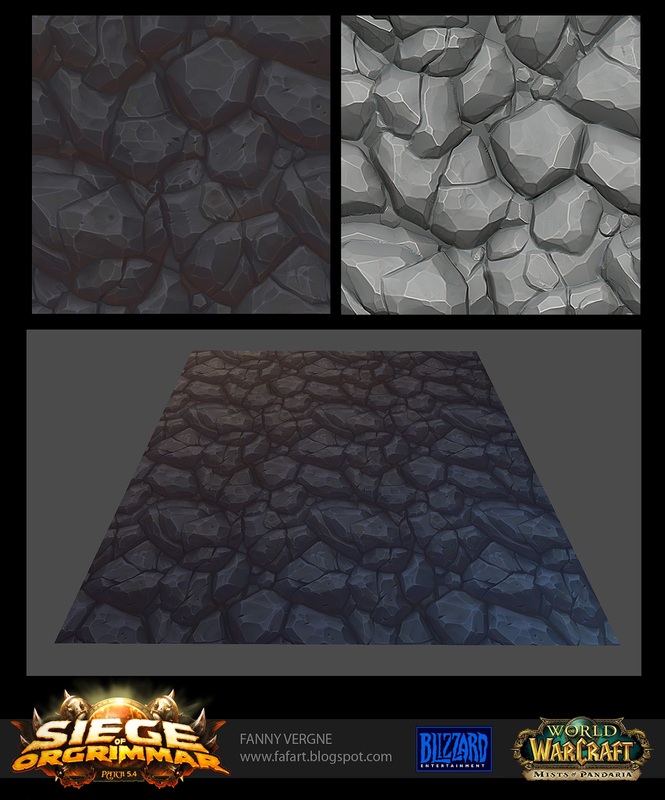
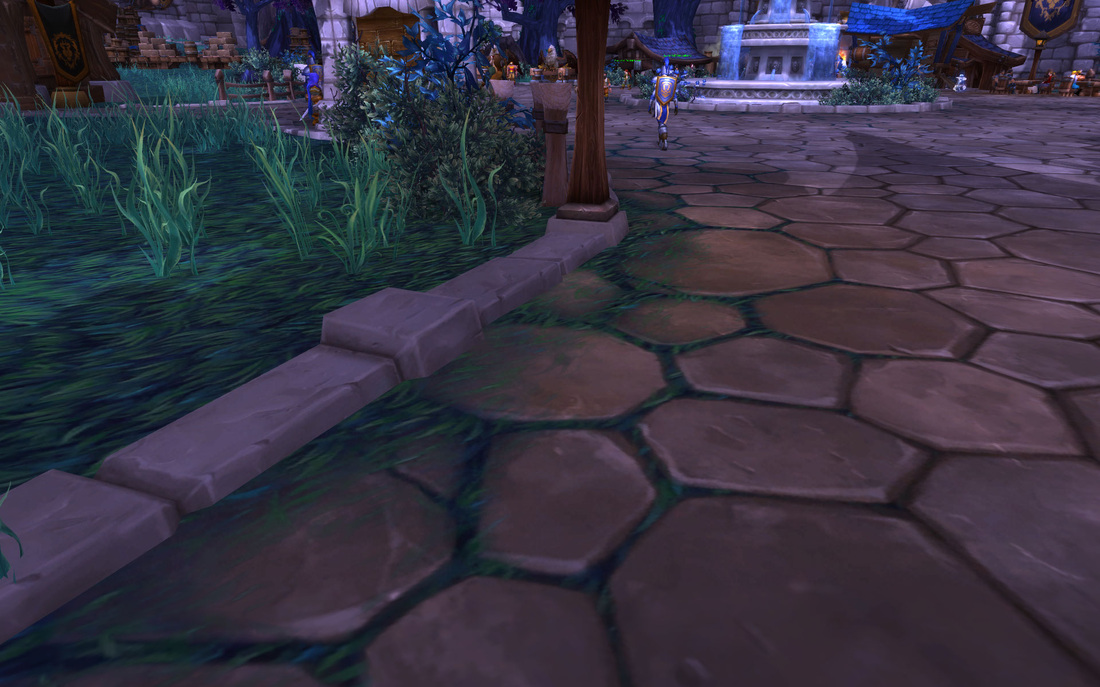
World of Warcraft, shown below, relies minimally on lighting. This is because it is designed to run on low quality computers seeing as it is a Massively Multiplayer Online game designed to be playable by anyone, therefore it employs a cartoon style in its graphics. There are very few dynamic light sources, normally just one directional light per zone. This means that the models can be slightly more complex. The textures in the game are what really allow the game to look good. Blizzard's team of texture artists give World of Warcraft its signature cartoon look.

|
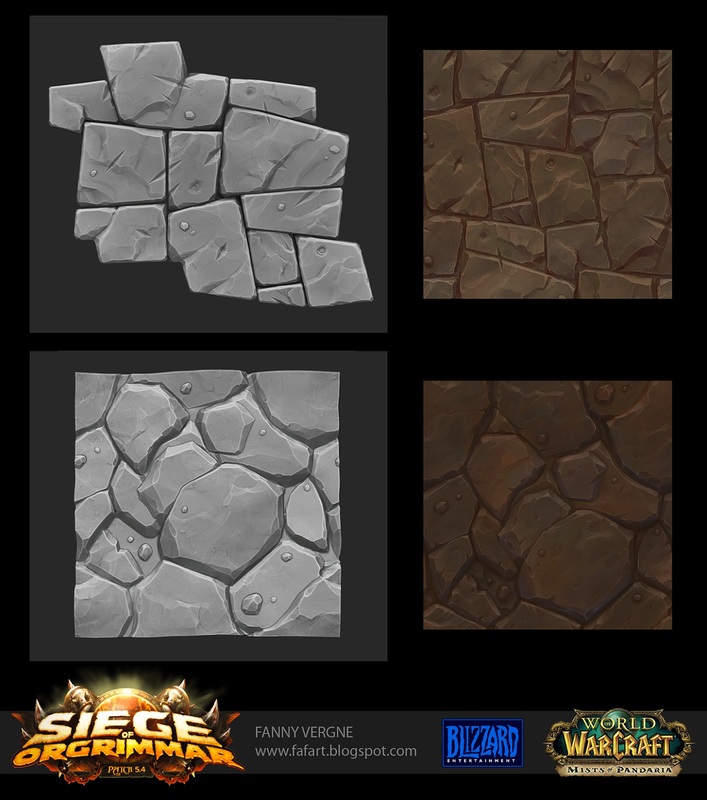
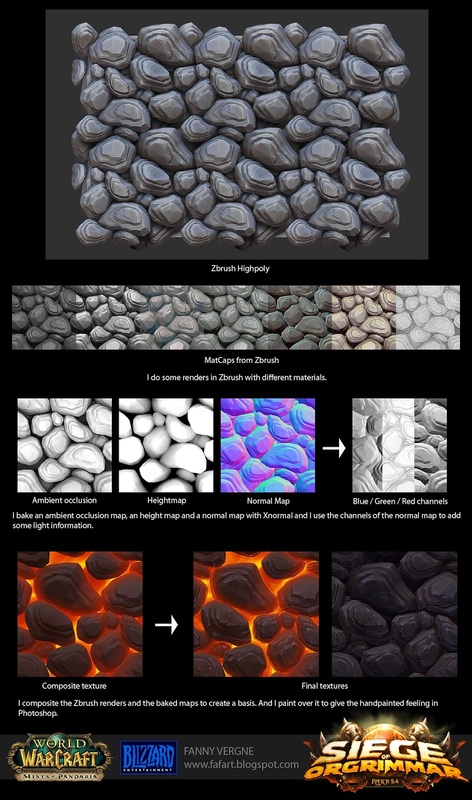
Here are some examples of how textures are created for World of Warcraft, made by Fanny Vergne who worked as a freelance artist for Blizzard.
|
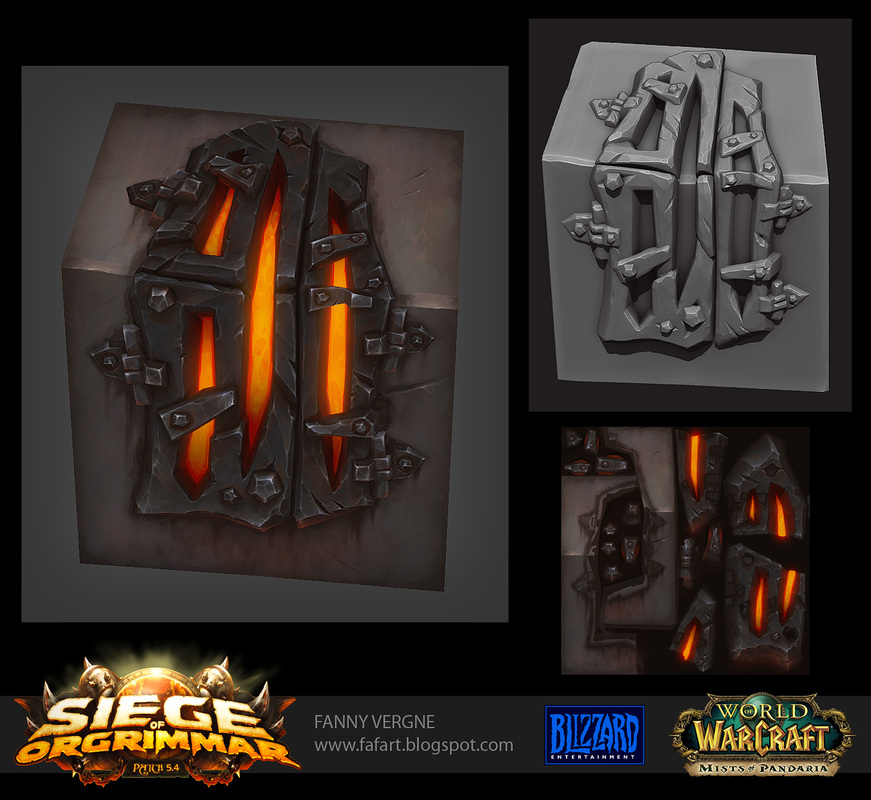
These show Fanny's workflow, creating the sculpt first in zbrush and then using the maps generated from the sculpt to create the texture in photoshop.
The sculpt is necessary because even though there are no bump or normal maps used in the World of Warcraft Engine, it allows the artist to generate perfect heightmaps really quickly. |
|

|

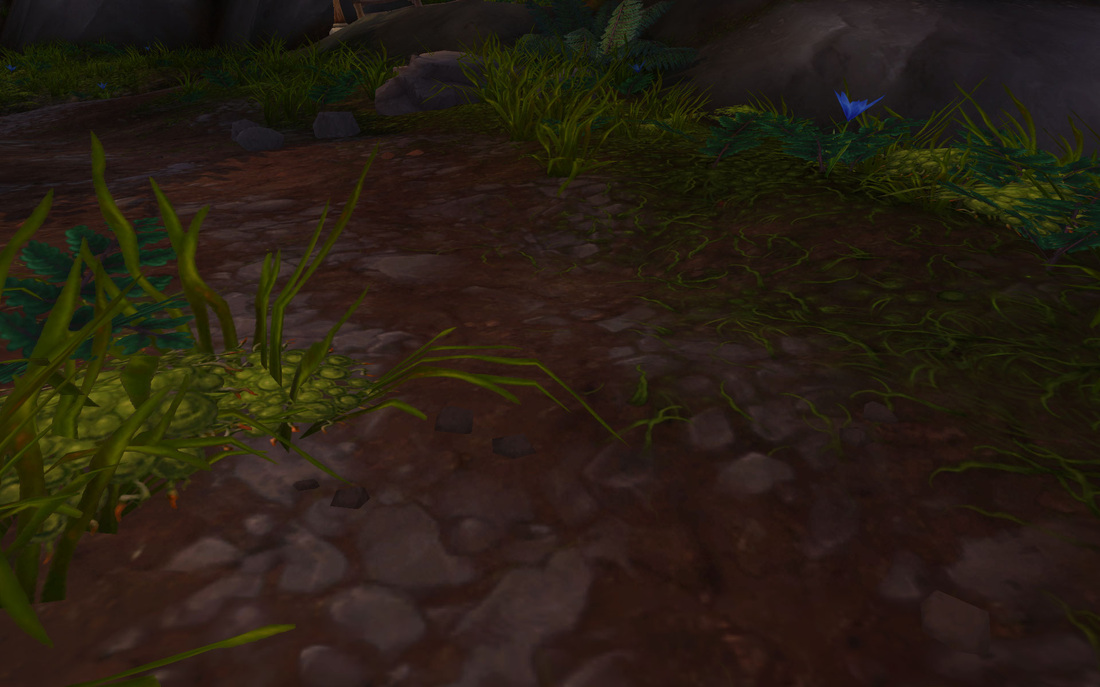
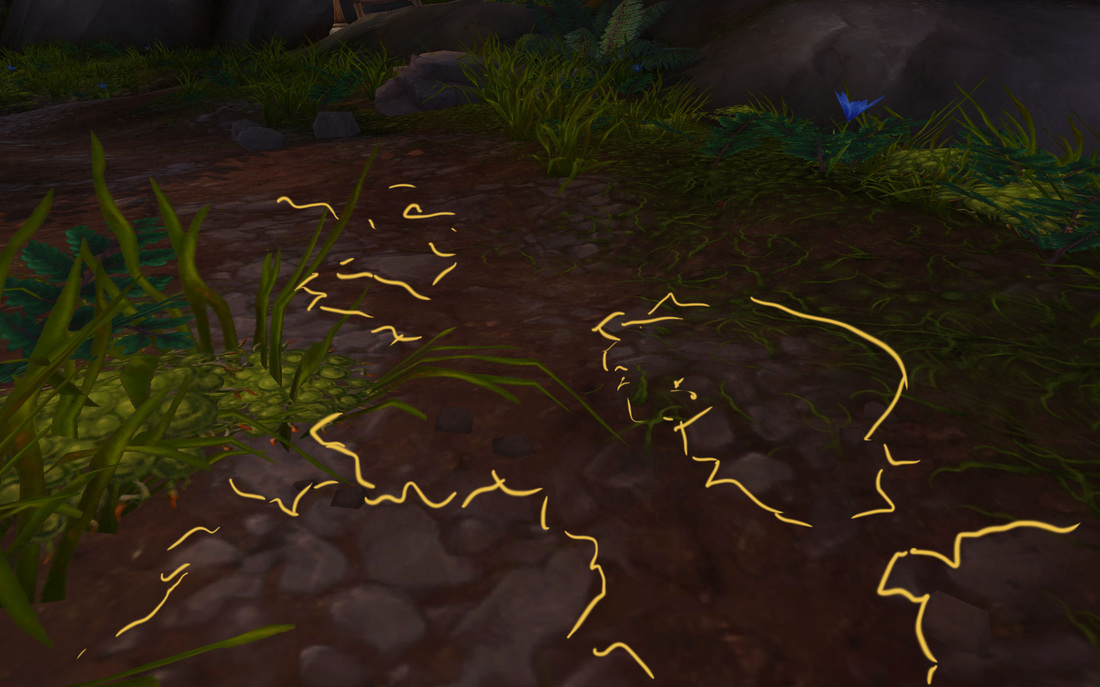
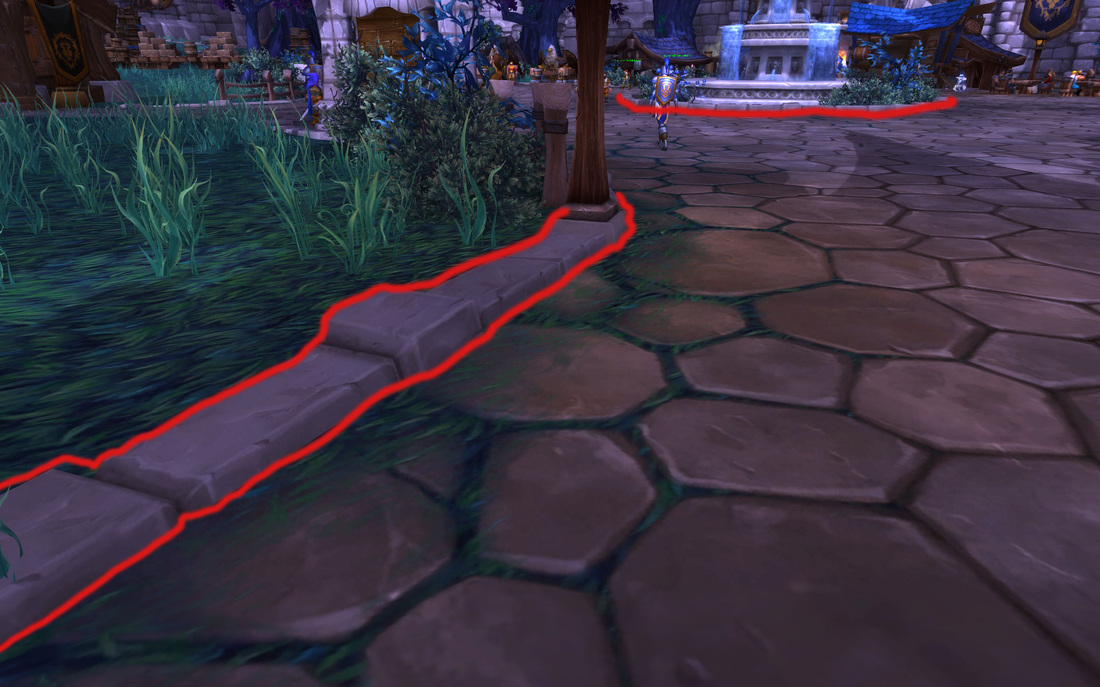
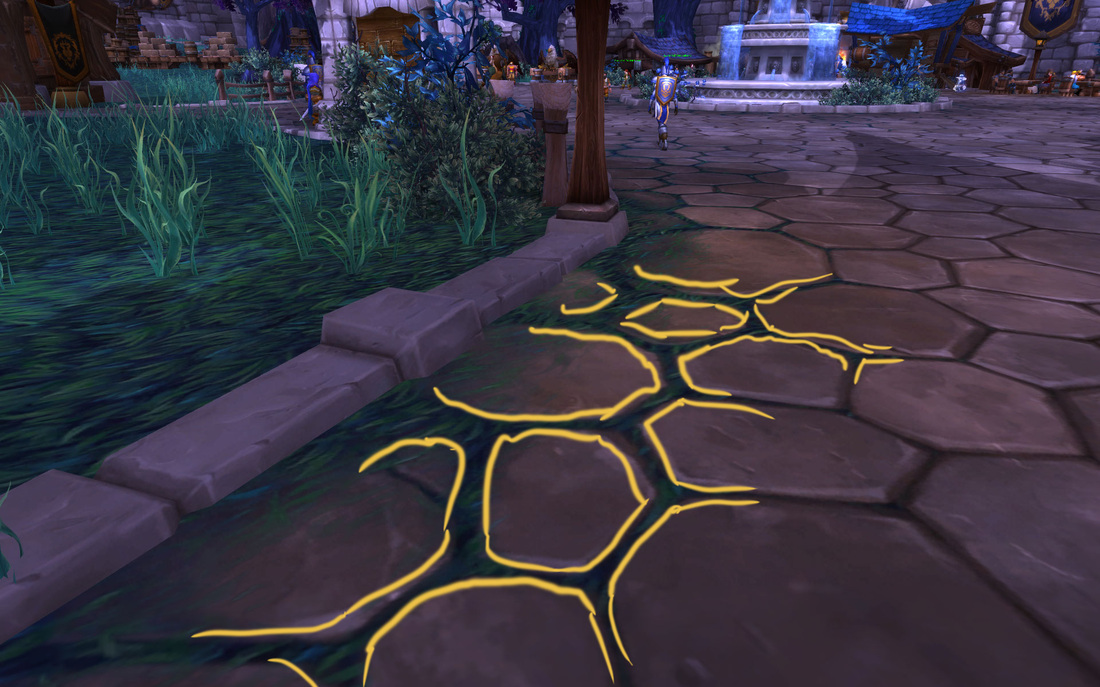
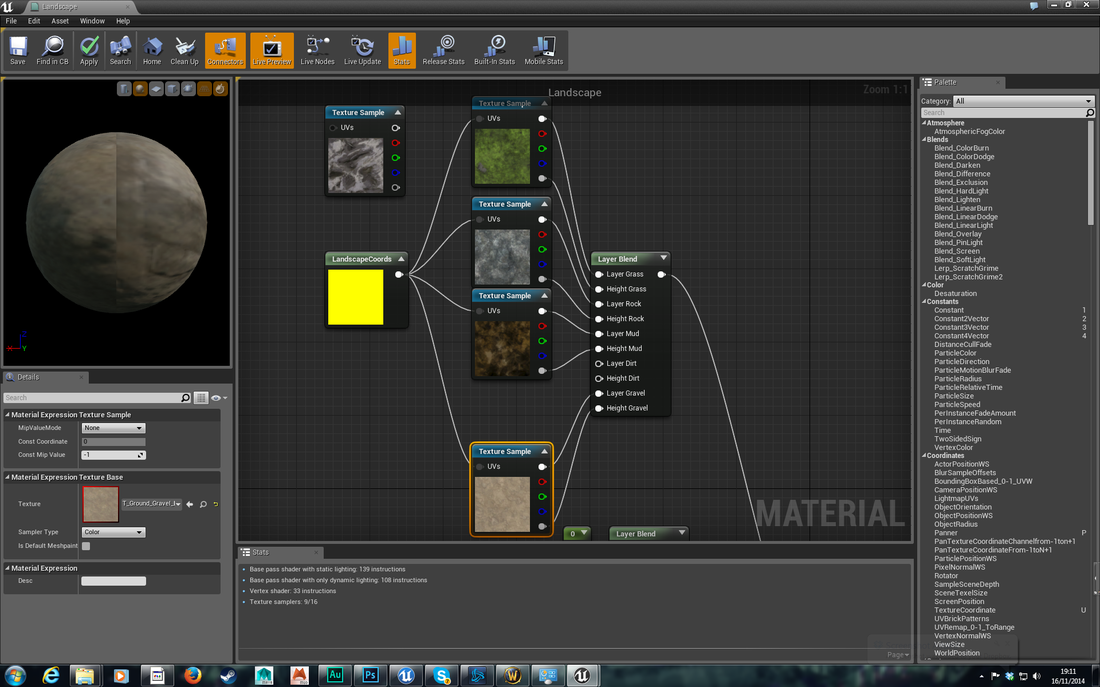
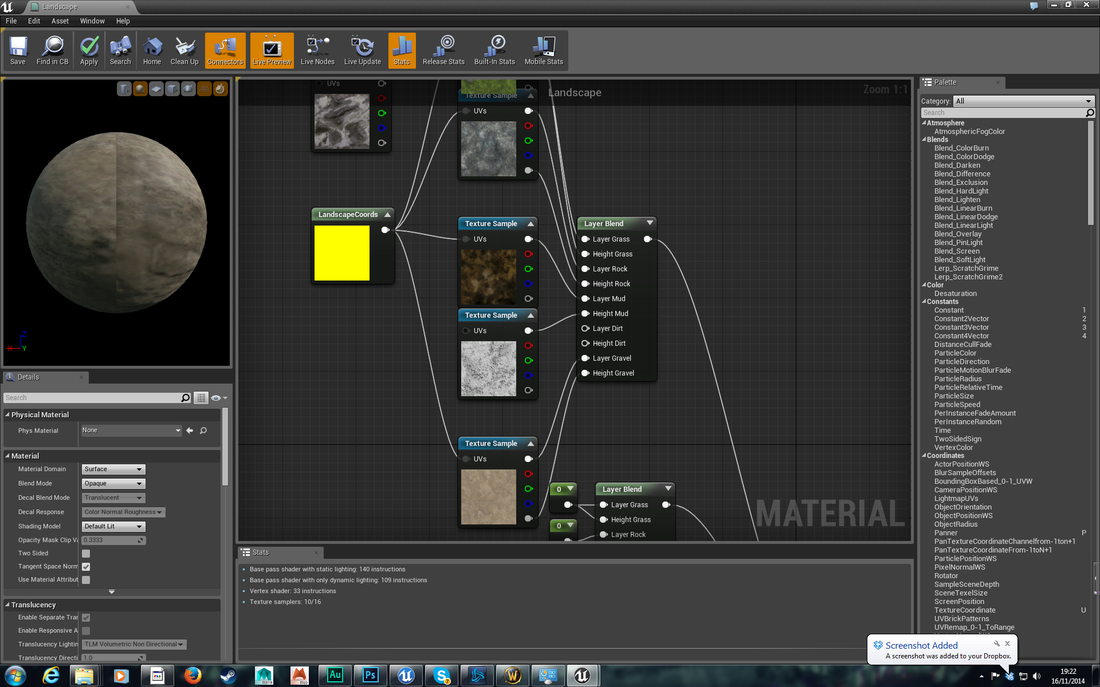
Below I've highlighted in yellow how the heightmap allows two different textures to blend nicely on the landscape layer of the level.
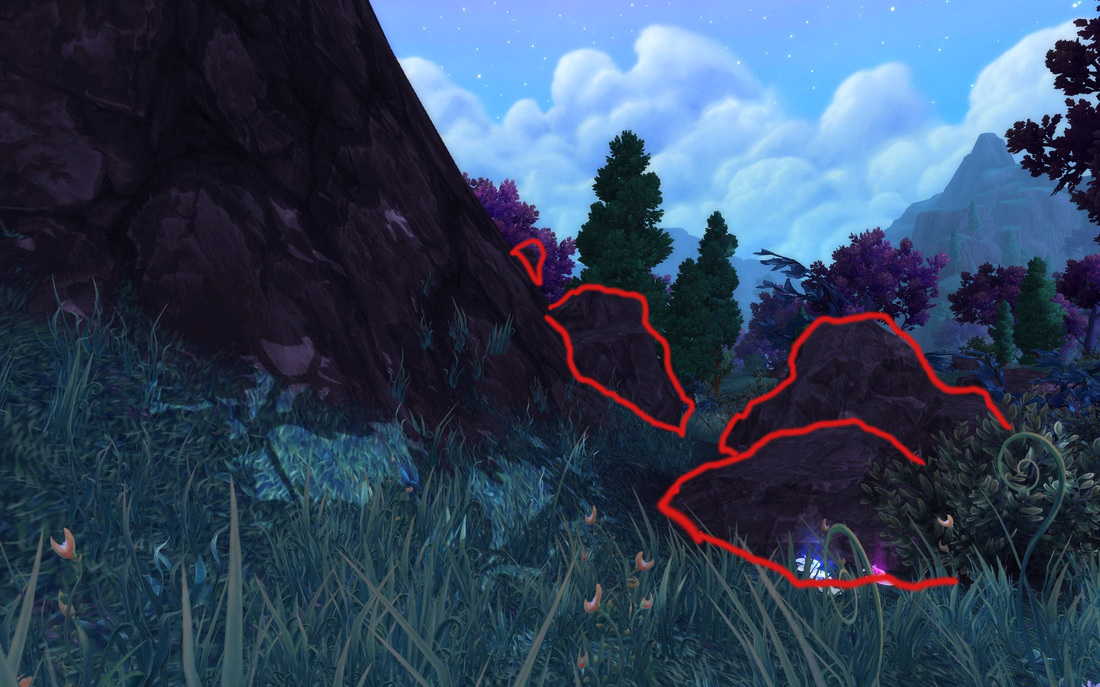
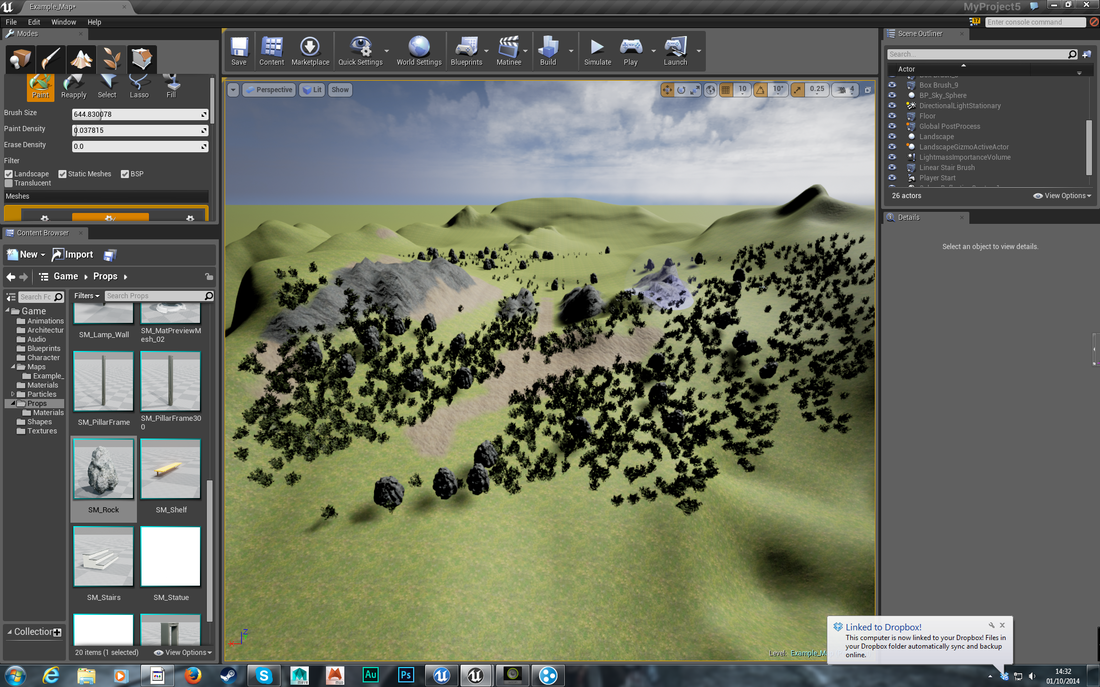
Further down I've highlighted in red how assets are placed onto the landscape to break it up and help it look less like a flat plane. This is an effective way of creating variety in a scene.
Further down I've highlighted in red how assets are placed onto the landscape to break it up and help it look less like a flat plane. This is an effective way of creating variety in a scene.
|
|
|
|

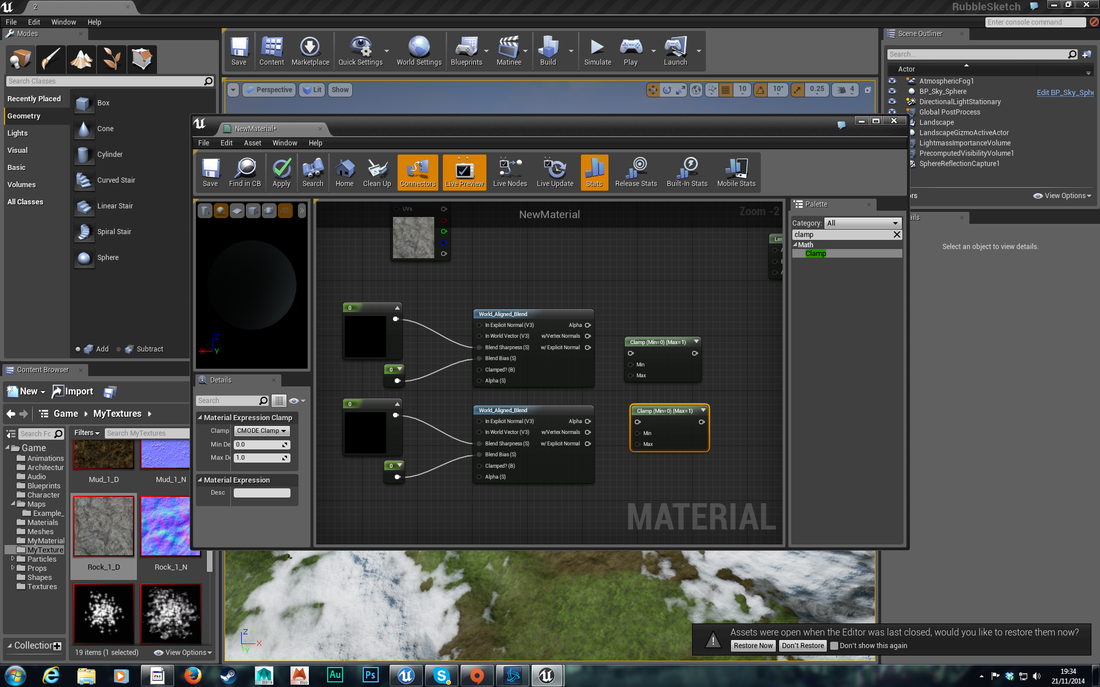
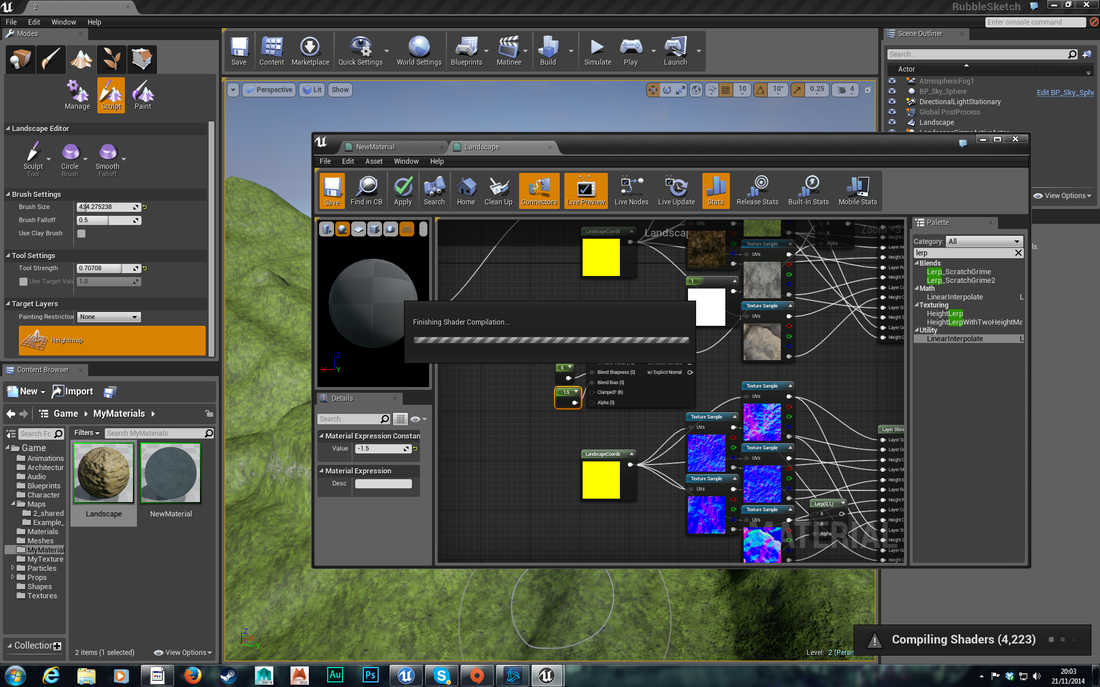
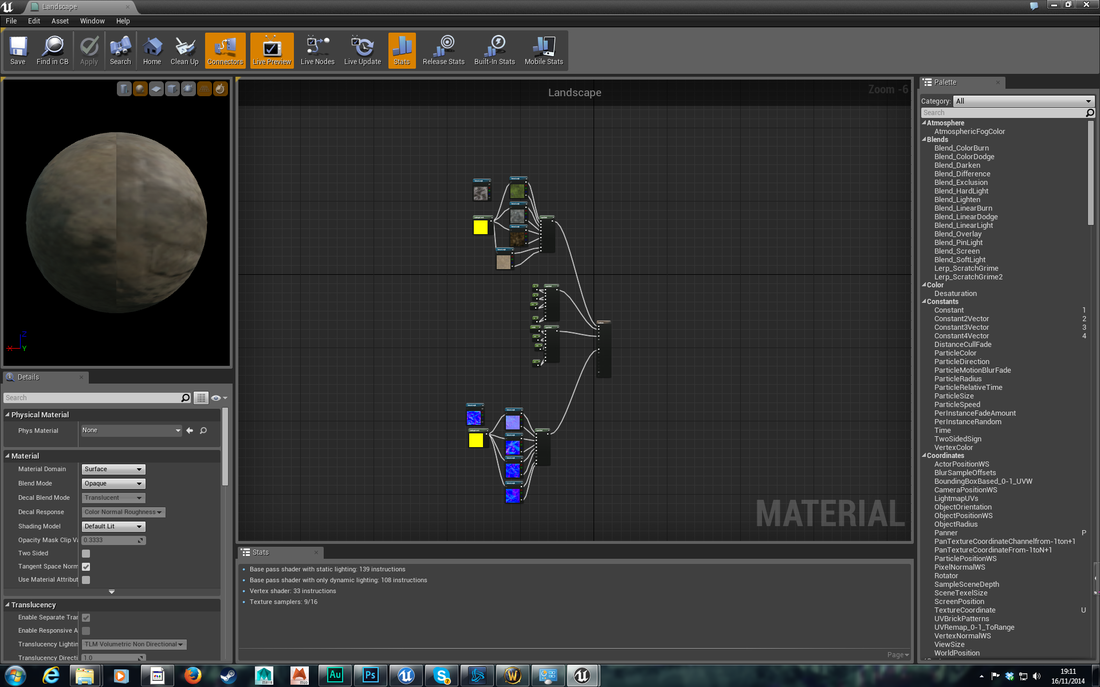
Unreal Engine 4 Tests
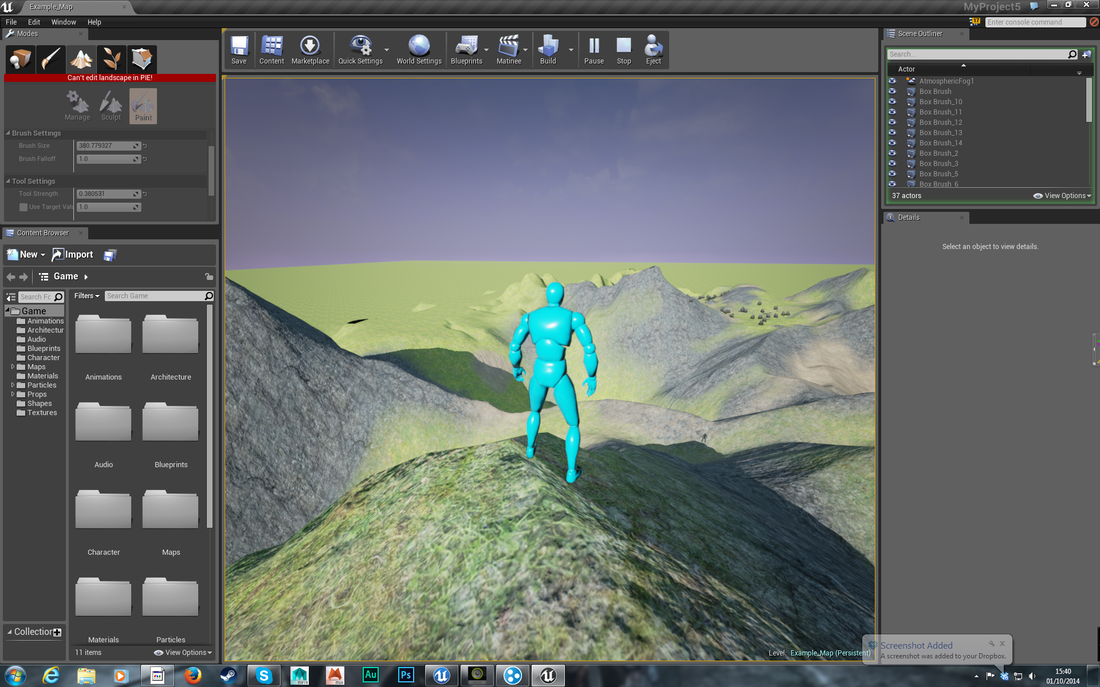
These are screenshots of my first steps into Unreal Engine 4. They show me creating a landscape plane, sculpting it with the in engine tools and creating a material that allows textures to be painted onto the material in different places.
To learn how to create the landscape and its material I followed the UE4 documentation site's examples
https://docs.unrealengine.com/latest/INT/Engine/Landscape/QuickStart/4/index.html
To learn how to create the landscape and its material I followed the UE4 documentation site's examples
https://docs.unrealengine.com/latest/INT/Engine/Landscape/QuickStart/4/index.html
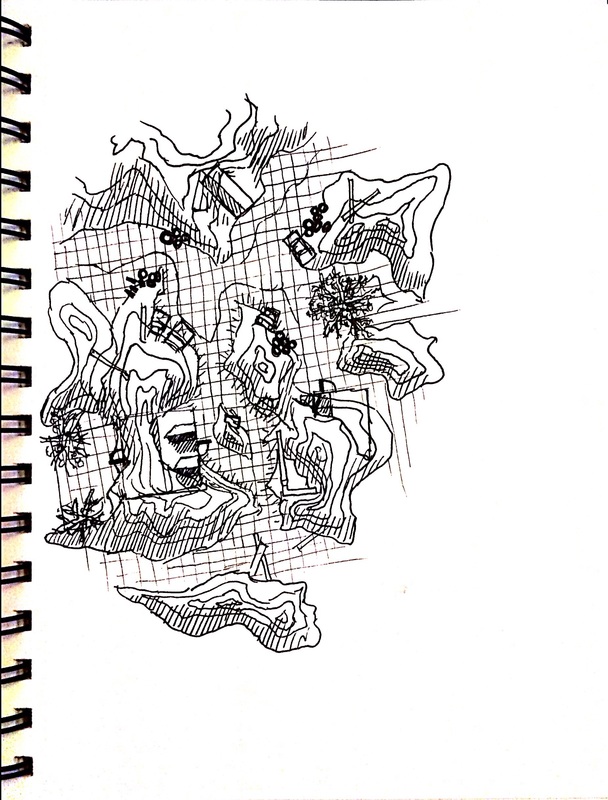
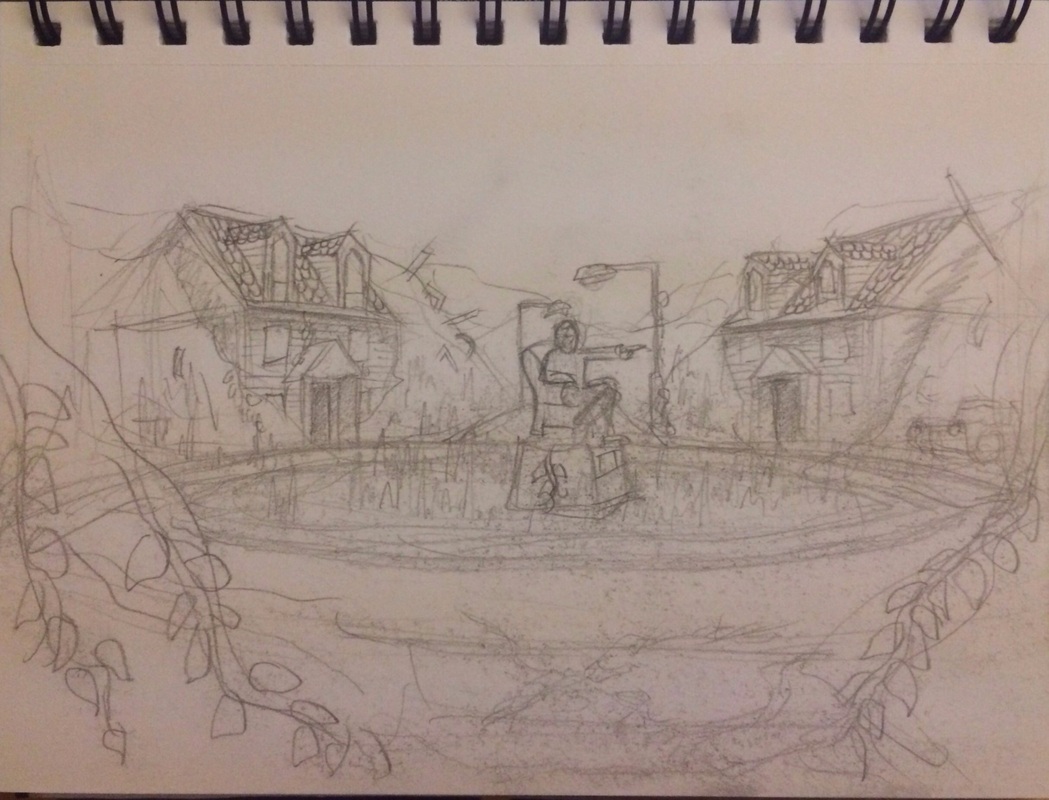
Early Level Sketch
This is a very early sketch of what our level might look like. Note the cul de sac of houses surrounded by piles of rubble.

|
|
|
|
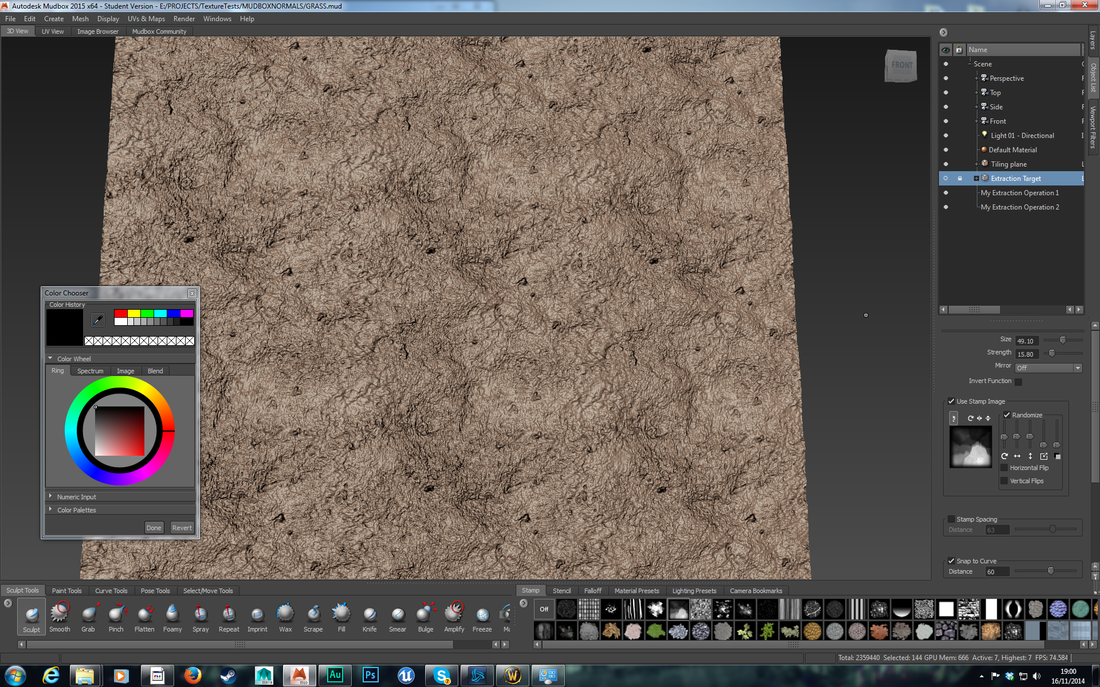
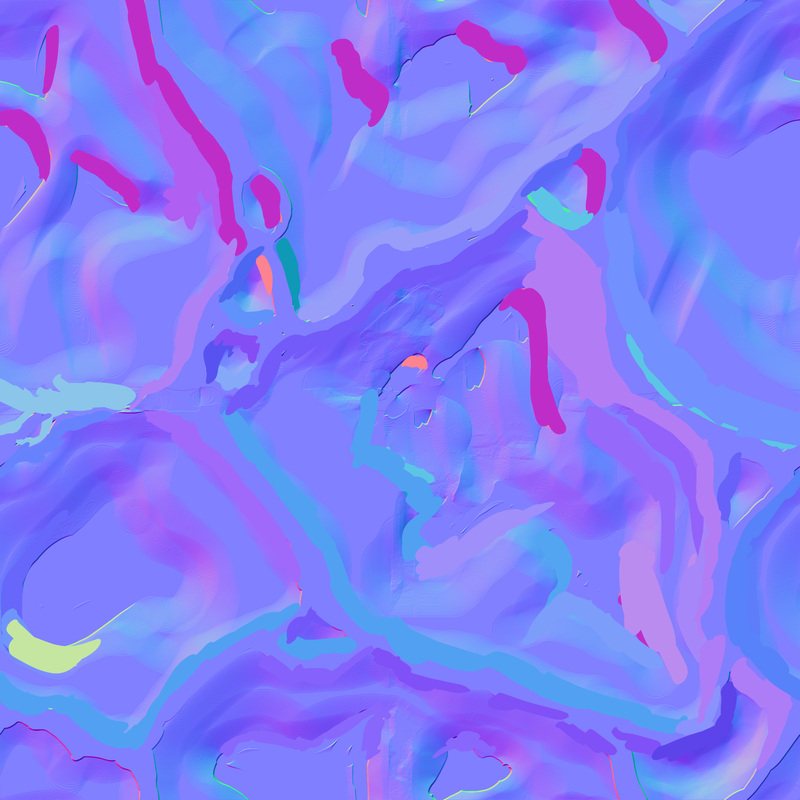
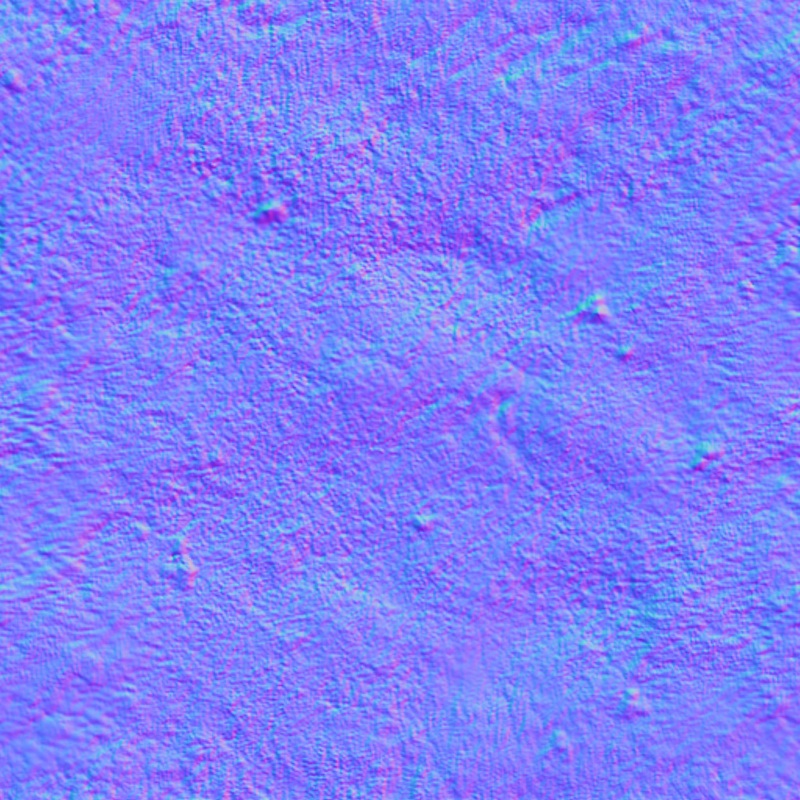
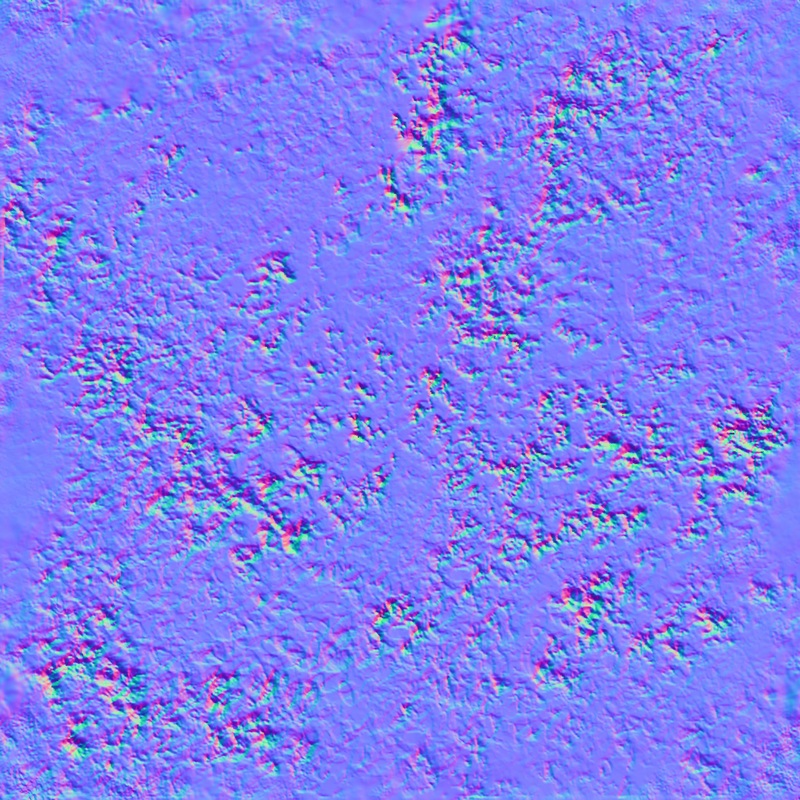
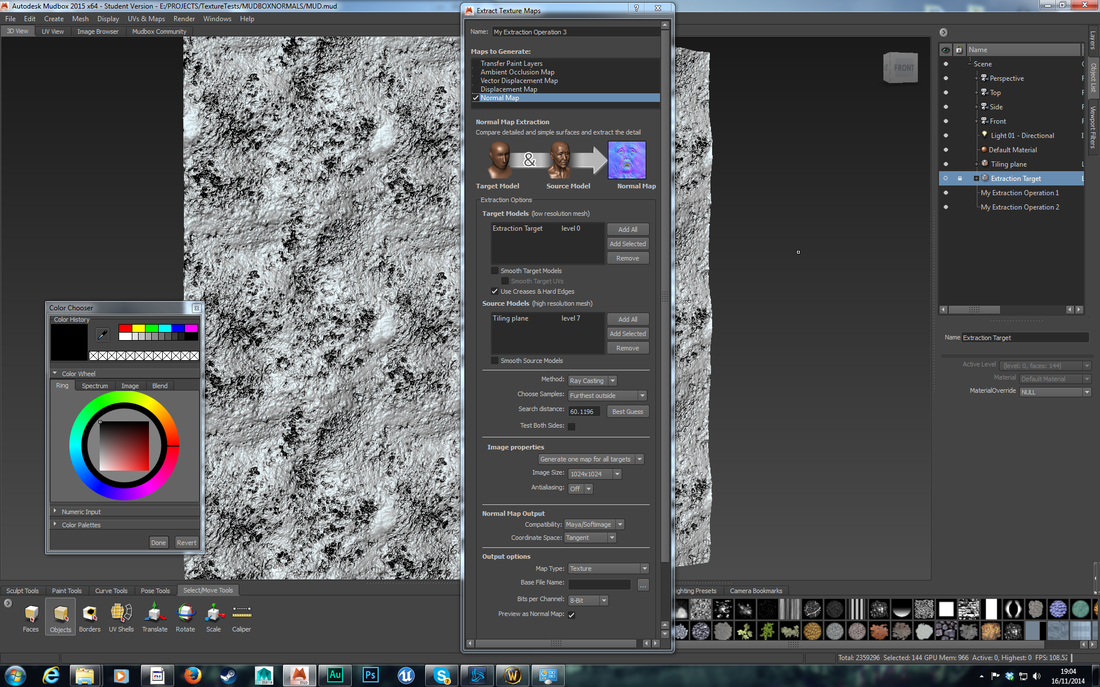
I created the tiling diffuse texture below in photoshop, and then I created a stencil in mudbox using this texture.
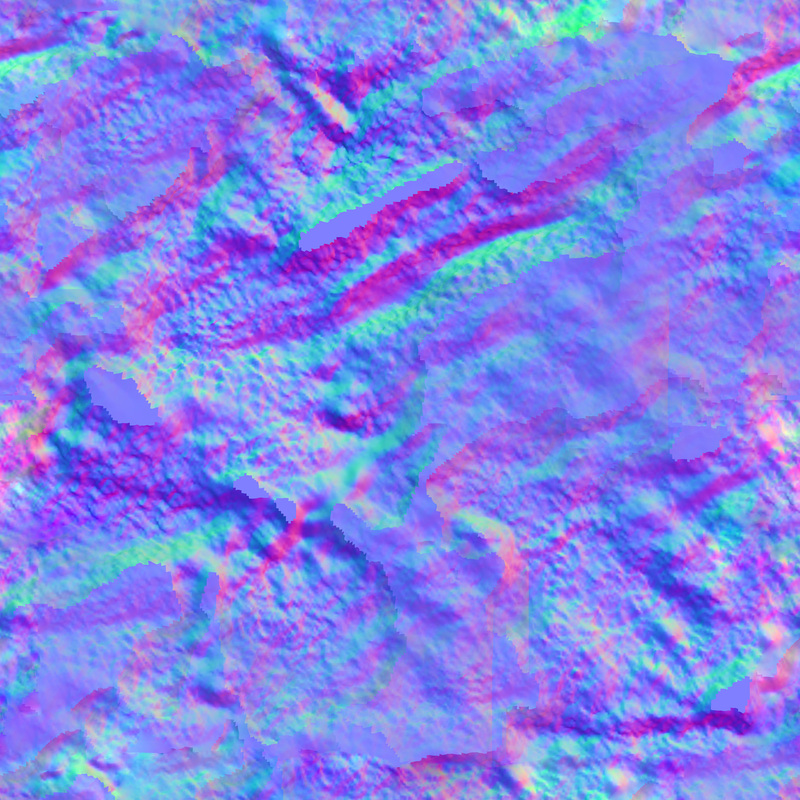
I was then able to apply this to the tiling plane tool in Mudbox, which allowed me to sculpt the texture completely in mudbox, meaning that the normal map would 'pop' more than if I had used the photoshop Nvidia plugin.
Mudbox allows you total control over the depth of the texture.
I was then able to apply this to the tiling plane tool in Mudbox, which allowed me to sculpt the texture completely in mudbox, meaning that the normal map would 'pop' more than if I had used the photoshop Nvidia plugin.
Mudbox allows you total control over the depth of the texture.
|
|
|
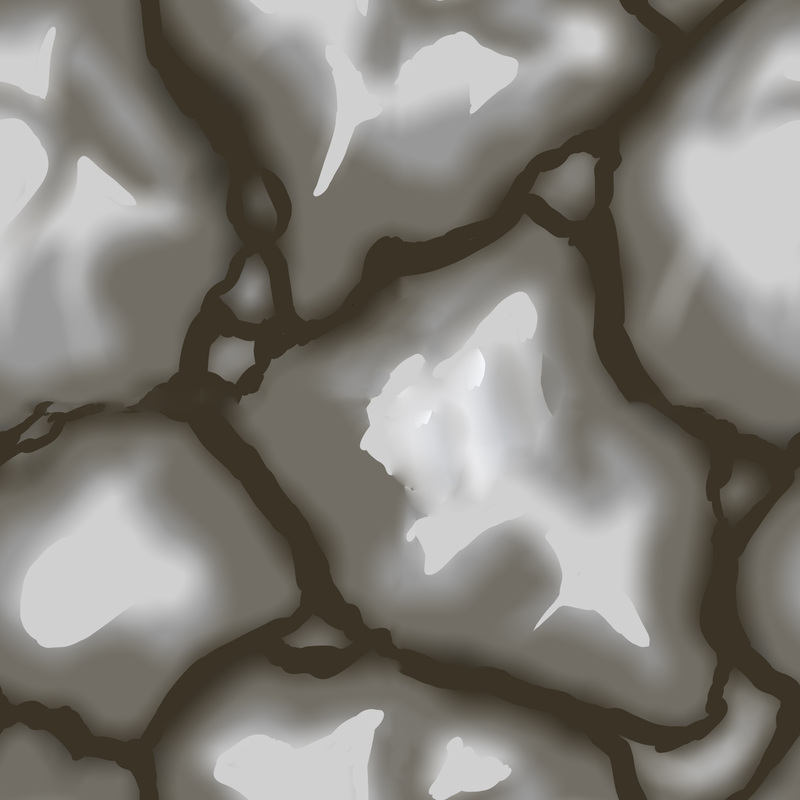
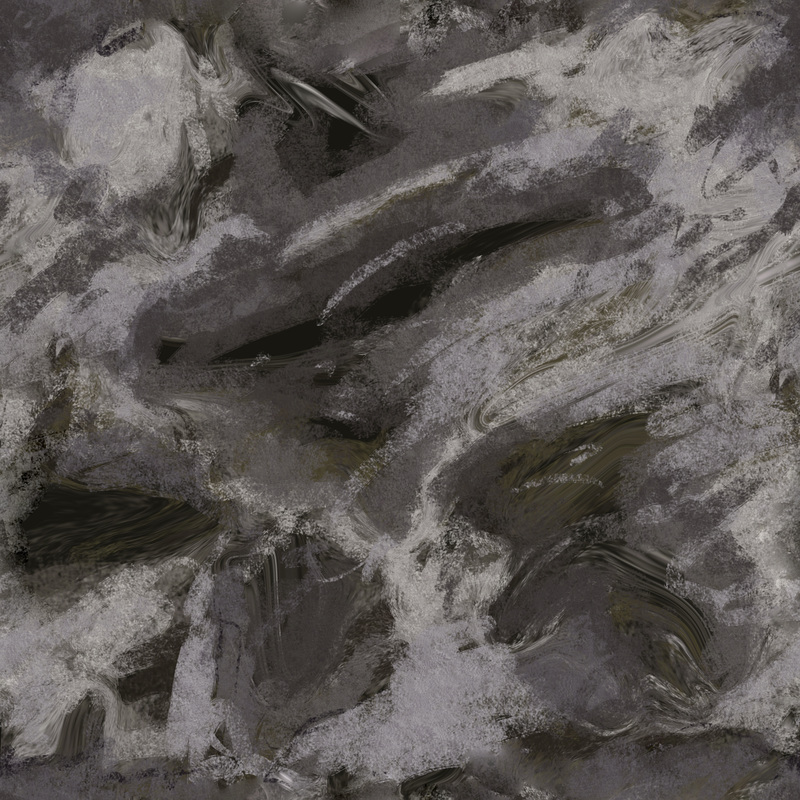
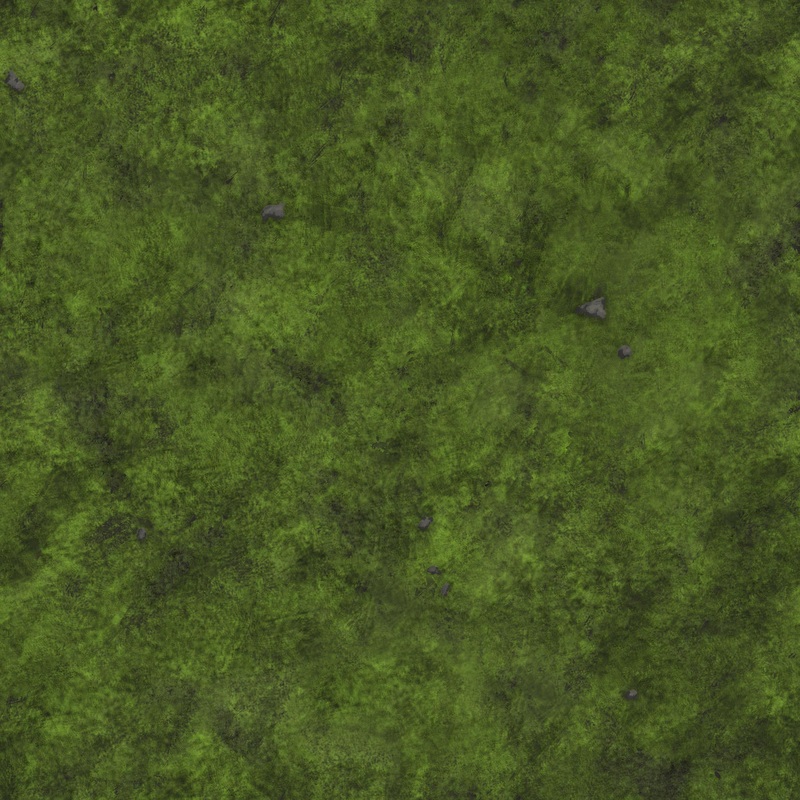
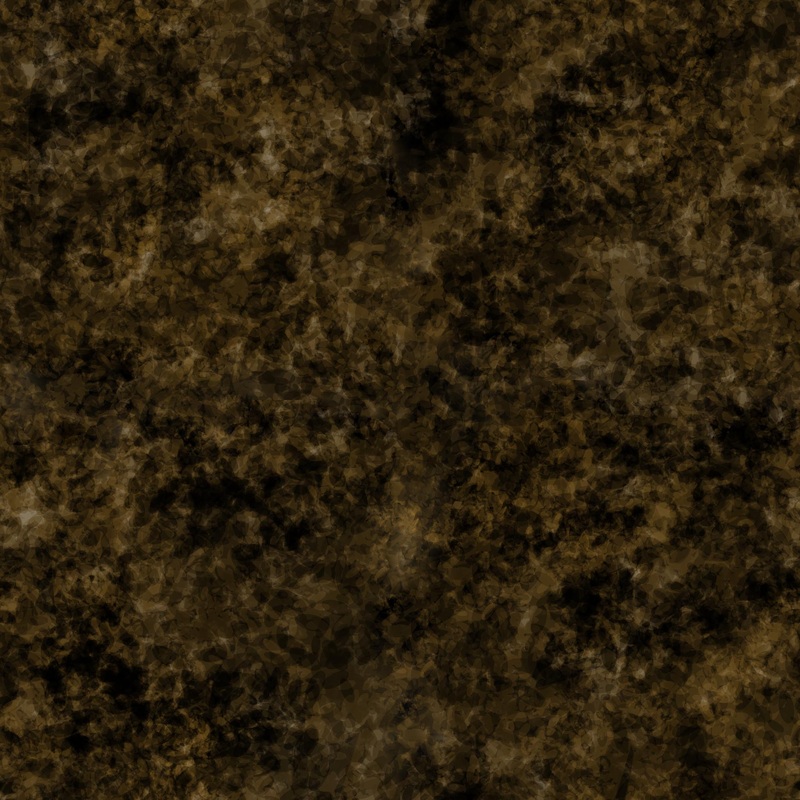
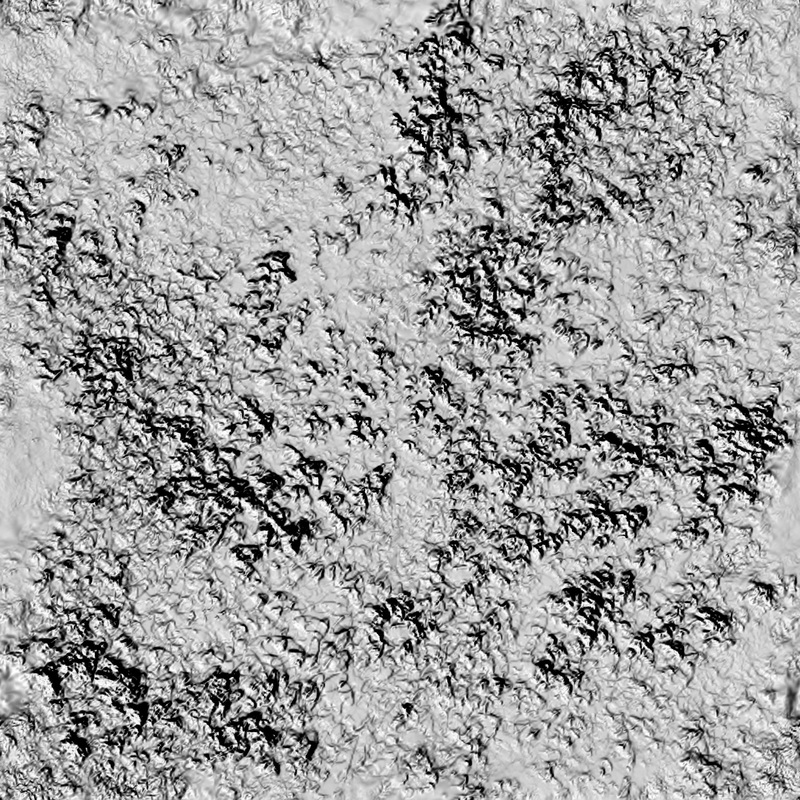
Mud texture, heightmapsFor the Mud texture I created a height map. I did this by baking the Ambient Occlusion map from the mudbox high poly sculpt.
I then took the AO map into photoshop and tuned the levels to make it contrast enough to have black and white areas. This means that when I paint the texture, the grass will show up in the darker areas first, making the textures blend nicely, like the Warcraft ones. |
|
|

Learning how to Create Grass
Photoshop > Maya > Unreal
For this section I made a complete screencap follow through of how I created the Grass. I encountered problems with the transparency mask in Unreal, but realised that this was because I had not created an alpha layer in the .tga file. Once this was done, making grass becomes easy.
The trick to making the Grass planes in maya, is to use one plane and then cut it up from the image as you see in my slideshow below. This keeps the UV space simple and prevents any errors that could occur from duplicating the planes.
I essentially gives you a very simple and performance budgeted asset.
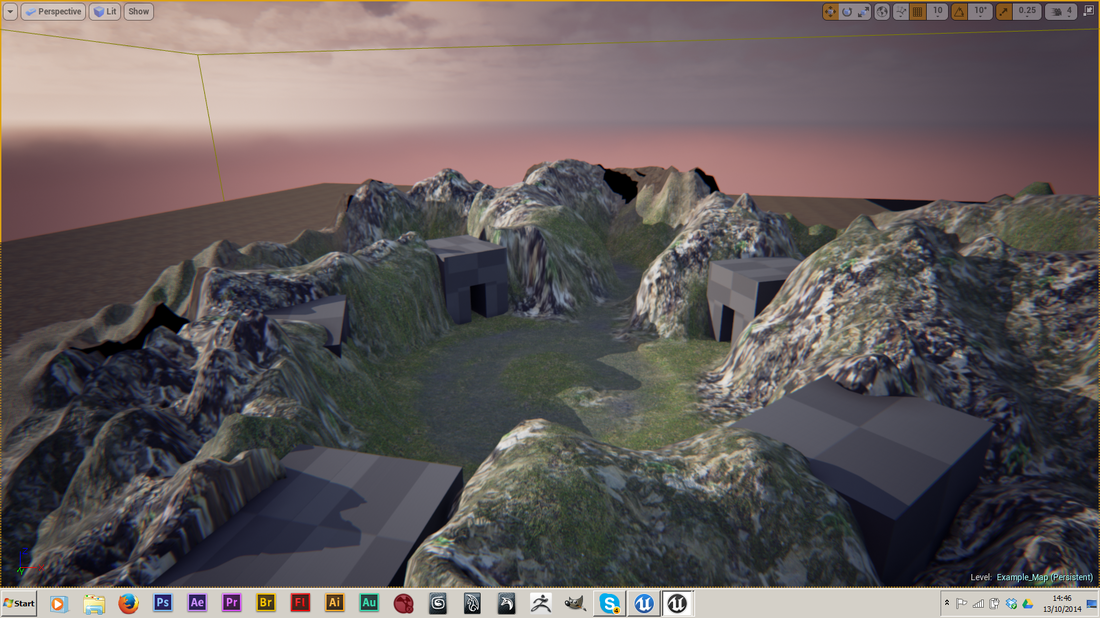
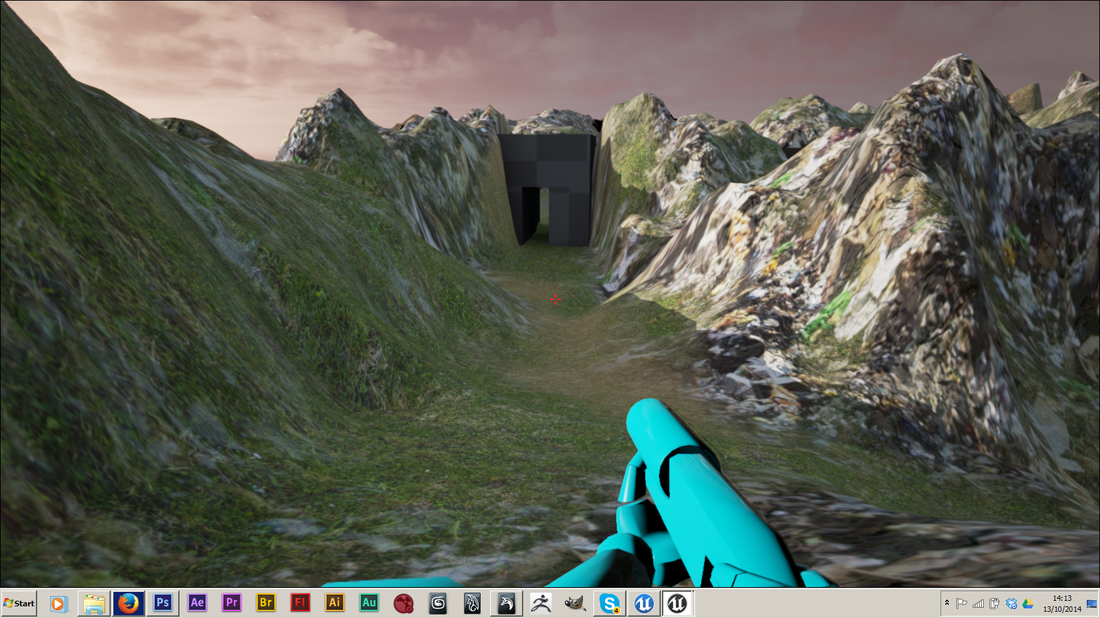
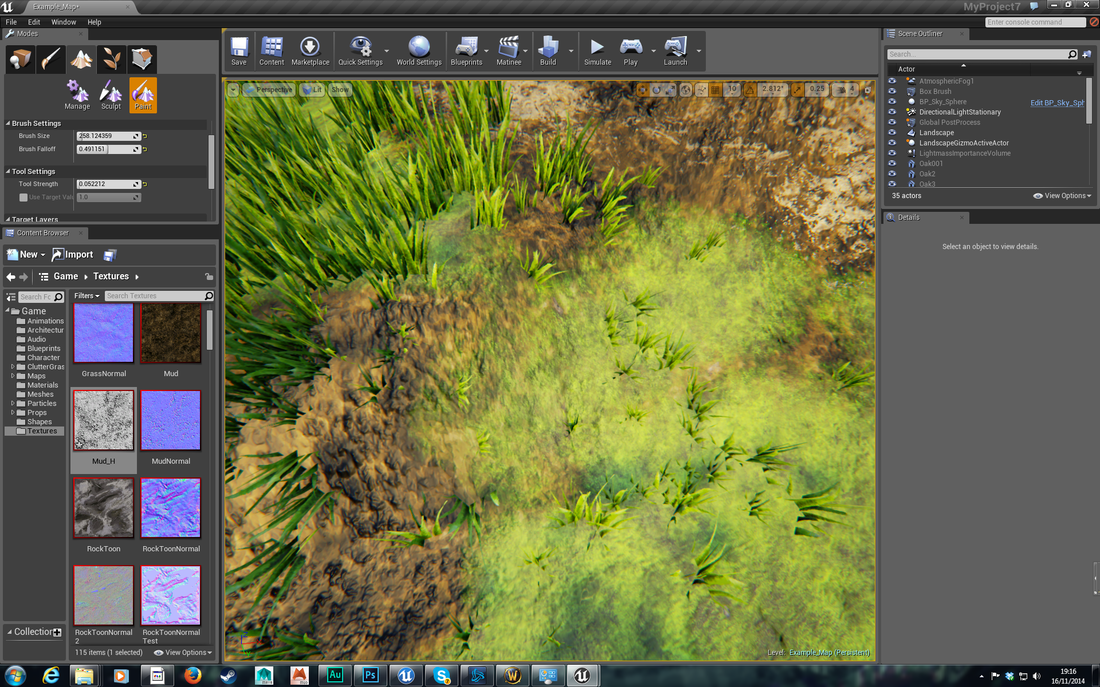
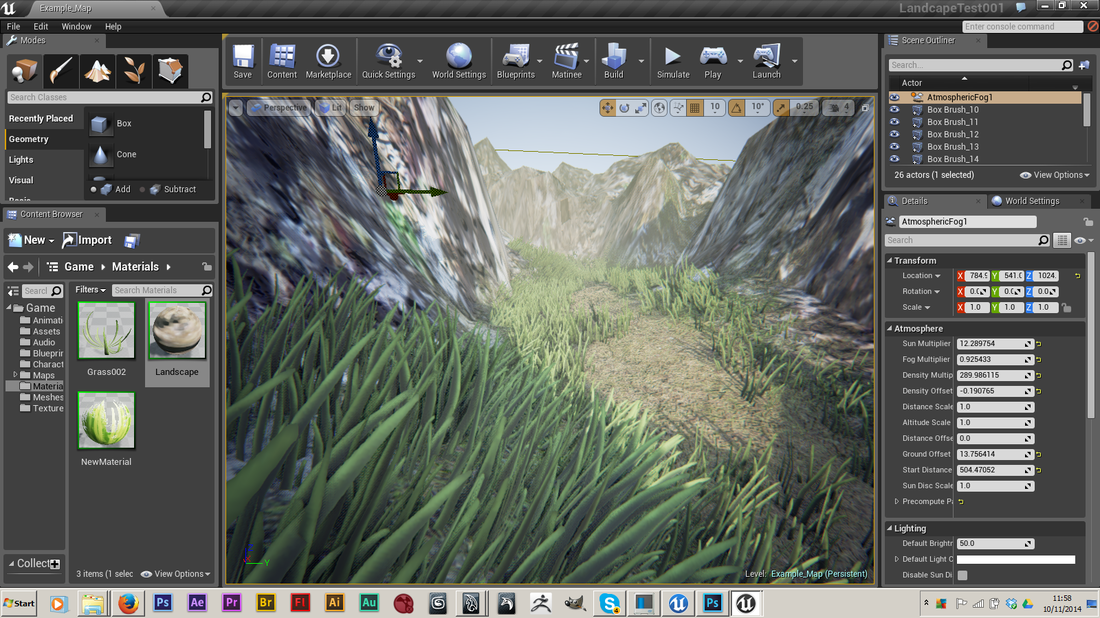
Applying the assets
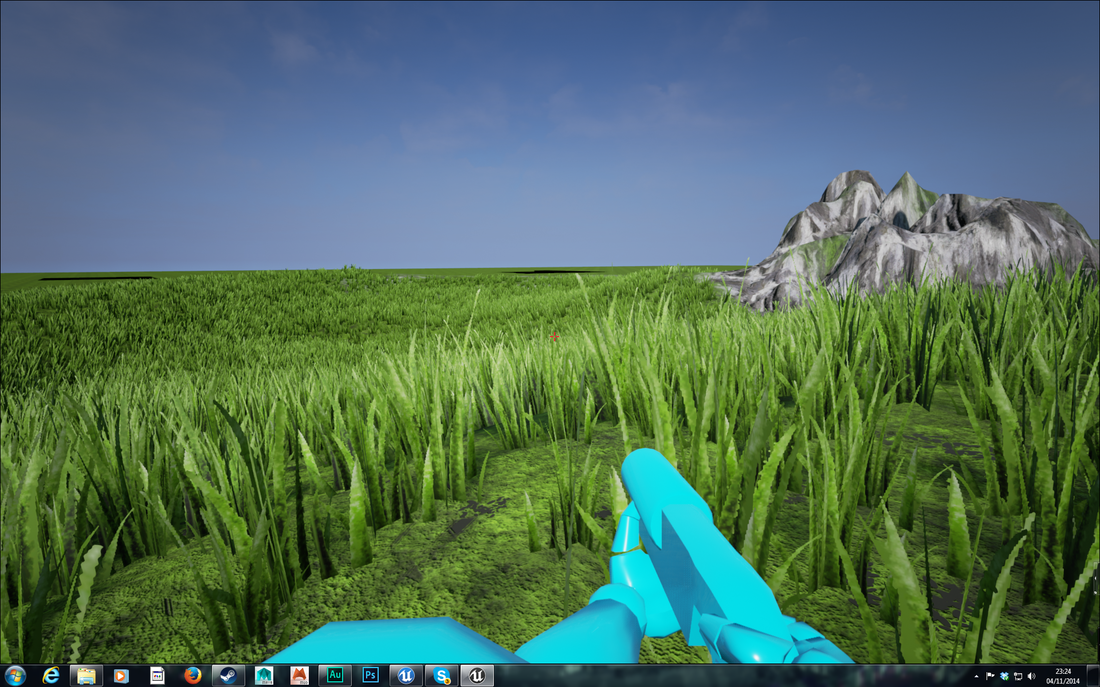
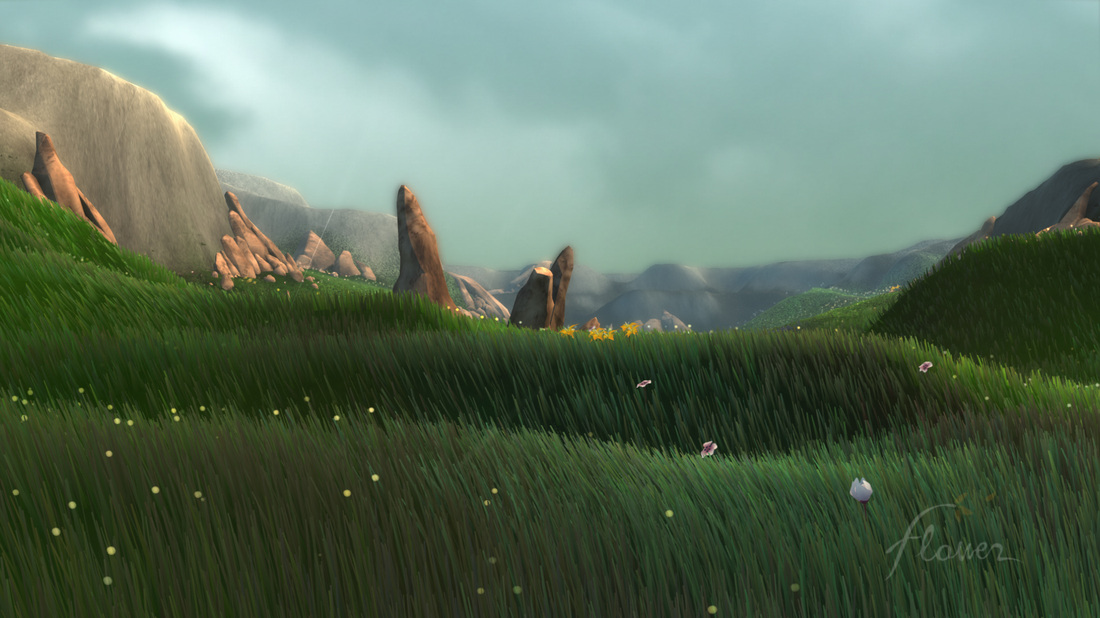
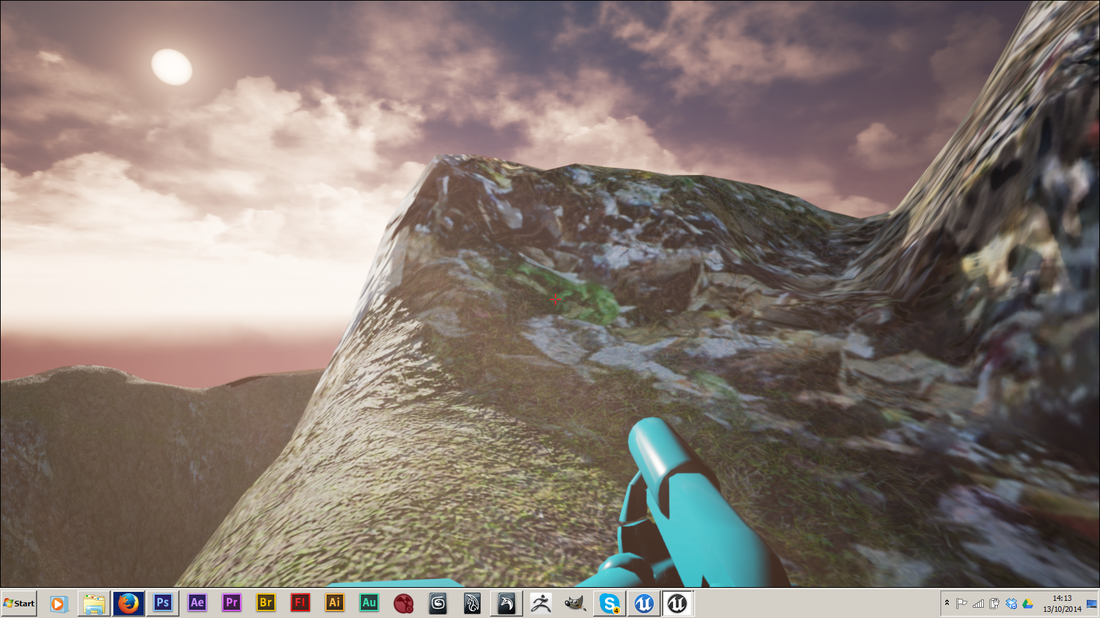
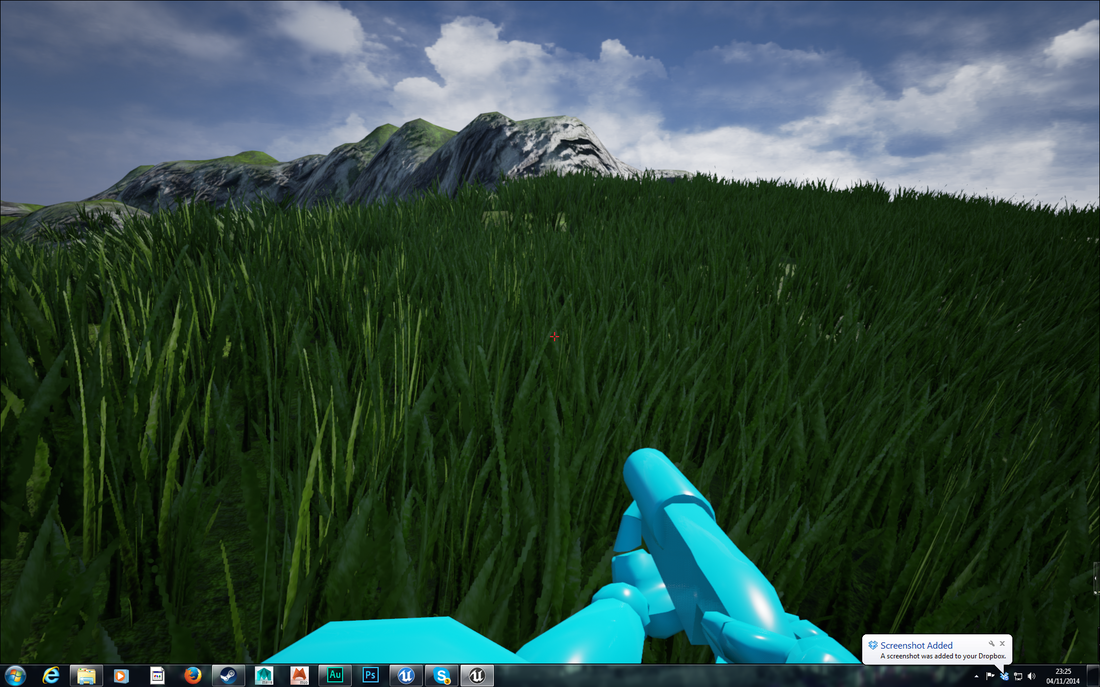
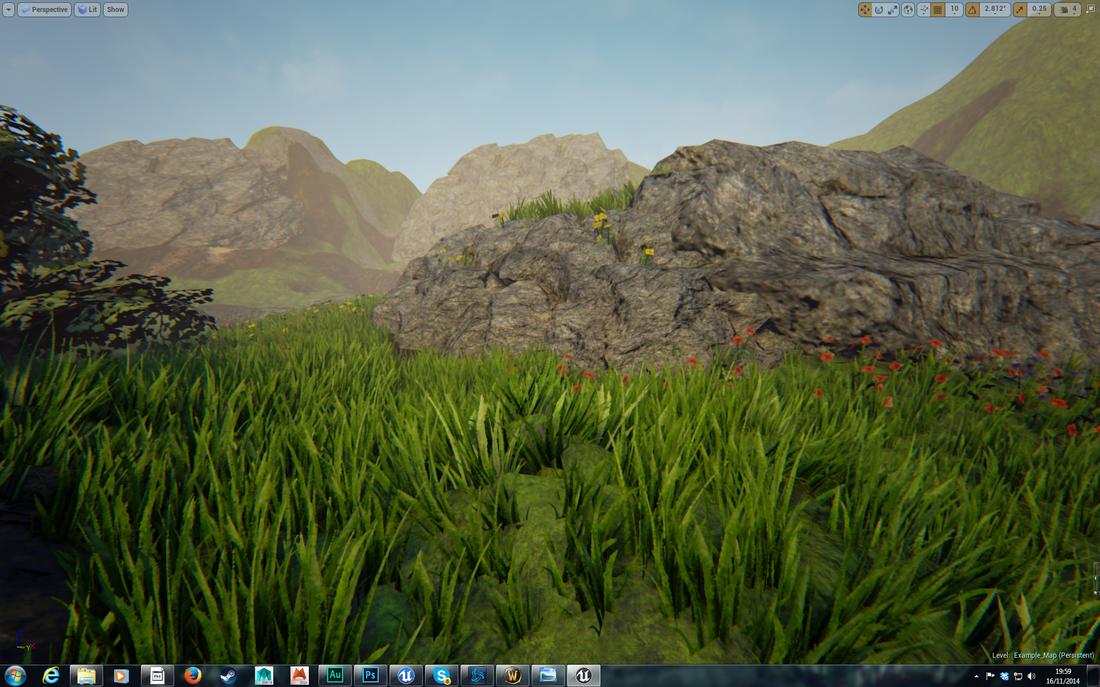
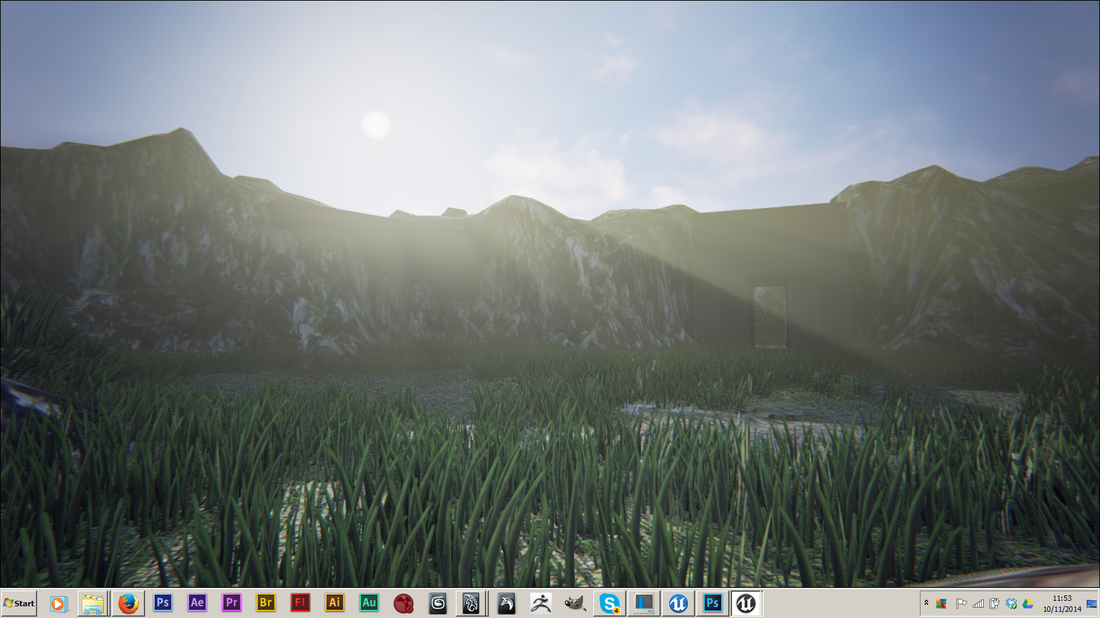
I tested the Grass and Textures I made in unreal, creating the start of an environment.
The rock texture is seen in the background and on the sloping bits, whereas the grass mostly covers the actual grass texture. This was before I had created the grass texture's normal maps in mudbox.
There are no heightmaps involved with the landscape material either, so the textures do not blend so well.
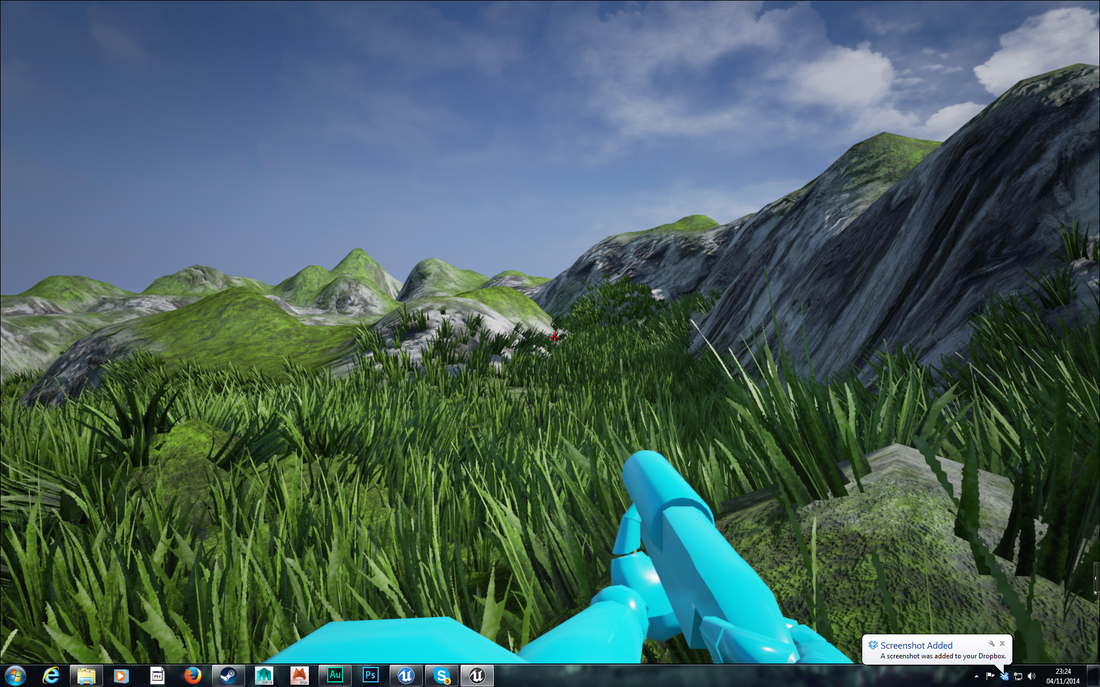
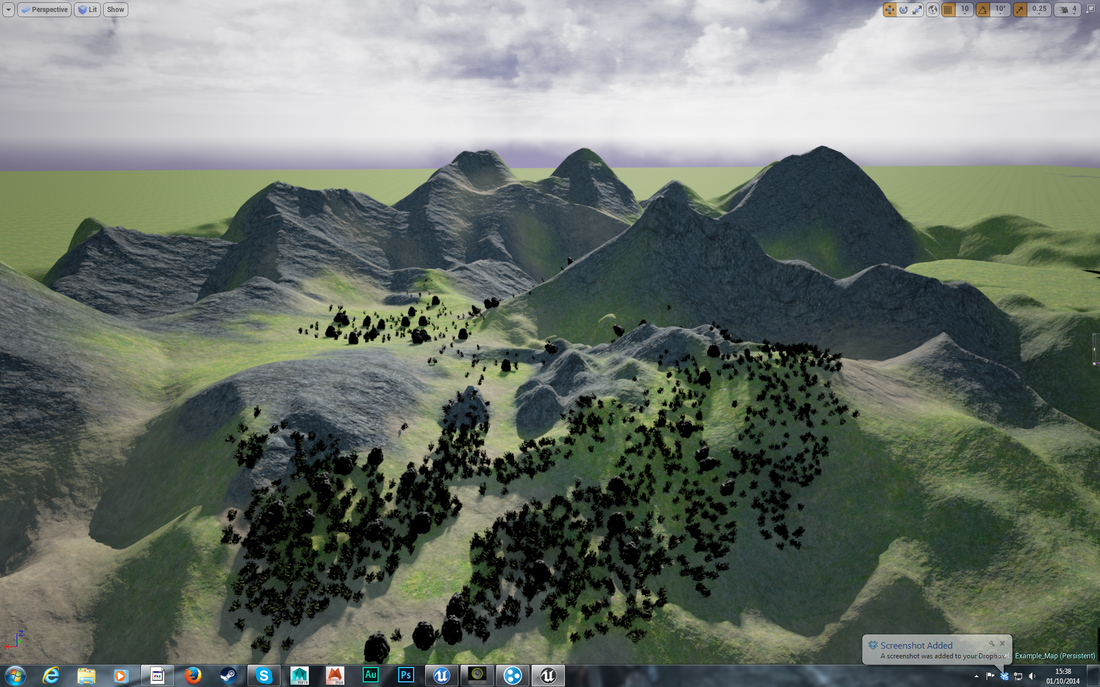
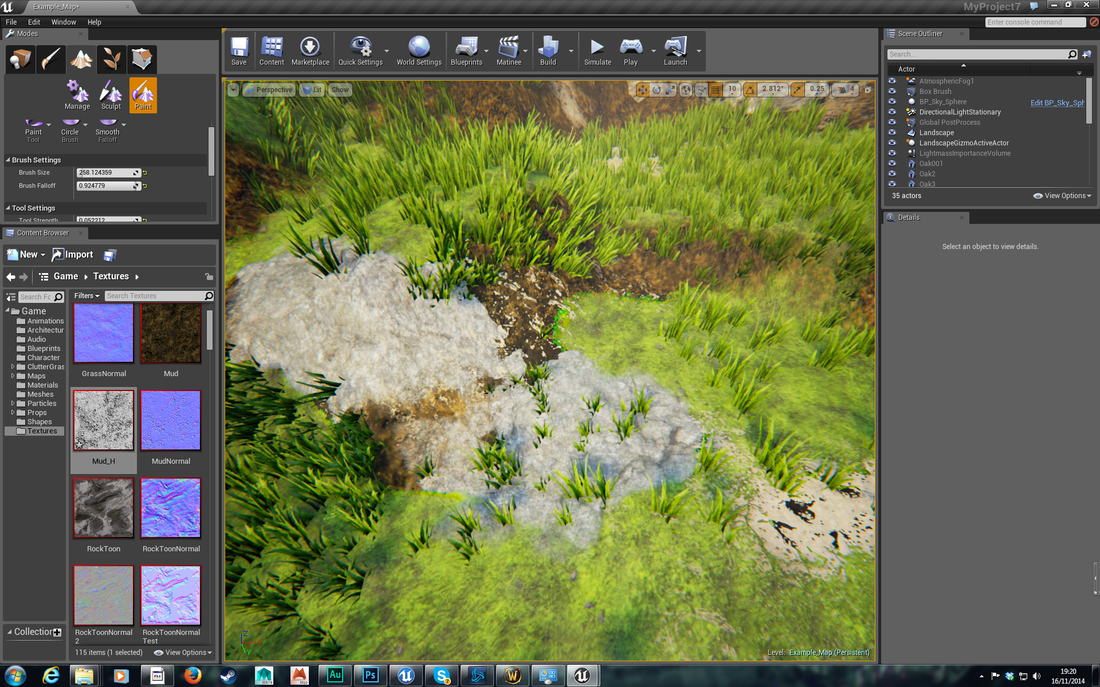
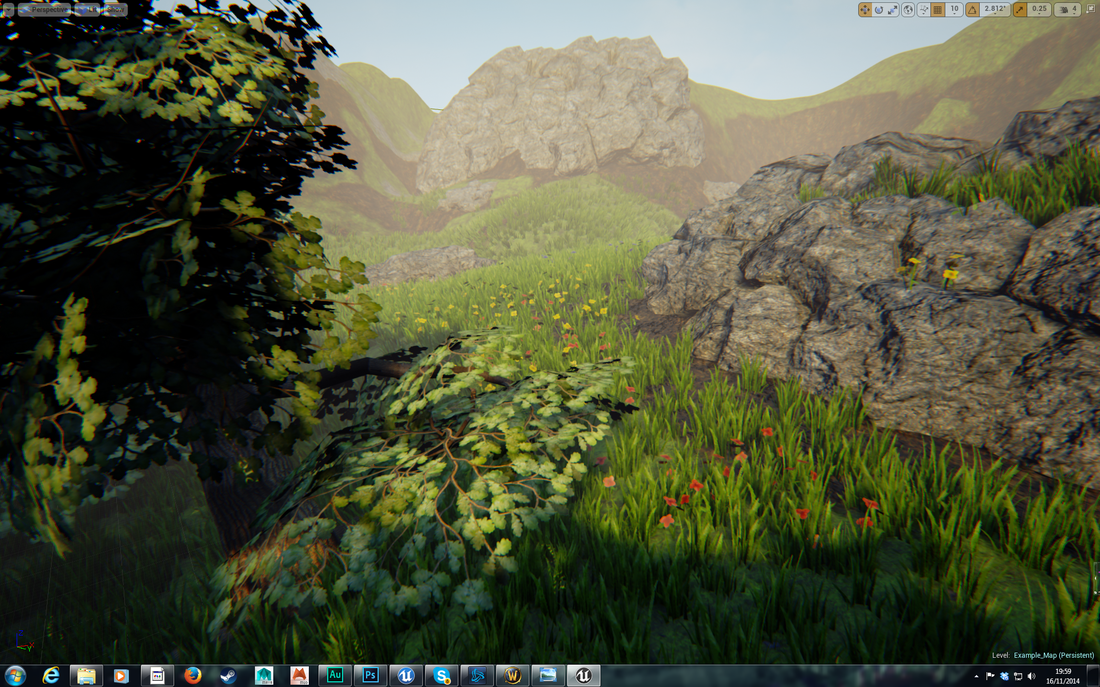
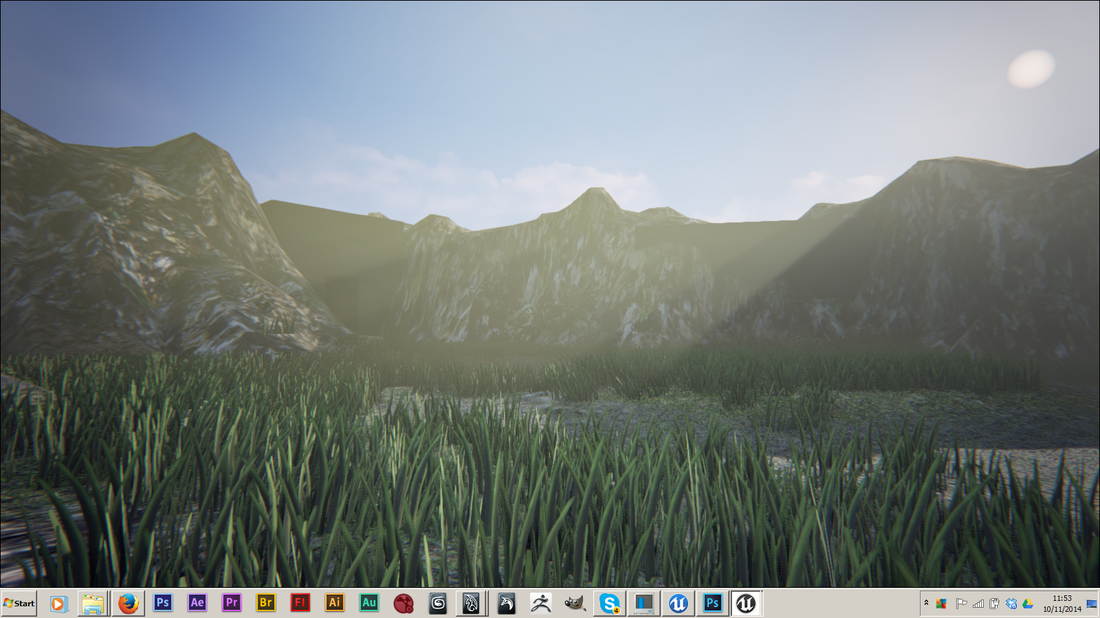
I then decided to add more assets. I made flowers for the environment. I used the exact same technique as with the grass so as to keep the UV space simple. They are more 3D as the flower heads face different directions to the rest of the planes. As you can see, I also added rocks to help the rocky landscape texture blend better. Making it look more believable by placing the rock asset to break up the edges. |

|
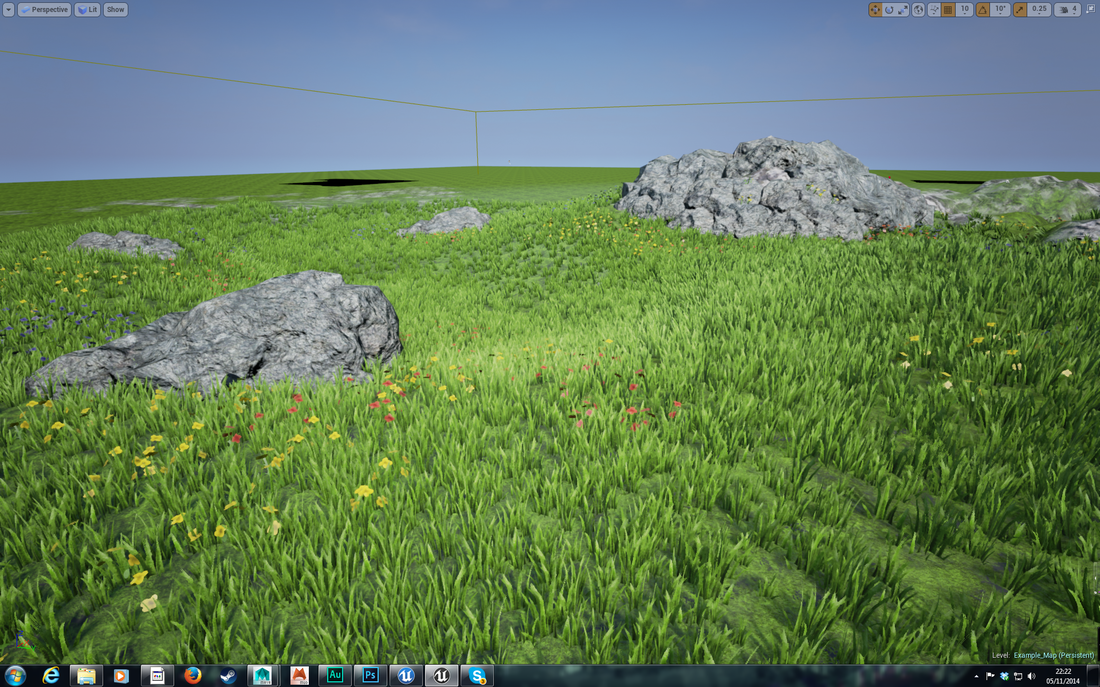
The flowers turned out really well.
They help to break up the foliage and make the scene more varied, the rocks help to this end as well.
The next challenge though, was to make the grass move in the wind.
They help to break up the foliage and make the scene more varied, the rocks help to this end as well.
The next challenge though, was to make the grass move in the wind.
Using Unreal's Shader system to create moving grass and foliage.
This took a lot of research, digging on the internet and trial and error
I followed this tutorial
https://www.youtube.com/watch?v=HhUK_02vSyE
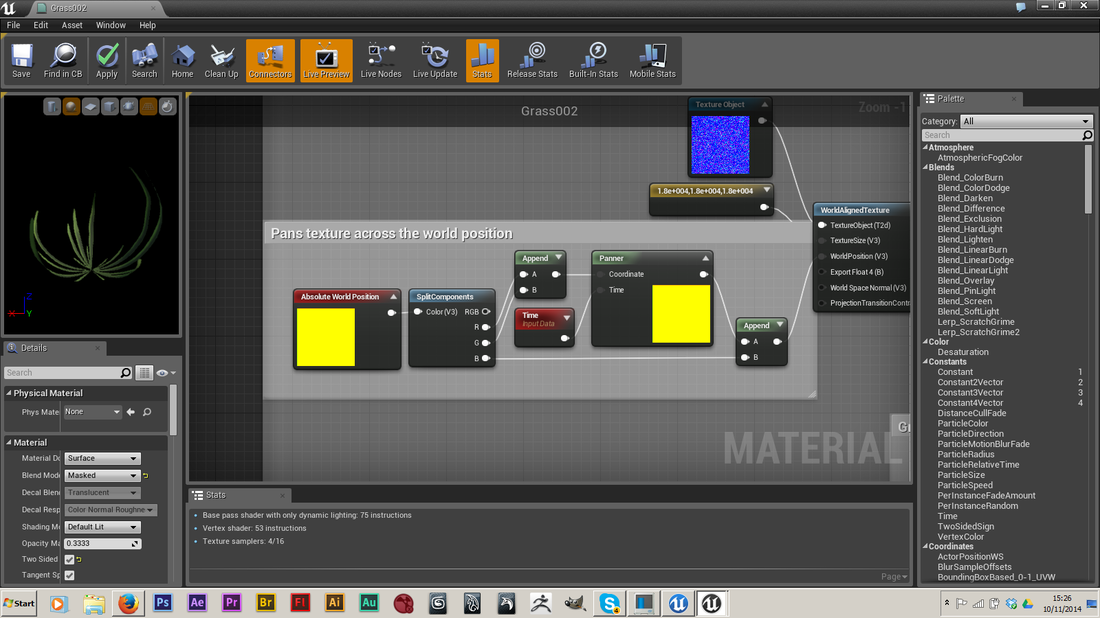
The material relies on a few nodes to make the grass move.
It uses a panner, which is used to make the material move across the X Y and Z axes
It uses a texture which is applied to the panner in order to randomise the movement
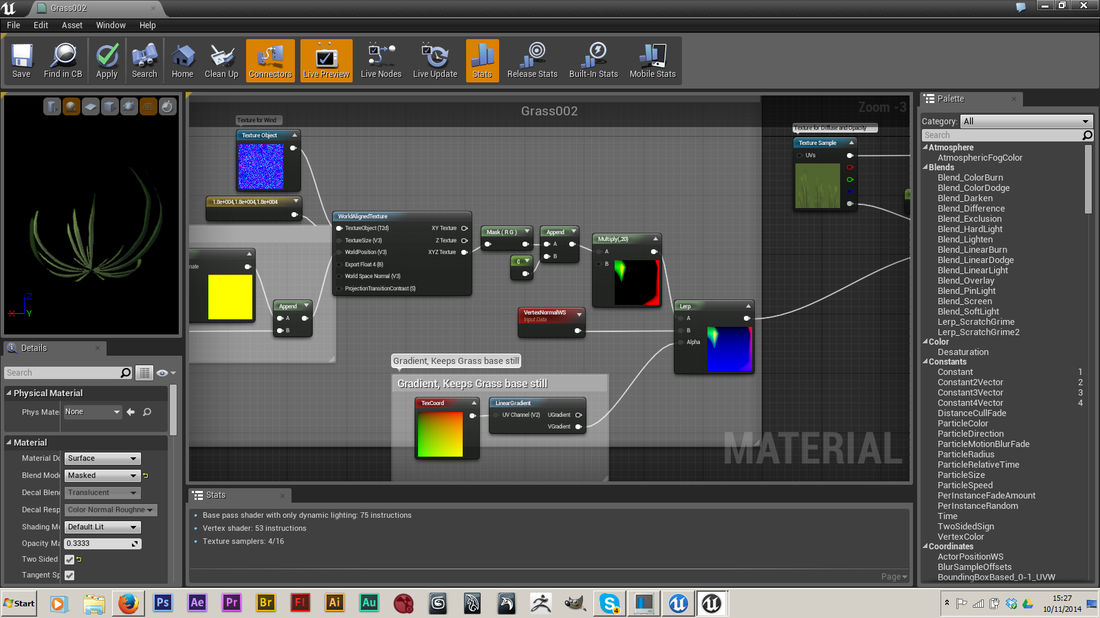
And it uses a gradient node, which prevents any panning from occurring at the base of the grass mesh.
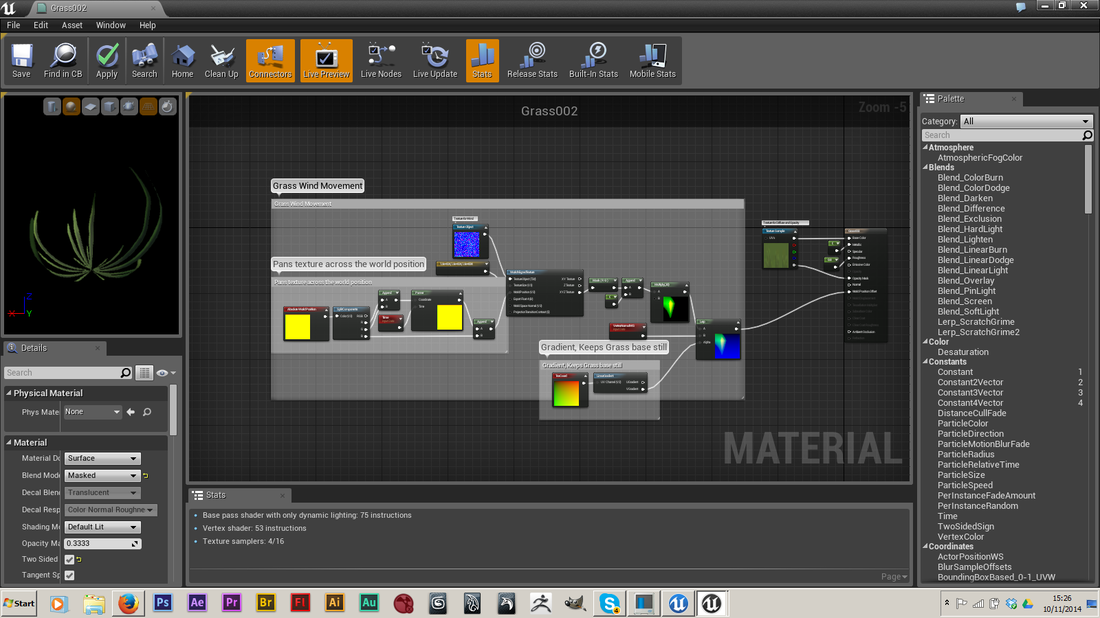
Next, the XYZ data is plugged out and into a colour mask, which excludes the Z axis (as blue data) as it is not needed. The X and Y movement is then plugged into a multiplier, to create the better movement from the tiny movement in the normal map.
After this multiplier. The Data then combines with the Gradient node, this plugs into a linear gradient which masks off any movement towards the base of the grass, making it look as if the tips of the grass moves more.
This data is all interpolated together and then plugged into the world position input on the material node!
And this all adds up to create grass that looks like its moving all together, affected by the same wind.
Glade and Desert level tests
Below shows how I created and used grayscale heightmaps to allow textures to blend together on the landscape materials. This is incredibly important for making the textures look more realistic.
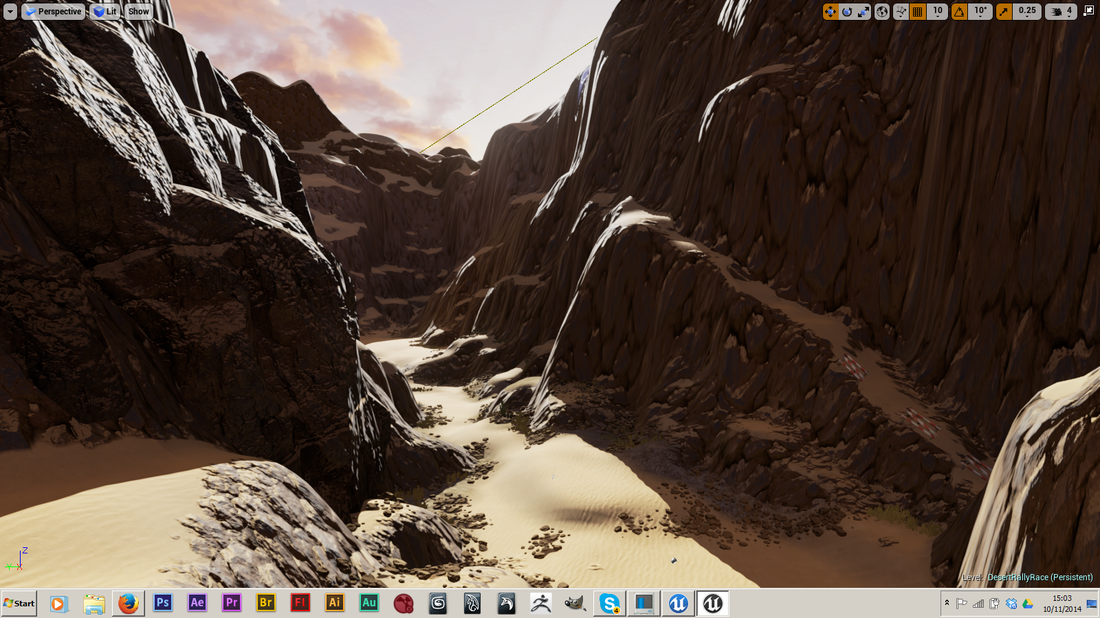
Desert Tests
All the assets and materials that I used to create this are assets created by Epic Games, and the Unreal team. Except the grass which I made myself.
I took one of their demo levels and deleted everything, starting completely from scratch.
I wanted to see what I could create using their blueprints and super complex materials. I was fairly pleased with the results, and more than anything, this drives me to pick apart how they create their materials so I can learn how to make my own that are as good!
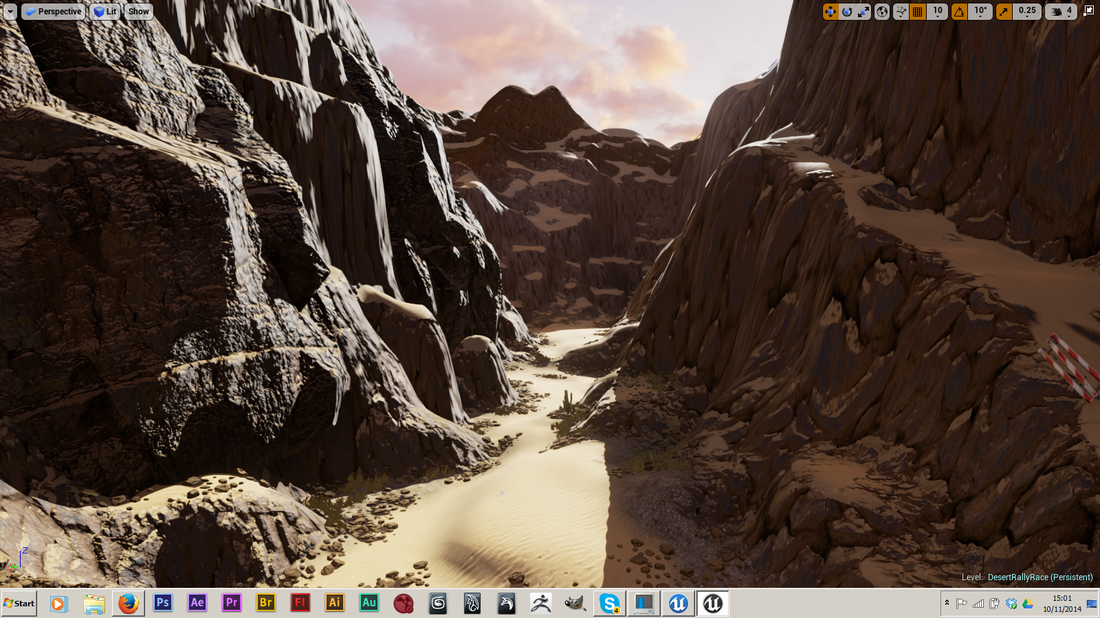


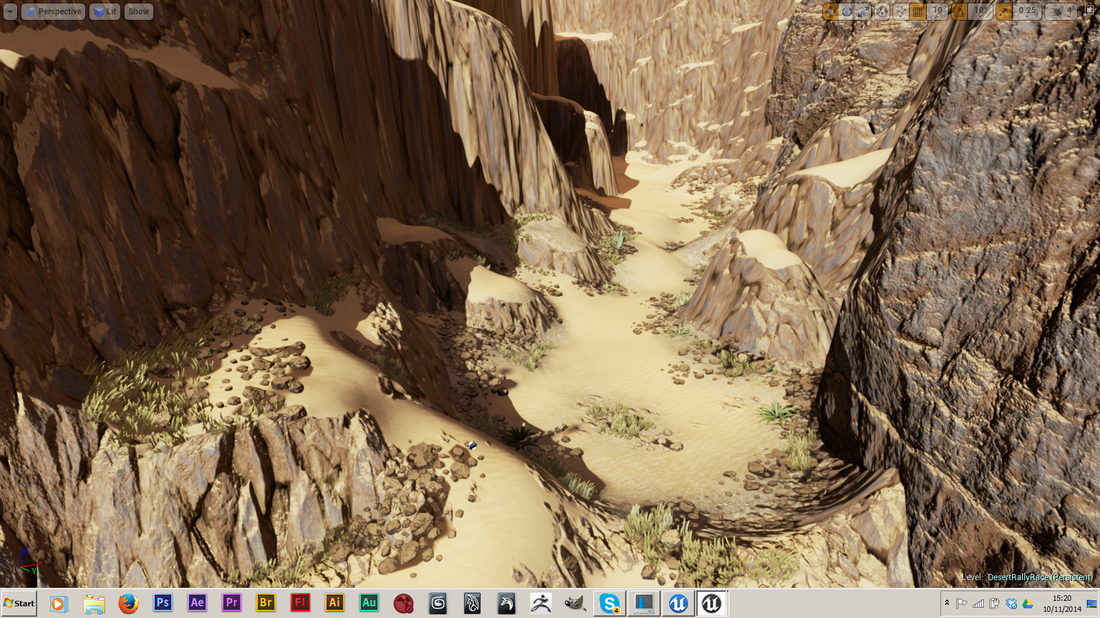
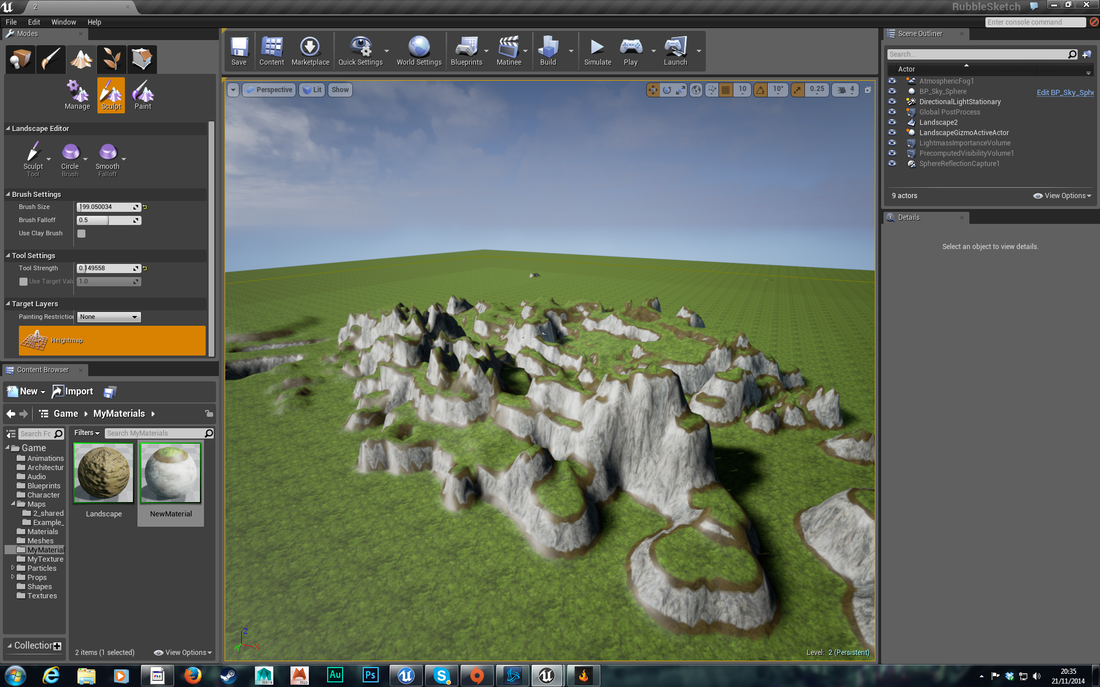
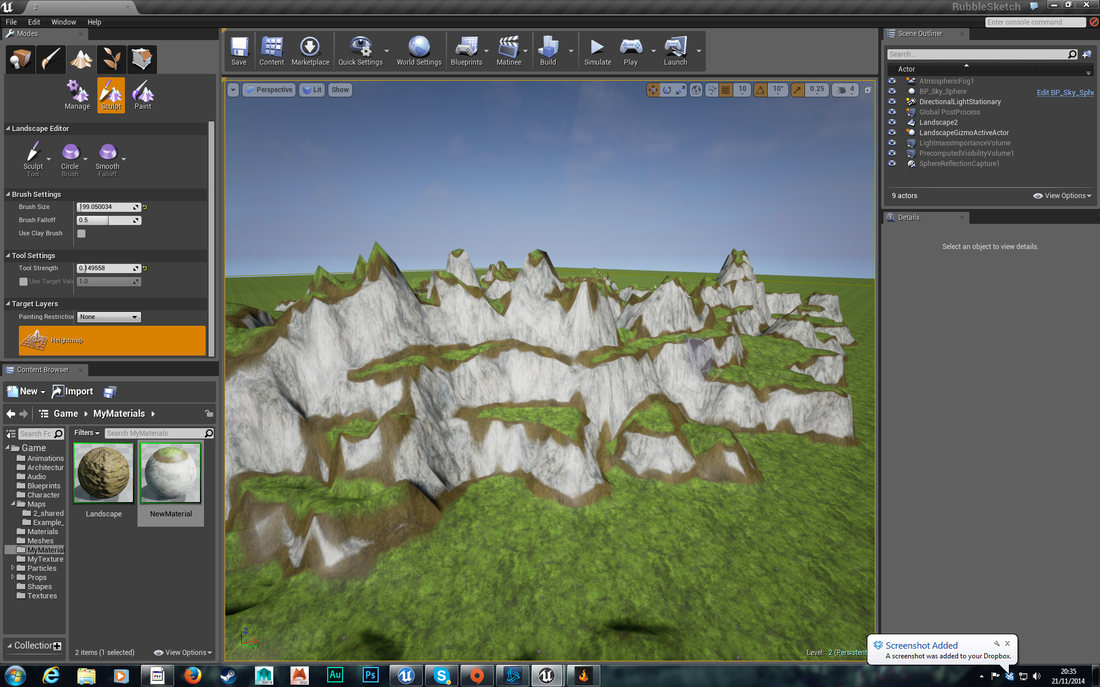
Automatic textures based on terrain angles
Using this documentation (https://docs.unrealengine.com/latest/INT/Resources/Showcases/Stylized/Landscape/index.html) on the Unreal site, I was able to create my own landscapes that changed textures automatically based on their angles in the world.
This will be immensely useful for the final game.
This will be immensely useful for the final game.