Final Character walk
Below are some screenshots that I rendered out to see how the lighting would work in the scene, at the bottom is one that I adjusted in after effects, fiddling with the levels and adding a matte background.
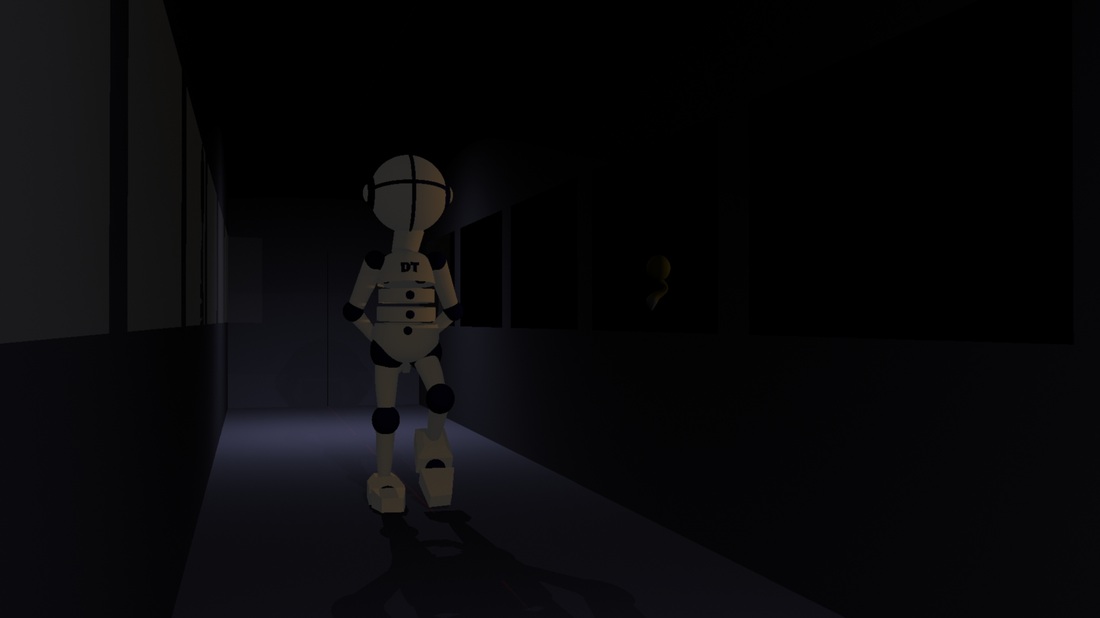
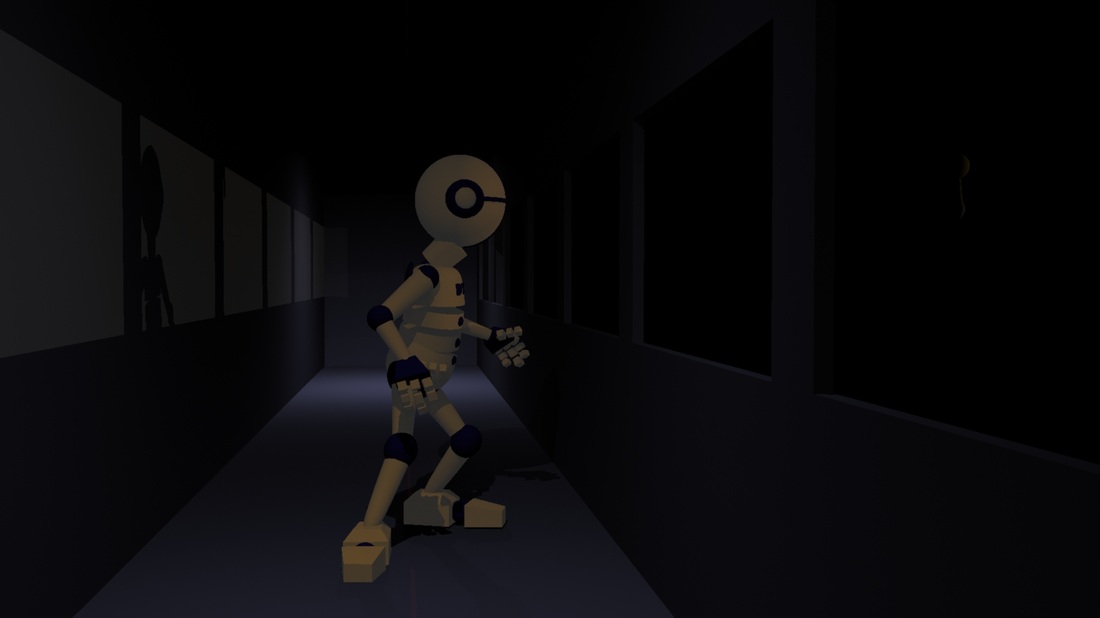
The final walk cycles. I stuck to my storyboard for the final scene, I worked in a single Maya scene, jumping the camera in single frames for the quick cuts. I had a bit of trouble with the shadows of the ball and tail as it flies along side the space ship, it creeps back into frame as I think I forgot to key it's translate y before moving it. Other than that I was fairly pleased with it. The Animo rigs' legs still seem to snap, even on the smoother second walk cycle, still couldn't find a way around this, tried shifting the pole vectors for the leg IKs but they still moved in a snappy way.
In hindsight, I might have slowed the first walk down to give it a more leisurely pace, the leg snapping made this look awful every time I tried to scale the keys though so I kept it as a 25f cycle, scaling the walk so it was faster (12f) made the legs less snappy, but obviously it made the whole animation look snappy as it was so fast.
In hindsight, I might have slowed the first walk down to give it a more leisurely pace, the leg snapping made this look awful every time I tried to scale the keys though so I kept it as a 25f cycle, scaling the walk so it was faster (12f) made the legs less snappy, but obviously it made the whole animation look snappy as it was so fast.
Animo, Digital tutor walk cycles
I had some trouble with the DT Animo rig where the IK handles in the wrist joints would break, halfway through creating a walk cycle, below are a few of these, which I did as much as I could on. After the 2 broken rigs are the finished walks. You can see how the wrists IK boxes won't move on the first 2 walks.
I finally got the rig to work properly and proceeded to make my Character walk as my first full walk with the rig, as I was running out of time before the deadline. It works alright but the hip doesn't move up and down enough and that the legs seem to have a nasty habit of snapping into place, I couldn't find any way to make the legs stop this. Even when scaling the walk up at the end of the video, the legs continued to 'snap' in slow motion, it happens just as the leg reaches its forward contact, it snaps the leg straight.
Character walk and ball interaction plans
For the character walk, I'm planning to have a relatively simple situation for the characters to interact in.
Who - A space-ship captain.
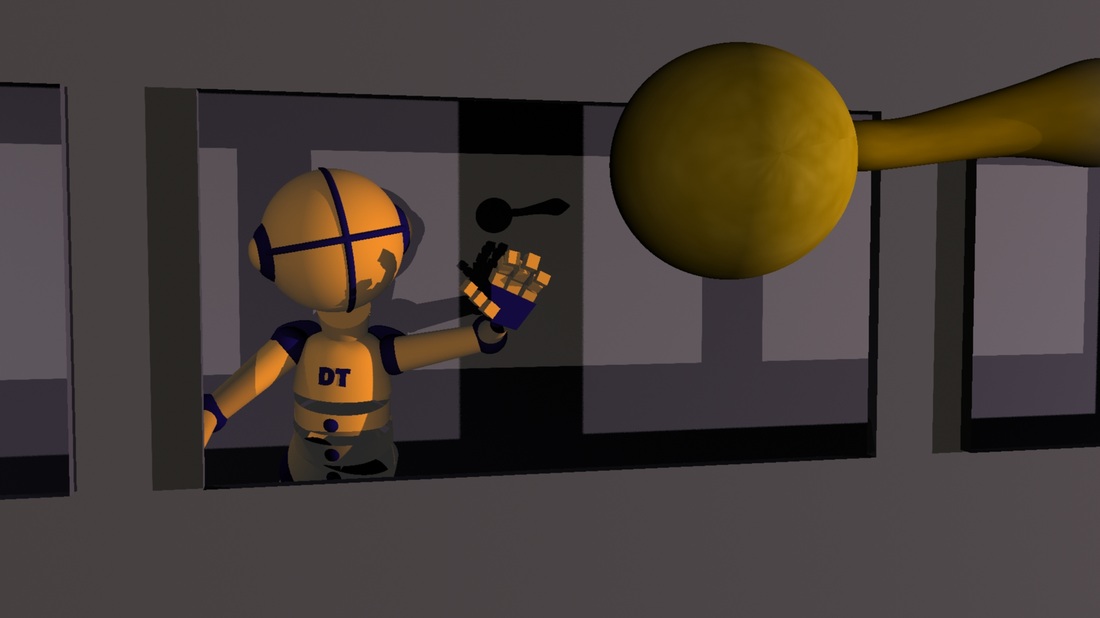
What - Patrolling the ship when a ball jumps at the window from outside.
When - During his lunch break.
Where - In a corridor aboard the ship.
Why - Just finished lunch and is heading back to quarters.
I plotted out some ideas for the walk on this page, the one on the right hand side applies to the captain. He'll be walking relaxed and aloof, as he owns the ship and is just generally a cliched arrogant space captain character. His reaction to the Alien ball will obviously be a shocked one before he hurriedly walks off, looking warily over his shoulder.
Who - A space-ship captain.
What - Patrolling the ship when a ball jumps at the window from outside.
When - During his lunch break.
Where - In a corridor aboard the ship.
Why - Just finished lunch and is heading back to quarters.
I plotted out some ideas for the walk on this page, the one on the right hand side applies to the captain. He'll be walking relaxed and aloof, as he owns the ship and is just generally a cliched arrogant space captain character. His reaction to the Alien ball will obviously be a shocked one before he hurriedly walks off, looking warily over his shoulder.
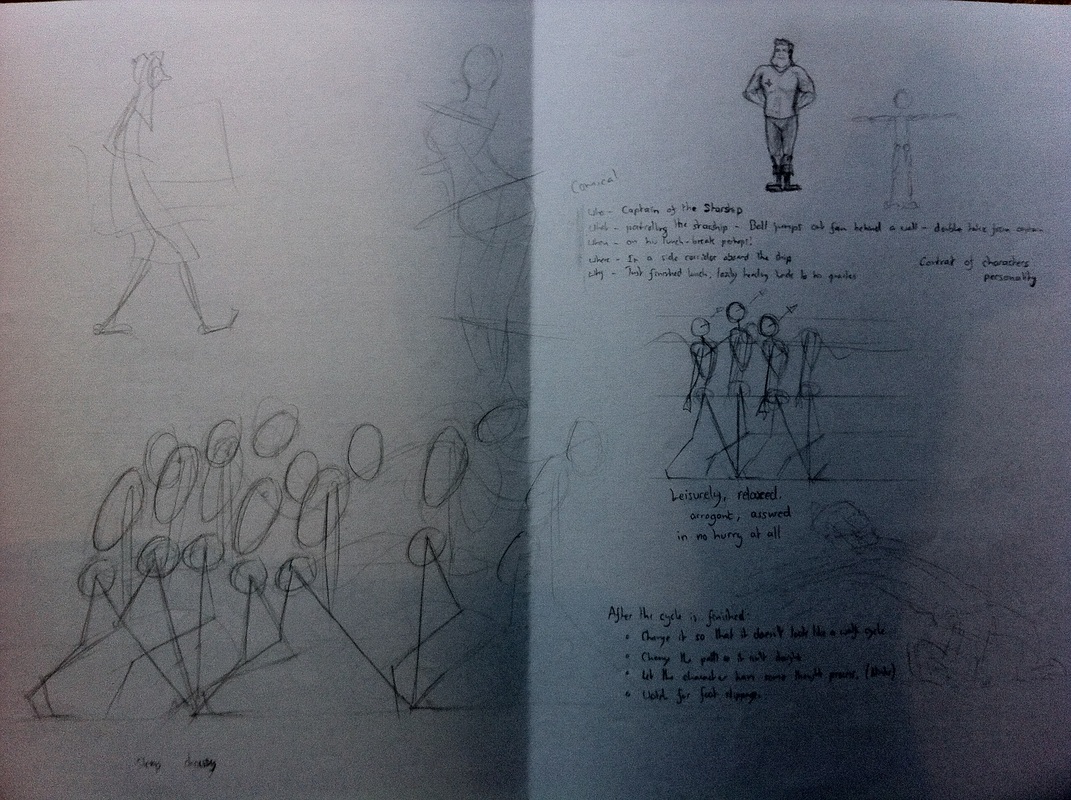
An early sketch of the storyboard for the character walk.
I plan to focus on wide angle shots, to incorporate the entirety of the character's walks into the frame.
I plan to focus on wide angle shots, to incorporate the entirety of the character's walks into the frame.

Walk cycles - ball with legs
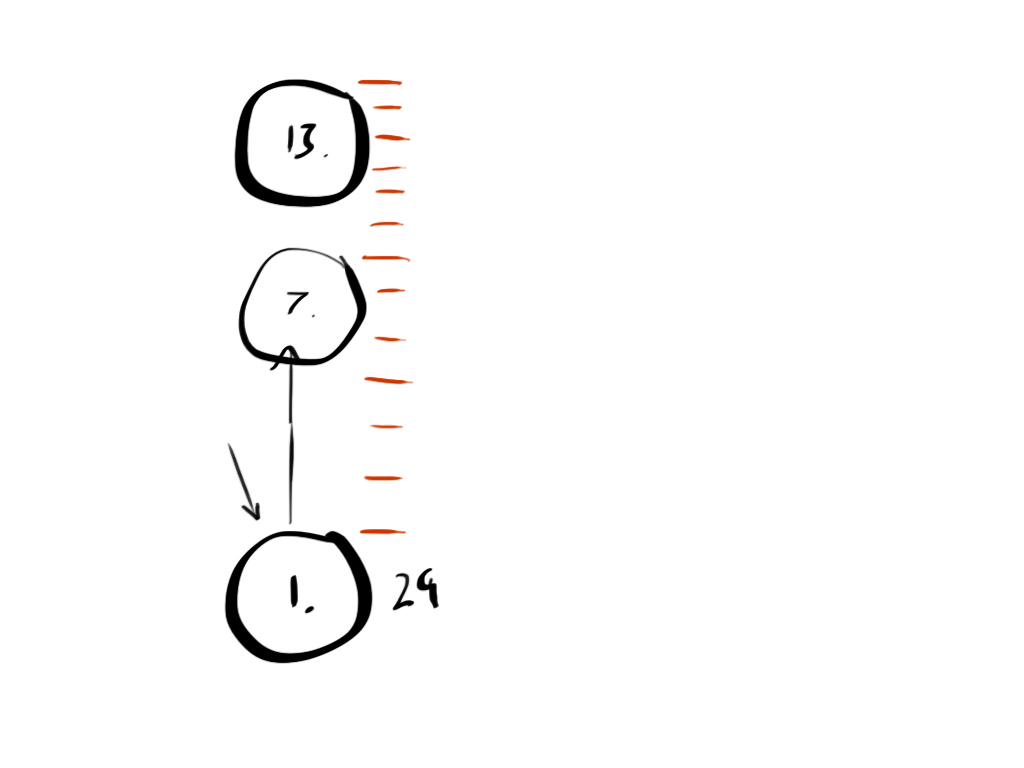
For the ball with legs, I followed the .pdf tutorial but slightly exaggerated the walk. The video breaks down the stages that I keyed the walk in, I worked in stepped tangents while plotting out the contacts, the crossovers and then the ups and downs. Then I transformed them to linear in the graph editor before making the peaks and troughs into flat tangents and the key inbetweens into splined tangents.
For the final touch, I added the squash and stretch, which can be seen in the last 3 playblast clips
For the final touch, I added the squash and stretch, which can be seen in the last 3 playblast clips
I was pleased with how the walk turned out, I think that following the tutorial and working with stepped tangents really made me focus on moving everything. Having tried the same with 'auto' tangents on, I found that it became easy to miss little things when working on the crossovers and the ups and downs, as half of it was already done for you.
Ball with tail - character ball
For my character ball I decided to have him squash himself and build up to a triple leap up the stairs. He squashes when he lands on each step and really winds up for the next jump, the tail follows limply behind him. I plotted this out in the breakdown below. I left out the tail as it generally follows the same path as the ball, albeit in a limp way.
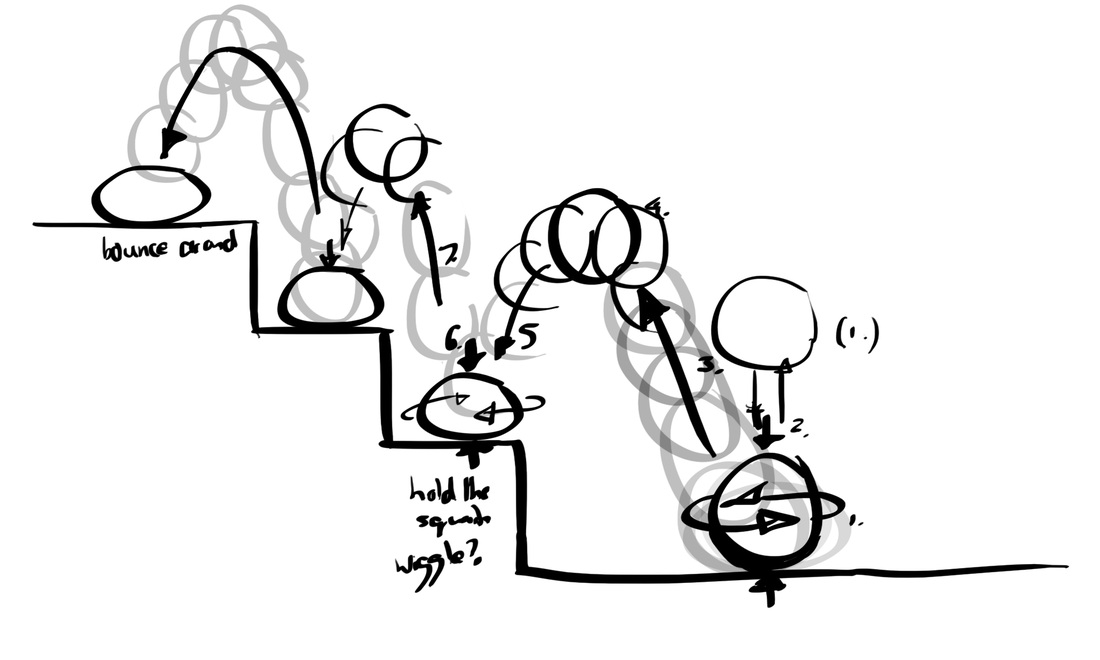
Below is the shot of the ball, animated after the breakdown was drawn up. I feel that I made the ball spend too long in the air, I could pass it off as exaggeration but really, when I tried to reduce the time between the balls keyframes in midair, it put all of the tail's animation out of sync. I therefore made the ball's curves much harsher on the downs in the graph editor than the ups, this partially counteracted it, I quite like it as it gives the ball more character, as if he's really straining to reach the apex of his jumps.
Ball with tail - arcs and velocity
Making the ball move in an arc was simple, the tail required a lot of manipulating though. I think that I would have liked to make the tail 'flick' up at the end of the arc, as that is how the overlap should really have occurred on the arcs (in fairness, it does give a sense that the tail is again, heavy). I varied the speed for the concave arc from right to left, it works but I don't think I quite got the overlap to exactly match the change in speed.
Ball with tail - basics
These are two simple tests for studying overlap on the lifeless tail of the ball. I moved the ball from left to right and then tried to make the tail appear as if it were being dragged along. I decided to make the tail appear heavy by making it retain its position until it is physically dragged along by the ball.
Both of these tests are similar although the one above was an earlier test, the tail on the bottom one appears weightier and more lively. Looking back, I see that I need to think again about keeping every single part of the rig active at the same time, I think I leave the top and middle controllers of the tail alone until the very end of the movement.
Image plane assisted animation
For the image plane exercise, again I key-framed the contacts and apexes of the bounces by placing the 3D ball where the reference video ball was, I then matched the inbetweens to the video in the same way. While this is a very mechanical and automated way of animating the ball, I think that it helped me immensely, it allowed me to see how the ball moves much more than in a simple 'up-and-down' motion, everything about the ball is moving.
Studying the image plane animation also helped me with arcs, it lets you see and study how the moving slows in and slows out.
Bouncing Balls - Arcs
I added movement to this ball, allowing me to implement arcs into the animation and to see how hitting the ground affects the speed of the ball. It's very simple and not as refined as I possibly could have made it, but enlightening for a first test on arcs, as it made me try and think how the ball would progress while in the air.
Bouncing Balls - Squash and stretch
This is my first test with squash and stretch on the ball, both balls follow the same trajectory but only the one on the left squashes. I decided to practice rendering the scene to an extent as well seeing as it only consists of a few frames. I put motion blur on but it doesn't seem to apply to shadows in the Maya Software renderer.
The bounces for both these balls were based on the heavy rubber dog toy ball that we filmed in our reference video (7m50s). There wasn't much squash obviously, as the ball was very solid. Therefore the ball on the left in my animation is very exaggerated, it doesn't look quite right in fairness. Looking back, I might have given the ball less weight before adding this much squash.
BOUNCING BALL REFERENCE from Andreas Schnell on Vimeo.
Bouncing ball - basics
This is the first bouncing ball test that I did, using pose to pose animation. I keyed the contacts and then the apexes of the bounce. I then adjusted the curves in the graph editor to finesse the bounces before adjusting each frame individually.
Looking back, some of the bounces are out of proportion with the others and overall, this is not the greatest of bouncing balls. This helped me realise that consistency in the ball's movement is extremely important, I tried to bear this in mind for all my following tests, and ensure that the ball never gains energy mid bounce.
